English
For machines fitted with front and rear covers (MJC – MJC ETL), remove the front cover by
means of the 4 screws holding it on (fig.6).
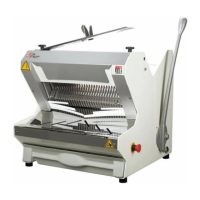
Non-Misch machines (MJL – MJL ETL – MJG – MJG ETL - MJC – MJC ETL) (fig.7)
A. Remove the rear panel from the machine by means of the 4 screws.
B. Remove the two screws for the rear table and slide it towards the rear of the machine in order
to release the front table.
C. Unscrew the bagger by means of the left-hand thumbscrew; unscrew the right-hand
thumbscrew and remove the two screws from the cover.
D. Open the cover. Remove the 4 screws from the front table and withdraw it.
E. On the upper part of the front frame, remove screws A, which secure the frame to the
polypropylene strips (never remove the strips from the frame, as you risk altering factory
settings).
F. Lay the frame down forwards. Replace the blades on the rear frame (place something to
protect yourself on the front frame blades). Remove the blade-tightening Allen screws B.
Replace the blades, checking that they locate correctly in the swing arm pins. Retighten the
blades by tightening screws B, using the blades remaining on the frame as a reference. Then
tighten the nuts (machine fitted with lubrication option).
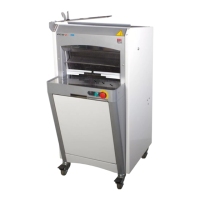
Misch machines (MJF - MJM) (fig.8)
A. Remove the rear panel from the machine by means of the 4 screws.
B. Pull the lever towards you and lock it by screwing in the top right-hand thumbscrew on the side
of the machine in order to position the loaf holder on top of the machine.
C. Remove the two screws for the rear table and slide it towards the rear of the machine in order
to release the front table.
D. Unscrew the bagger by means of the left-hand thumbscrew and remove the two screws from
the cover.
E. Open the cover. Remove the two screws from the front table and withdraw it.
F. On the upper part of the front frame, remove screws A, which secure the frame to the
polypropylene strips (never remove the strips from the frame, as you risk altering factory
settings).
G. Lay the frame down forwards. Replace the blades on the rear frame (place something to
protect yourself on the front frame blades). Remove the blade-tightening Allen screws B.
Replace the blades, checking that they locate correctly in the swing arm pins. Retighten the
blades by tightening screws B, using the blades remaining on the frame as a reference. Then
tighten the nuts (machine fitted with lubrication option).
In order not to distort the frame and avoid the risk of dangerous breakages, only replace 1 to 3
blades at a time alternating from left to right.
Resume the procedure from point E for the front frame and refit the front frame and the cover
sections.
Connect your machine to the mains supply; it is now ready.
Check that your approved agent has recorded his work in your service booklet in order to maintain
your 5-year warranty cover.
 Loading...