44
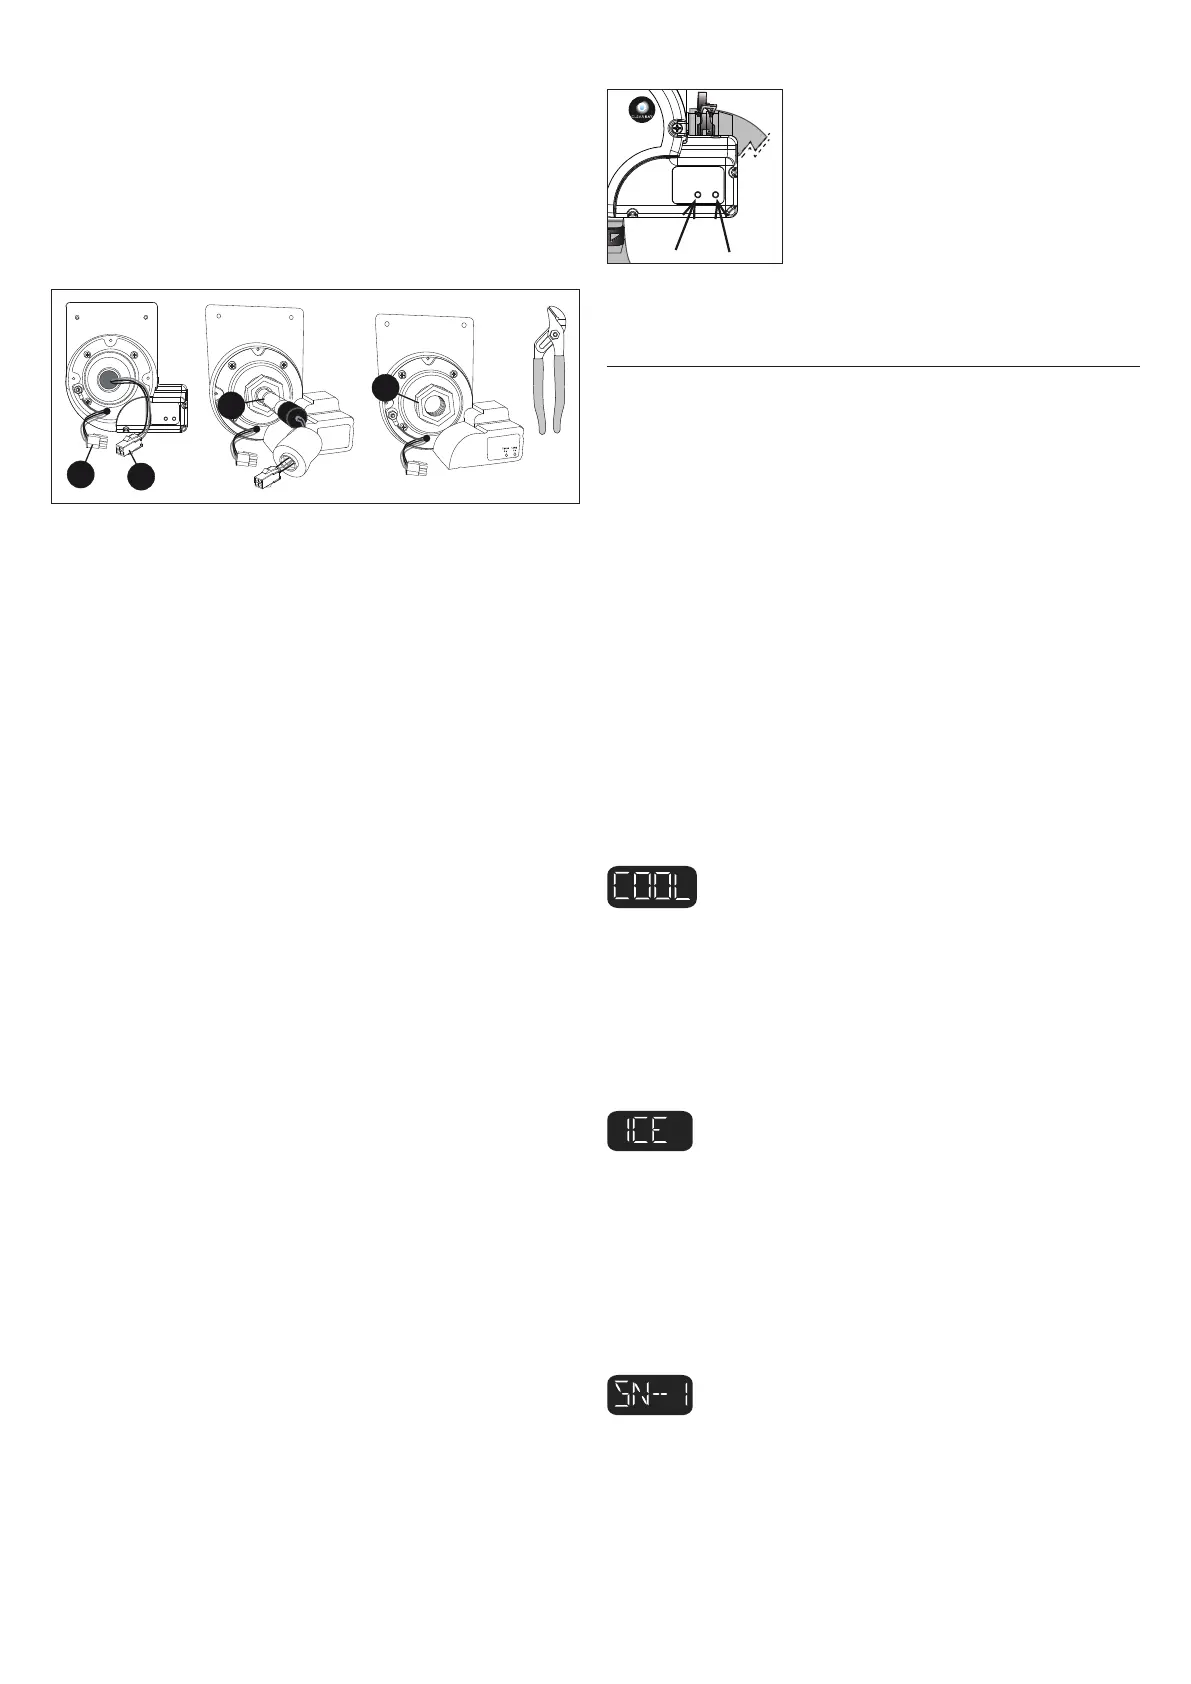
3- Disconnect the UV lamp connector (6) from the power supply
(4)
Do not handle the UV lamp with bare hands; use a pair of
latex gloves to handle the UV lamp.
4- Gently pull out the lamp (7) from the quartz tube.
5-Unscrew the nut (9) using a suitable wrench if necessary.
9
7
4
6
6 - Now it is possible to proceed with cleaning or replacing the
quartz tube (please refer to the corresponding section).
7- Cleaning the quartz tube. Use a paper towel or a cotton rag;
if necessary, use a descaling product (such as those used to clean
the shower), taking care to remove any residues with plenty of
water.
Do not use abrasive products.
8 - Replacing the quartz tube. Remove the O-Ring from the old
tube and place it on the new one. Position the new quartz tube
(8) into its place (12), rst inserting the domed end and checking
that the other end has been inserted correctly in its support (if
the position is correct, only a small part of the tube is exposed).
9 - Retighten the nut (9) and rell the hot tub far enough to oper-
ate the pumps and to verify that there are no leaks from the nut;
in case of leaks tighten it by up to 1/4 of a turn.If that does not
suce, it is necessary to clean the quartz tube again, checking
for leaks before proceeding to the next step.
10- Turn on the hot tub’s main switch again.
11- Activate the pump so that water ows through the Clearray®
system; allow it to continue to operate for about 5 minutes, mak-
ing sure there are no leaks. In case of leaks, switch o the pump
and the master switch, repeating the quartz tube cleaning pro-
cedure.
12- Reconnect the UV lamp (6) connector to the power supply
(4); if replacing the lamp, insert it into the quartz tube.
Do not handle the UV lamp with bare hands; use a pair of
latex gloves to handle the UV lamp.
13- Place the lamp cover (5) on the nut (9).Finally, screw the cov-
er (2).
The UV lamp contains mercury; in case of replacement, dis-
card the old lamp as specied by law.
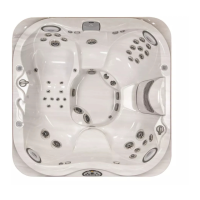
14- Turn on the hot tub master switch again and test the oper-
ation of the device: the red led signals that the Clearray® is pow-
ered (and should always be on) while the green one indicates
that the UV lamp is turned on.
R
LB.
INDNESS
Power
on
Lamp
on
Error Conditions/Error Messages
Your spa has a self-diagnostic control system. The system will
automatically display the following if a problem is detected.
Summer Logic
When the actual spa water temperature reaches 1°C (2°F) above
the set temperature, the spa goes into “summer logic.” The circu-
lation pump will turn o automatically, if running, to avoid add-
ing additional heat to the water, eventually creating an overheat
condition. This setting is not user-programmable.
Note: Summer logic does not take eect until the spa water tem-
perature reaches 35°C (95°F). This condition is more likely in exces-
sively hot weather. Remember, the spa’s ability to cool is directly
aected by the ambient temperature. An excessively hot ambient
temperature may prevent the spa from cooling down because it’s
fully insulated construction is designed to retain heat and minimize
operating costs.
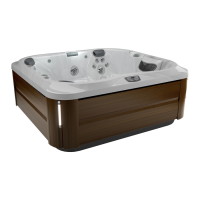
Panel Displays COOL
Cool Condition - Temperature has dropped 11°C (20°F) below the
current set temperature. The circulation pump and the heater
have been activated to bring the temperature within 8°C (15°F)
of the set temperature. No corrective action is required!
Note: This condition is common during rst time ll ups or dur-
ing rells since tap water is often very cold.
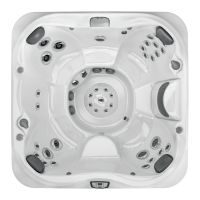
Panel Displays ICE
Freeze Protection - A potential freeze condition has been de-
tected. No action is required. Water temperature is below ~ 13°C
(55°F). Jets Pump 1, Jets Pump 2 and the circulation pump will
activate for 10 minutes, then turn o. Then the circulation pump
and the heater will activate for 10 minutes. The two cycles shall
repeat until the water temperature reaches ~ 18,5°C (65°F). See
“Winterizing”.
Panel Displays SN--1
Open sensor (heater is disabled) or shorted sensor (spa is de-
activated). The high-limit temperature sensor is not function-
ing. Contact your authorized Jacuzzi dealer or qualied service
technician. The display will alternate between “SN--1”, scrolling
message “HI-LIMIT SENSOR ERROR” and the current water tem-
perature.