57
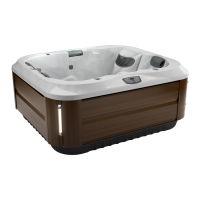
J-300
17.4 Electronic Device Connections and Functions
IMPORTANT:
• If stereo unit is “ON” (blue light is illuminated on the stereo power
button) then press the power button on the remote once.
• If stereo unit is in “Standby” (red light is illuminated on the stereo
power button) then press the power button on the remote once
to activate the remote (remote LCD display will read “NO LINK”).
Press the button again to activate the stereo unit (remote LCD
display will read “WELCOME”).
A. Operating the Radio:
1. Turn power “ON” to the stereo unit. Press the power
button on the remote.
2. The LCD screen on the remote will display the following:
“Welcome,” “Load,” “Radio” and the station number, Figure A.
3. You can use the seek button to search for frequencies.
4. You can save up to 3 stations as presets. Follow the steps below to
set a station:
a. Find a station you want to save.
b. Press and hold one of the three preset buttons. The station
preset number (1, 2 or 3) on the display will quickly ash to
conrm the setting. To set the additional two stations, conduct
this step again.
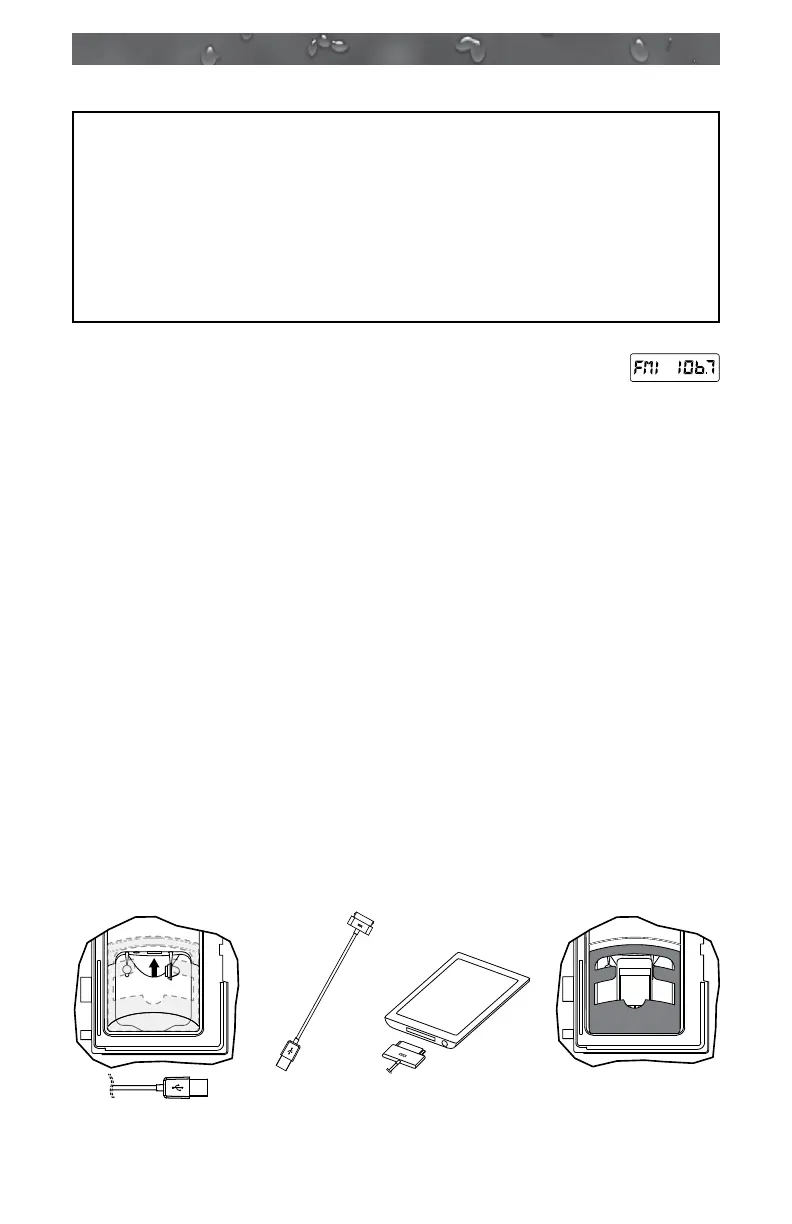
B. Connecting Your Apple Device and MP3 Player Using the USB:
1. Locate the USB port in the stereo locker (Figure B).
2. Locate the 30-pin cable provided for compatible devices (Figure C)
or a cable provided with your device.
3. Connect the USB end of the cable into the USB connection on
stereo.
4. Connect the 30-pin end of the cable to the Apple device/MP3 Player
(purchased separately), Figure D.
5. After connecting the cable to both devices, set the player into the
rubber holding base, Figure E.
Note: This also charges most compatible Apple devices when
connected.
Figure A
USB
AUX
USB
AUX
ACCESSORY CONNECTED
Figure B
Figure C
Figure D
(device purchased
separately)
Figure E