10
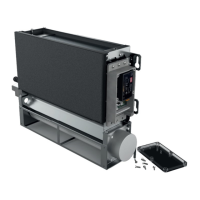
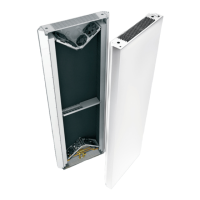
Remove the screws above and below the unit. Remove the enclosure.
04
03
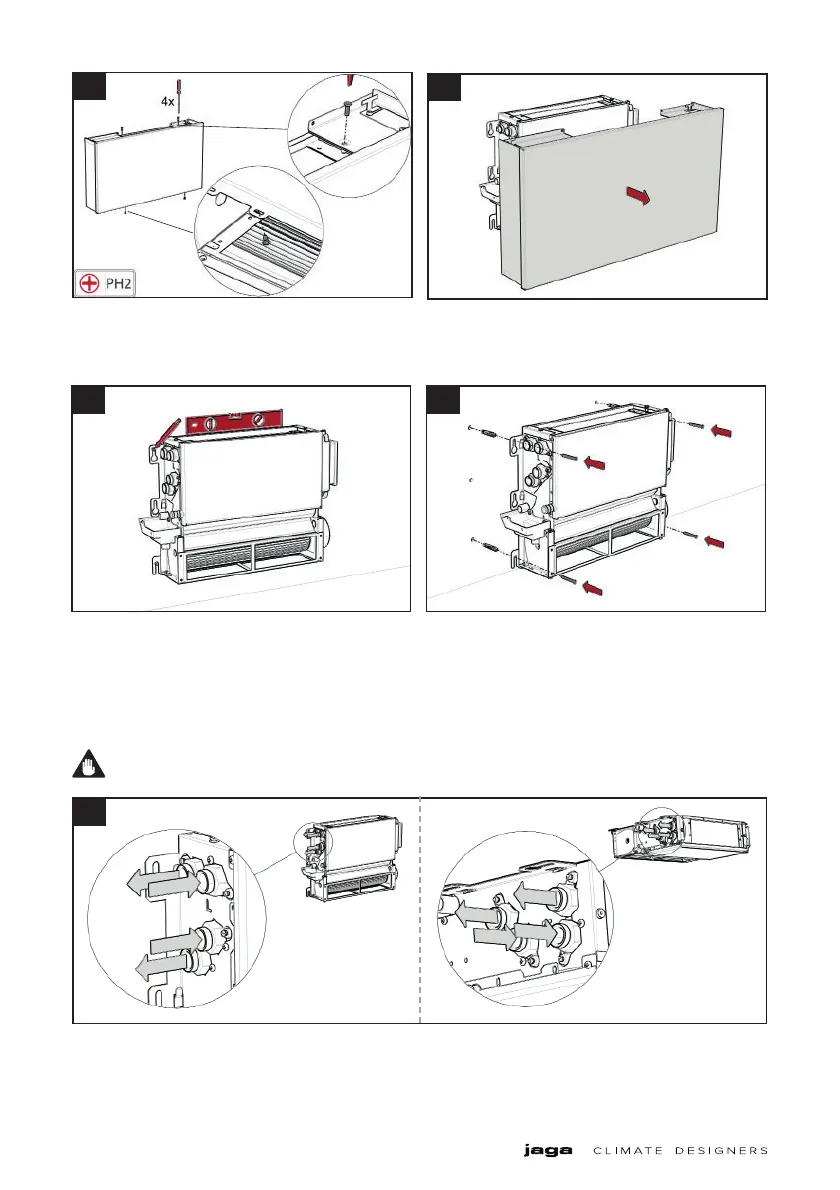
Connect the unit to the hydraulic system with the indicated inlet/outlet connections. Make sure the connections are air tight with a sealant.
– all coils (including the secondary coil) are equipped with an air vent near the top connection and a water drain near the lower connec-
tion.
– it is recommended to bleed air from the coil before operation.
The type of wall determines what type of screw or plug should be
used.
For installation on drywall: make sure that the mounting holes line
up with supporting studs.
Mark the screw holes, use the unit as a template or according to
the dimensions specified on page 8 and 10 in this guide.
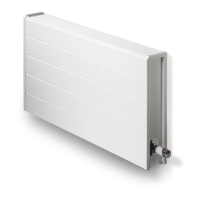
9.1. HYDRAULIC CONNECTION
The hydraulic connections must be carried out by qualified staff.
Wall
Ceiling
07
0605
 Loading...