Page 7Jandy
®
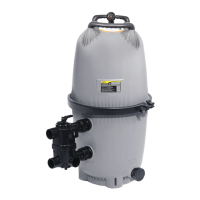
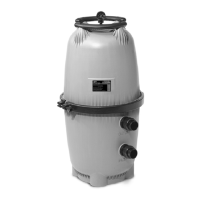
Filters
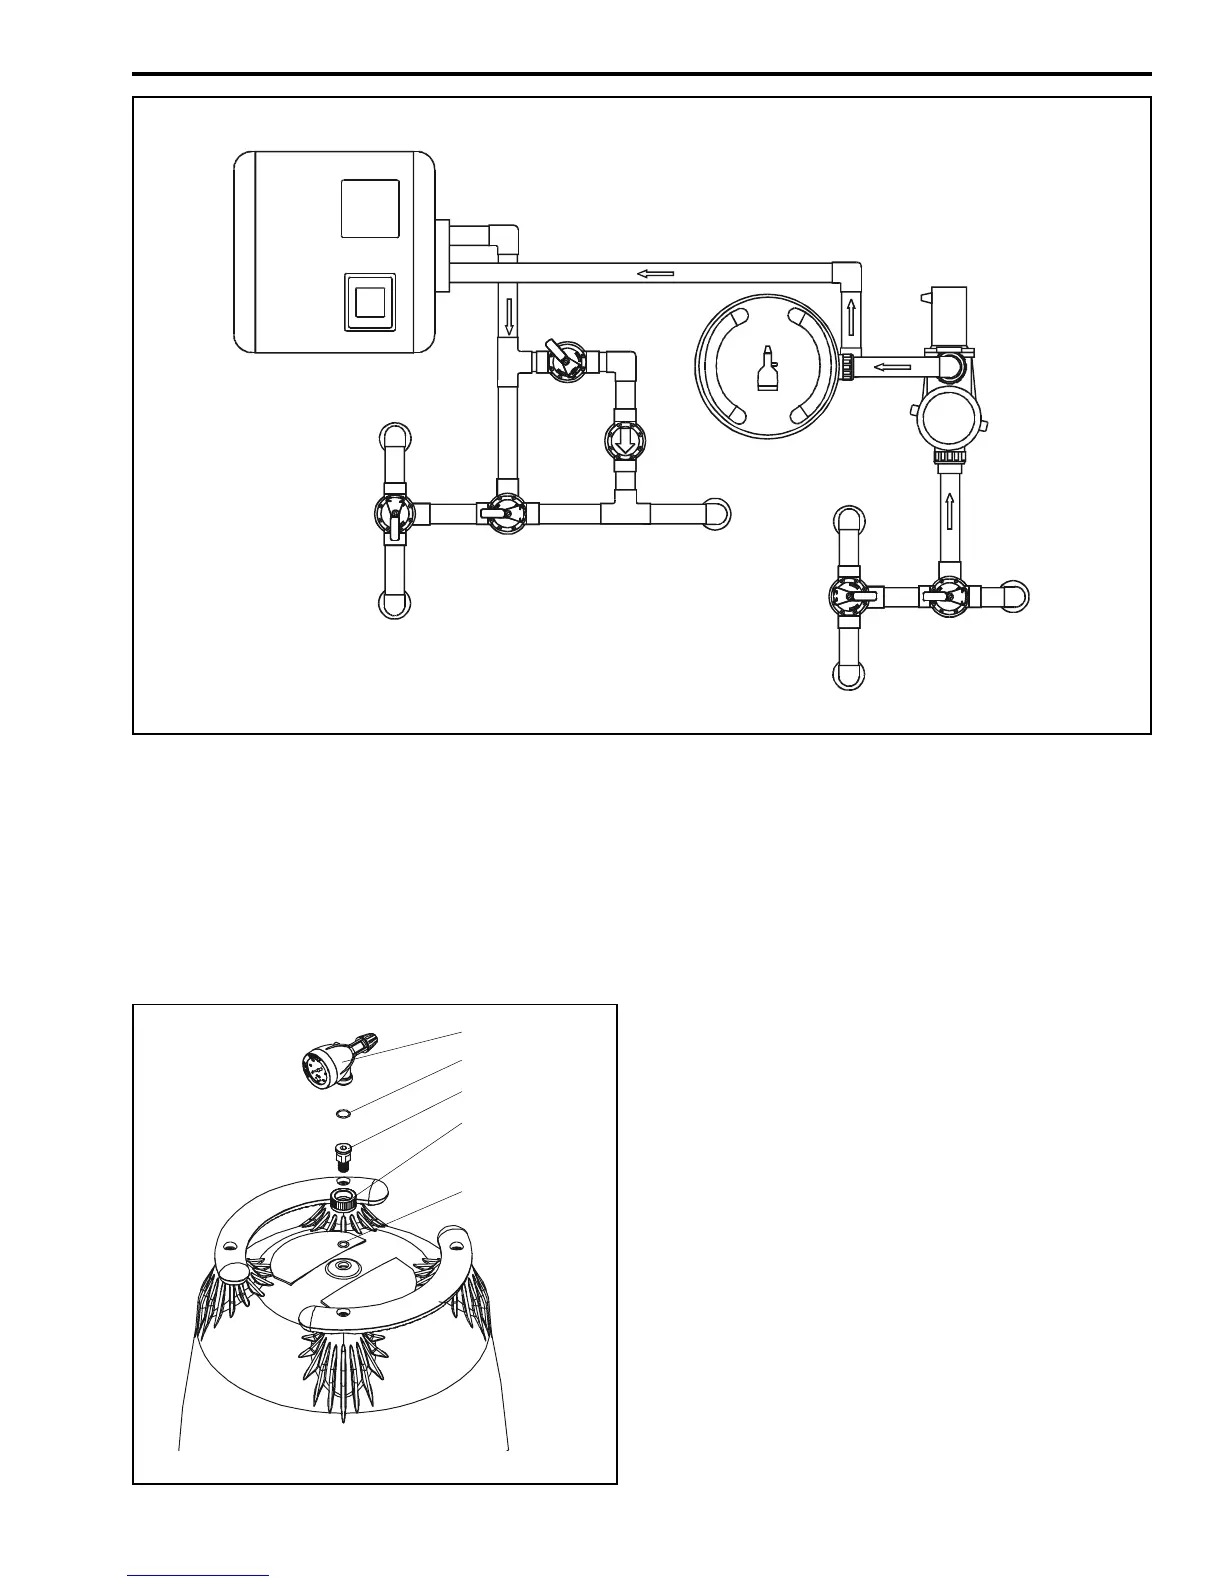
c. Orient the gauge/air release assembly in the
desired position. Raise and thread the locknut
onto the bottom of the gauge/air release assembly.
Hand tighten the nut only. Using a wrench to
tighten the nut may damage the nut, gauge or
air release assembly.
Figure 3. Basic Pool/Spa Combination Plumbing
Laars Heater
Waterfall
Pool Return
Spa Make Up
Spa Return
From Pool Skimmer
From Pool
Drain
Spa Suction
Jandy Pump
Jandy
Check
Valve
Outlet
Port
Inlet
Port
Figure 4. Filter Location
Housing
O-Ring
O-Ring
Tank Adapter
Tank Adapter
to Housing
Coupler
5. To reduce pressure losses, 2" (minimum) piping is
recommended for plumbing the system.
6. For best efficiency use the fewest possible number of
fittings. This will prevent a restriction in the water flow.
7. Make all plumbing connections in accordance with
local plumbing and building codes. Filter connections
are provided with an o-ring seal. To avoid damage to
the o-rings, use only a silicone base lubricant on the
o-rings. Do not use pipe joint compound, glue or
solvent on inlet/outlet coupling nuts.
8. Keep piping tight and free of leaks. Pump suction
line leaks may cause air to be entrapped in filter
tank or loss of prime at the pump. Pump discharge line
leaks may show up as dampness or jets of water.
9. Support the inlet/outlet pipes independently to
prevent any undue strains on the filter MPV.
10. Connect the pipes using the unions supplied with
the MPV. Do not use teflon tape or pipe dope on any
unions. Assemble the unions dry and hand tighten.
11. Be sure that all provisions for waste water disposal
meet local, state or national codes. One hundred
gallons or more of pool water will be discharged during
filter backwashing. Do not discharge water where it
will cause flooding or damage.
Jandy Filter
 Loading...