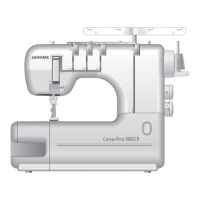
Do you have a question about the Janome CoverPro 3000 PROFESSIONAL and is the answer not in the manual?
Steps to remove and attach the face cover.
Steps to remove and attach the top cover.
Steps to remove and attach the belt cover.
Steps to remove and attach the free arm cover.
Steps to remove and attach the looper cover.
Steps to remove and attach the base plate.
Steps to remove and attach the front cover.
Steps to remove and attach the rear cover.
Adjusts the distance between the presser foot and needle plate.
Adjusts the pressure of the presser foot.
Adjusts the distance between the needle point and needle plate.
Adjusts the height of the feed dog relative to the needle plate.
Adjusts the height of the looper tip.
Adjusts the distance between the looper tip and right needle center.
Sets the timing for the looper meeting the needle.
Sets the clearance between the looper tip and needle scarf.
Sets the height of the rear needle guard.
Sets the timing of the needle relative to the feed dogs.
Adjusts the stitch length for sewing.
Adjusts the differential feed ratio of the feed dogs.
Adjusts thread tension for different threads and needles.
Instructions for replacing the motor and adjusting belt tension.
Adjusts the distance of the thread take-up lever's U-shape.
Steps for replacing the needle threader and adjusting hook positions.
Adjusts the needle threader switch lever for horizontal positions.
Instructions for removing and attaching the top cover stitch mechanism unit.
Adjusts the TC thread guide position relative to the needle bar thread guide.
Adjusts clearance between TC thread guide and spreader.
Adjusts spreader height and clearance with the left needle.
Adjusts spreader and TC thread guide positions and clearance.
Adjusts spreader and left needle timing clearance.
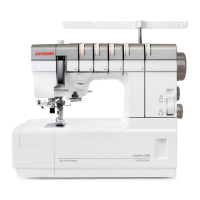
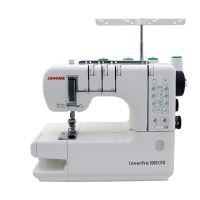
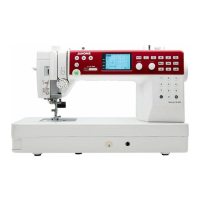
Visual representation of machine parts with key numbers.
| Type | Coverstitch |
|---|---|
| Stitch Length | 1-4 mm |
| Maximum Sewing Speed | 1, 000 stitches per minute |
| Differential Feed | Yes |
| Free Arm | Yes |
| Thread Tension | Manual |
| Stitch Types | Coverstitch |
| Power Requirements | 110V, 60Hz |