Introduction to Digitizer MBX
Viewing the working area
A new function to view the design area on the screen is to use the
scroll button on the mouse to zoom in and out. To view a different
area on the screen without zooming click View > Pan or press the
letter P on the keyboard > a little hand will appear that will let you
move the screen where you want.
To turn the Pan function off, press
the letter P on the keyboard again!
A quick way to see everything in the
hoop is to press the “?” question
mark key on the keyboard.
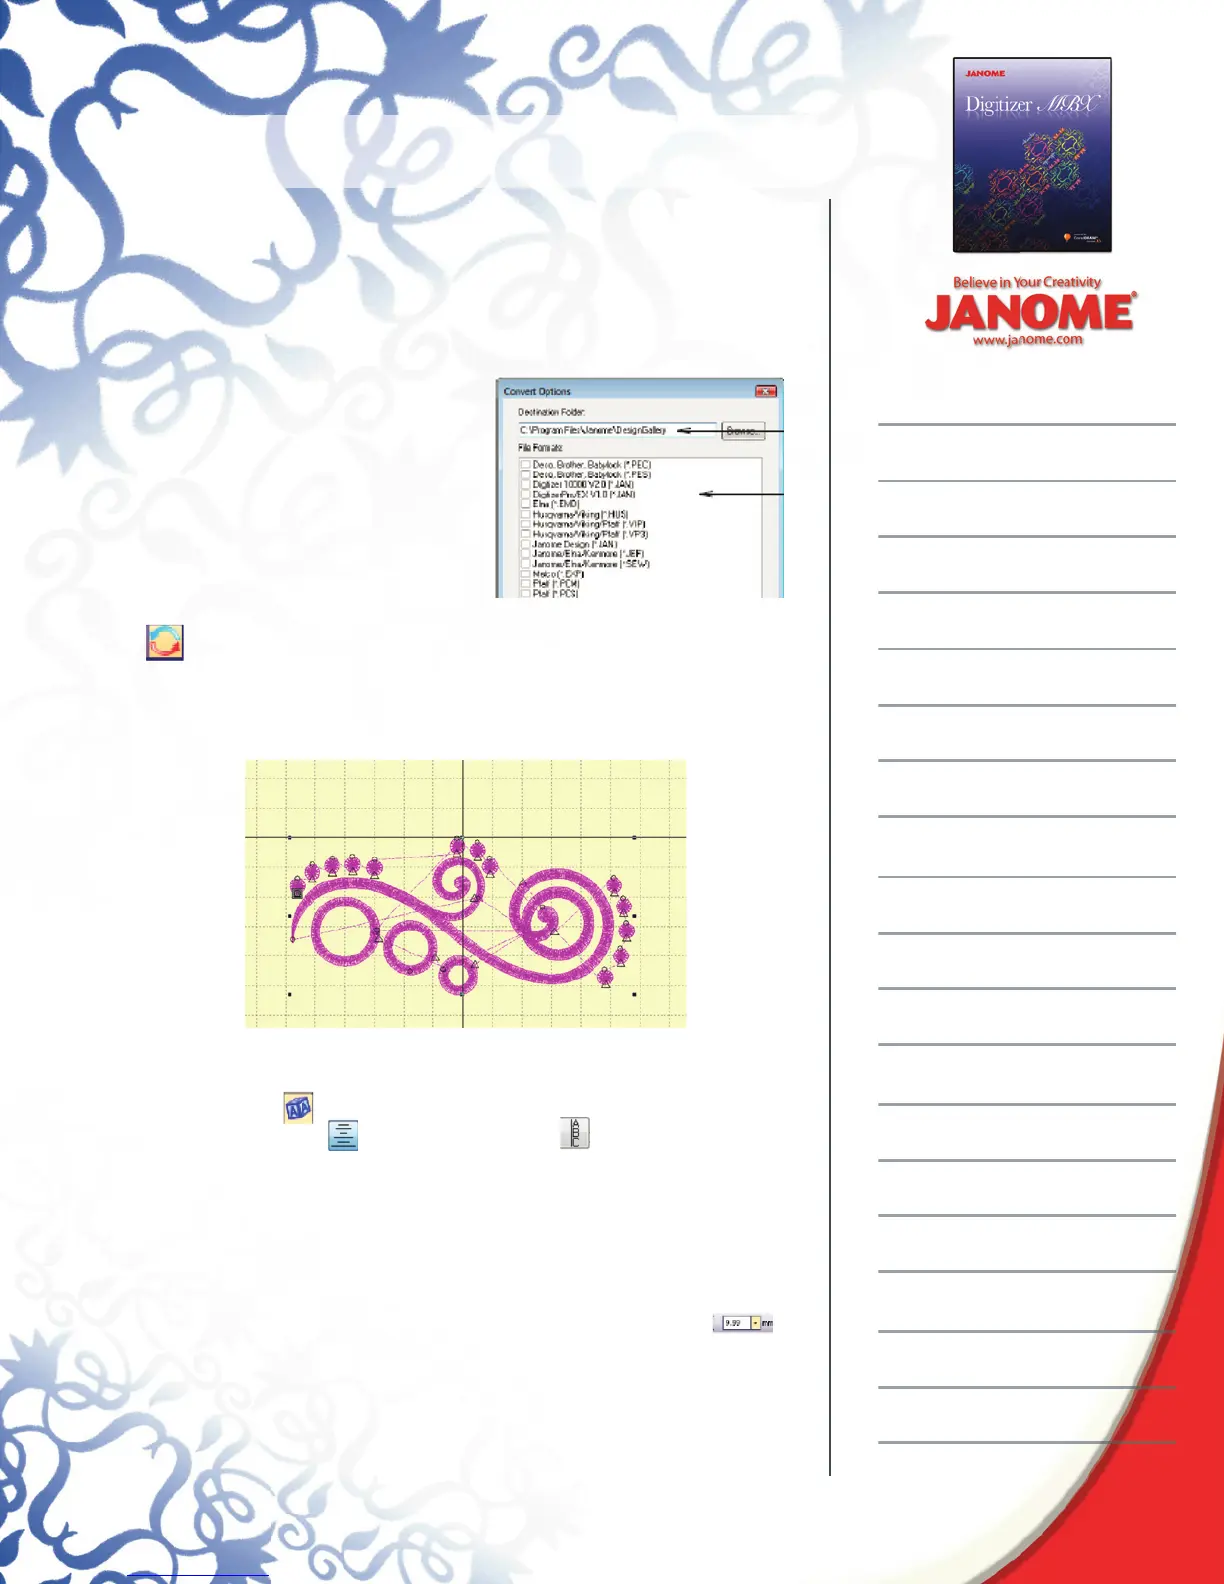
Design Rotation
Right click 2 times on the Rotate tool to turn the design
clockwise 90 °.
Move the design do that it is just below the horizontal center line in
the hoop.
Adding Lettering
Deselect the design by clicking anywhere in the hoop off the design.
Click Lettering > Font, Arnold > type CREATE all upper case >
Center Justifi cation > Orientation Vertical > Size 1”, if the
computer is set for metric measurement, type in 1in > OK
Click on the left end of the center horizontal center mark and the
word will appear in the hoop, if the design needs to be repositioned
drag it into position.
To change the size, type the new size into the Font size box .
If the computer says 1” – type in 30mm, Digitizer will automatically
convert the measurement into inches…if the computer shows 26
Right click 2 times on the Rotate tool to turn the design
Deselect the design by clicking anywhere in the hoop off the design.
Click Lettering > Font, Arnold > type CREATE all upper case >
Click Lettering > Font, Arnold > type CREATE all upper case >
Center Justifi cation > Orientation Vertical > Size 1”, if the
Click Lettering > Font, Arnold > type CREATE all upper case >
Center Justifi cation > Orientation Vertical > Size 1”, if the
To change the size, type the new size into the Font size box .
 Loading...