9
q
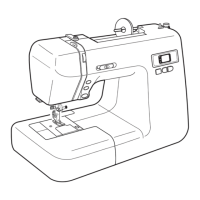
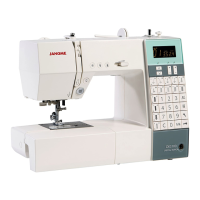
LCD Display
The LCD display shows following information when the
machine is turned on.
q Identication letter of the recommended foot
w Stitch pattern number
e Stitch width
r Stitch length
w
e r
Function Keys
Mode selection
When the power switch is turned on, the pattern selection
mode 1 (mode 1) is set automatically.
Each time you press the mode key q, the green light e
will shift and the mode w will change from 1 to Á.
Stitch numbers and their images on the each mode are
shown on the stitch chart.
q Mode key
w Mode
e Green light
NOTE:
The 3 green lights will be lit at the same time when
the mode Á is selected.
q
e
w
Selecting the Stitch Patterns
To select the desired stitch pattern, press the mode key
q to select the desired mode, then press the arrow keys
(r and t) until the pattern number of the desired stitch
is indicated.
To change the rst digit y of the stitch pattern number,
press the arrow keys r under the rst digit of the pattern
number.
To change the second digit u of the stitch pattern
number, press the arrow keys t under the second digit
of the pattern number.
r Arrow keys (rst digit)
t Arrow keys (second digit)
y First digit
u Second digit
Direct pattern selection
You can select stitch patterns 00, 07, 10 and 20 in mode
1 directly by pressing the corresponding direct pattern
selection key i.
The stitch image of stitch pattern are indicated on each
key.
t r
u y
i
q
 Loading...