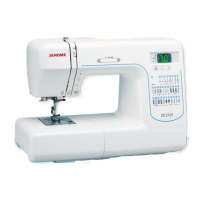
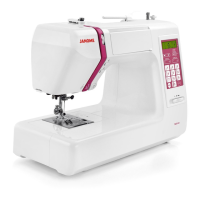
Do you have a question about the Janome DC1050 and is the answer not in the manual?
Instructions for removing and attaching the face cover of the sewing machine.
Instructions for removing and attaching the free-arm cover of the sewing machine.
Instructions for removing and attaching the front cover of the sewing machine.
Instructions for removing and attaching the rear cover of the sewing machine.
Procedure to adjust the distance between the presser foot and the needle plate to 6.0 mm.
Procedure to set the needle drop position at the center of the needle plate hole.
Procedure to align the hook tip with the needle for optimal timing.
Steps for removing and replacing the sewing machine hook due to damage or wear.
Procedure to adjust needle bar height based on hook timing and needle eye position.
How to set the clearance between the needle and hook tip to -0.1 to +0.05 mm.
Adjusting the highest position of the feed dog to be between 0.80 and 0.90 mm.
How to set and adjust the top thread tension for optimal sewing.
Diagram showing connections to Printed Circuit Board A and its components.
Procedure and steps for performing a self-diagnostic test on the sewing machine.
Instructions for removing and attaching Circuit Board-A (1).
Steps for removing and attaching the driving motor and adjusting belt tension.
Instructions for removing and attaching the switching regulator unit.
Procedures for adjusting the buttonhole lever guide and sensor position.
| Stitch Options | 50 |
|---|---|
| Number of Stitches | 50 |
| Maximum Stitch Width | 7mm |
| Maximum Stitch Length | 5mm |
| Needle Threader | Yes |
| Drop Feed | Yes |
| LCD Screen | Yes |
| Sewing Speed | 820 stitches per minute |
| Built-in Stitches | 50 |
| Speed Control | Yes |
| Free Arm | Yes |
| Type | Computerized Sewing Machine |
| Bobbin Type | Top drop-in |