6
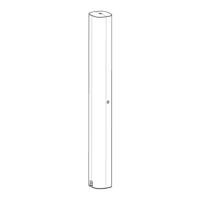
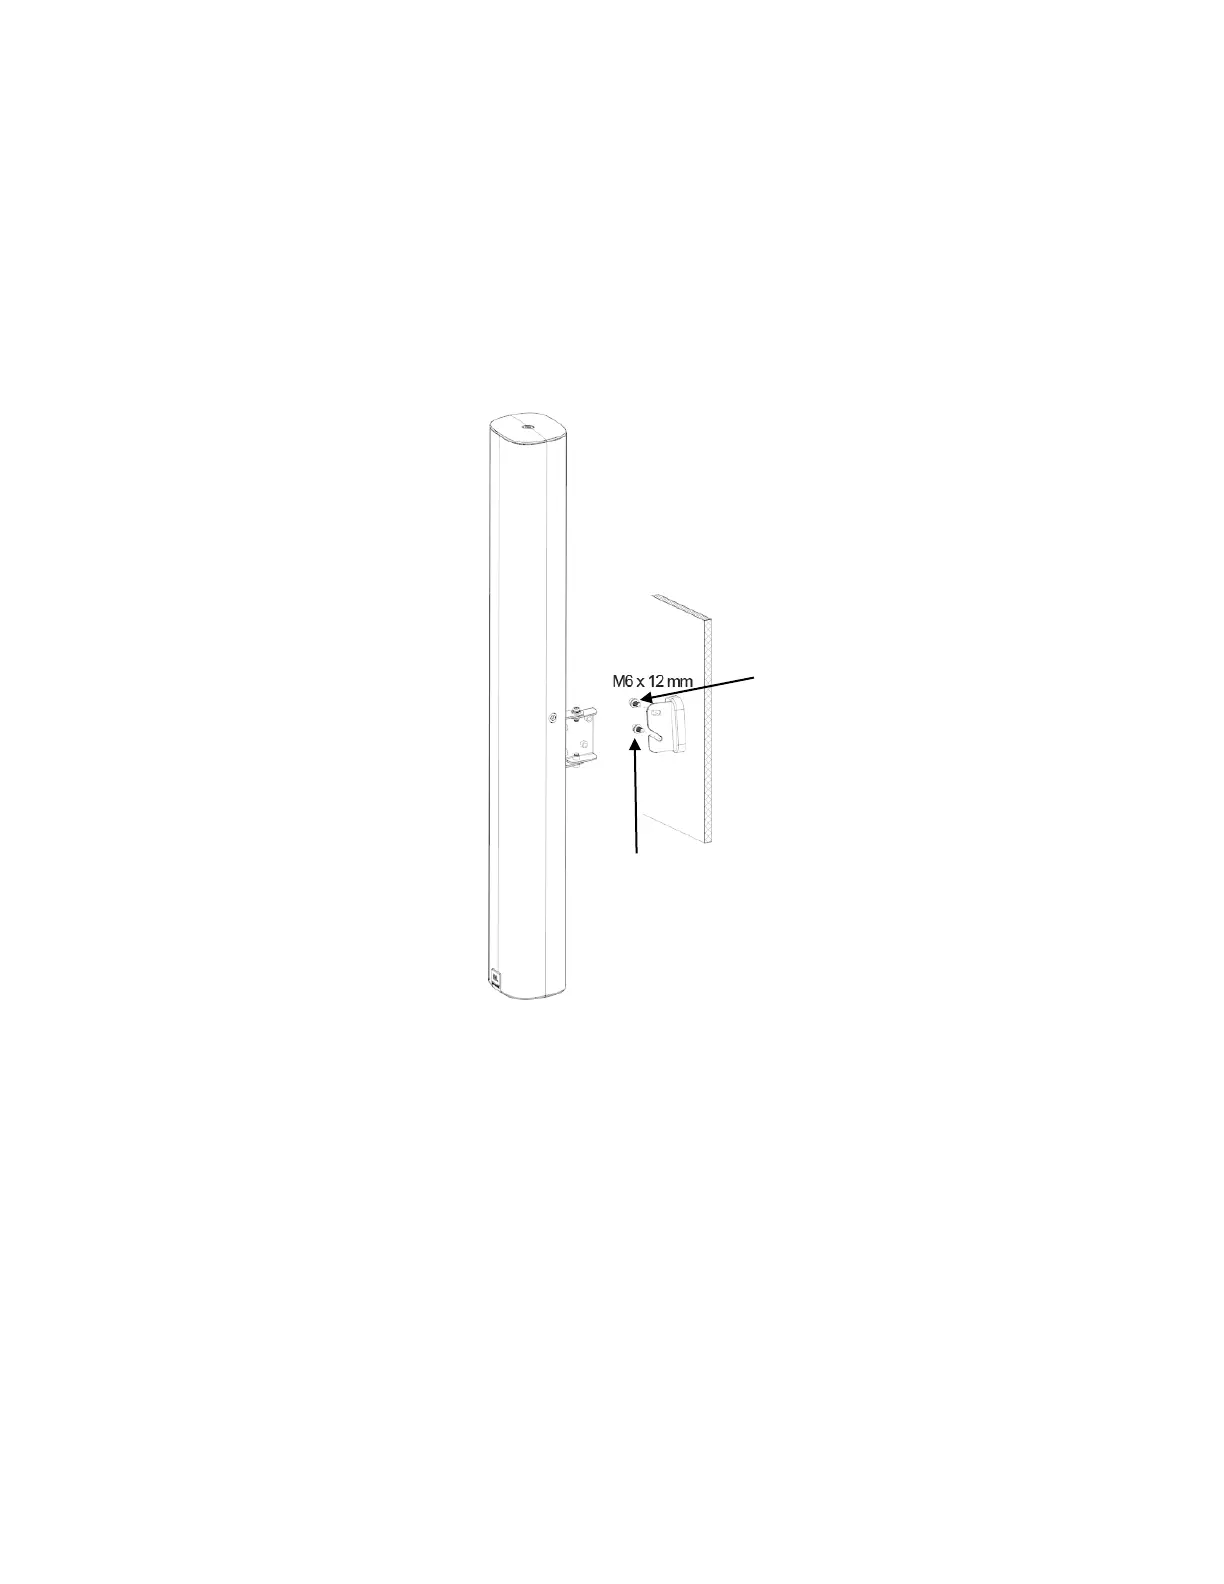
3.0) Connecting SPEAKER-SIDE BRACKET to WALL-SIDE BRACKET to form SWIVEL/TILT BRACKET ASSEMBLY:
3.1) After sliding TRIM COVER onto WALL-SIDE BRACKET, loosely thread one of the M6 x 12 mm bolts (with flat washer and
lock washer) into the bottom PIVOT hole of the SPEAKER-SIDE BRACKET. This bolt becomes the PIVOT BOLT.
3.2) Slide COL speaker (with SPEAKER-SIDE BRACKET attached) onto the WALL-SIDE BRACKET, sliding the PIVOT BOLT into the
HOOK SLOT of the WALL-SIDE BRACKET. Make sure the flat washer and lock washer are on the same side of the WALL-SIDE
BRACKET as the bolt’s head (and aren’t caught between the two brackets).
3.3) After the column is being held in place by the PIVOT BOLT, insert the other M6 x 12 mm bolt (with flat washer and lock
washer) through the TILT-SET SLOT and thread it into the press-fit nut that’s part of the SPEAKER-SIDE BRACKET.
3.4) With both bolts now engaged, tighten them. [Recommended torque 3.5 N
•
m [
+0.5/-0]
(2.6 ft-lb [
+0.4/-0]
).
3.5) To set a down-tilt aiming angle, loosen both bolts slightly, adjust the tilt of the speaker, and re-tighten the bolts.
3.6) To set the swivel (pan), loosen the bolts at the top and bottom of the SWIVEL JOINT, set the swivel (pan), and re-tighten
the bolts.
PIVOT BOLT
(with flat washer and lock washer)
TILT ADJUSTMENT BOLT
(with flat washer and lock washer)
 Loading...