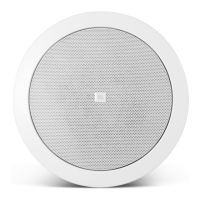
Step 6
-Insert
the Speaker Into the Ceiling and Tighten.
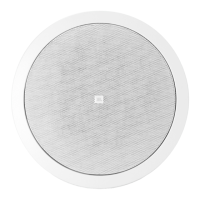
Insert the speaker into the ceiling as far as it goes, until the front baffle rim touches the
ceiling.
•
.
.
.
.
.
Figure 16:
Inserting Speaker
Into Ceiling
Turn the attachment screws to tighten the mounting tabs, by using the following directions:
IMPORTANT-- For each attachme
nt
screw, FIRST
tum
'iS
tum
COUNTER-CLOCKWISE
to release the mounting tab from its guide.
Then tighten the mounting tabs by turning the screw CLOCKWISE until tight. The first
'l4
clockwise turn rotates the attachment tabs outward and the remaining turns tighten the tabs
down onto the back
of
the ceiling surface. DO NOT OVERTIGHTEN.
Figure 17:
Tightening Mounting Tabs
Table
3:
Number
of
Attachment
Screws,
by
Model
13