Do you have a question about the JBL Control 24C/CT Micro and is the answer not in the manual?
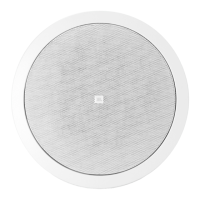
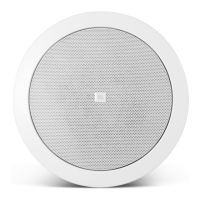
Details the Control 24C Micro, its woofer, tweeter, and suitability for small ceiling spaces.
Describes the Control 24CT Micro with a multitap transformer rated at 9 Watts for 70V/100V systems.
Explains the Control 24CT MicroPlus with a 25 Watt transformer for 70V/100V line distribution systems.
Details optional brackets like New-Construction and Plaster-Ring for specific installation needs.
Explains using the included C-bracket for sheetrock and the cutout size for installation.
Instructions for cutting the correct size hole in the ceiling for speaker installation.
Guidance on inserting the C-plate and tile rails for suspended and non-suspended ceilings.
Procedure for connecting wires to the speaker's input terminal block.
Details on using cable ties, metal straps, and PEM screws for strain relief.
Instructions for inserting the speaker into the ceiling and tightening mounting tabs.
Guidance on connecting a secondary support line to the seismic tab if required.
Procedure for securely seating the speaker grille into place.
Recommendations for paint types and the process for painting speaker rims and grilles.
Step-by-step instructions for attaching the connector cover for conduit and protection.
| Type | Ceiling Speaker |
|---|---|
| Nominal Impedance | 8 ohms |
| Low Frequency Driver Size | 4 inches |
| High Frequency Driver Size | 0.75 inches |
| Driver Size | 4 inches |
| Grille | White, paintable |