THANK YOU FOR CHOOSING THIS JBL
e
PRODUCT
This product has been designed
to
deliver
great bass performance from a compact,
easily installed enclosure. To get the
best performance
from your
enclosure,
we strongly
recommend that you entrust
installation
to a
qualified professional. Although these instructions
explain
how
to
install your
enclosure
in
a
general
sense, they
do
not show specific installation
methods that may be required
for
your
particular vehicle.
If
you
do
not
have the necessary
tools
or
experience,
do
not attempt the
installation yourself. Instead, please
ask your authorized
JB
L • car
audio
dealer
about professional
installation.
To
help
us serve you better if your
enclosure
ever requires warranty service,
please
retain your
original sales
receipt and
serial number.
INSTALLATION WARNINGS
AND
TIPS
INSTALLATION TIPS
• Always wear protective eyewear when using
tools.
• Turn off
all
audio components and other
electrical
devices before you start. Disconnect the negative
(-
)
lead
from your
vehicl
e's
battery.
•
Check
clearances
on both sides
of
a
planned
mounting surface. Be sure that screws
or
wires
will
not
puncture brake
lines, fuel lines
or
wiring harnesses, and that wire routing
will
not interfere with the safe operation of the vehicle.
•
When making
electrical
connections, make sure they are secure and
properly insulated.
•
Before
drilling
or
cutting
holes,
use a
utility
knife
to
remove unwanted fabric or vinyl,
to
keep
material
from snagging in
a
drill bit
or
s
aw
.
•
Do not mount speakers where they
will
get wet.
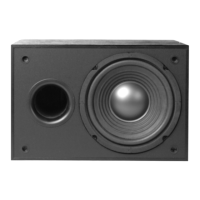
CHOOSING
A
MOUNTING LOCATION FOR
THE
ENCLOSURE
Choose a mounting location that doesn't interfere with cargo, the
fold-down
rear seat
or
the trunk lid.
The best
location
is
usually
a corner
of the trunk
or
cargo area.
Securely
mount the
enclosure
to
the mounting surface.
WARNING:
Playing loud music
in
an
automobile
can permanently damage your hearing as
well
as
hinder your
ability
to
hear traffic.
Listening at
low levels while
driving is recommended. HARMAN
International
accepts no
liabi
li
ty
for hearing
loss, bodily
in
jury
or
property
damage
resulting
from use
or
misuse of this product.
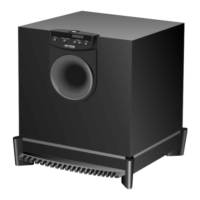
CONNECTING
THE
SUBWOOFER ENCLOSURE
Setting the
Impedance
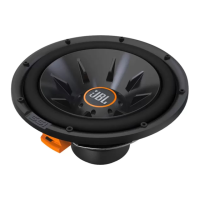
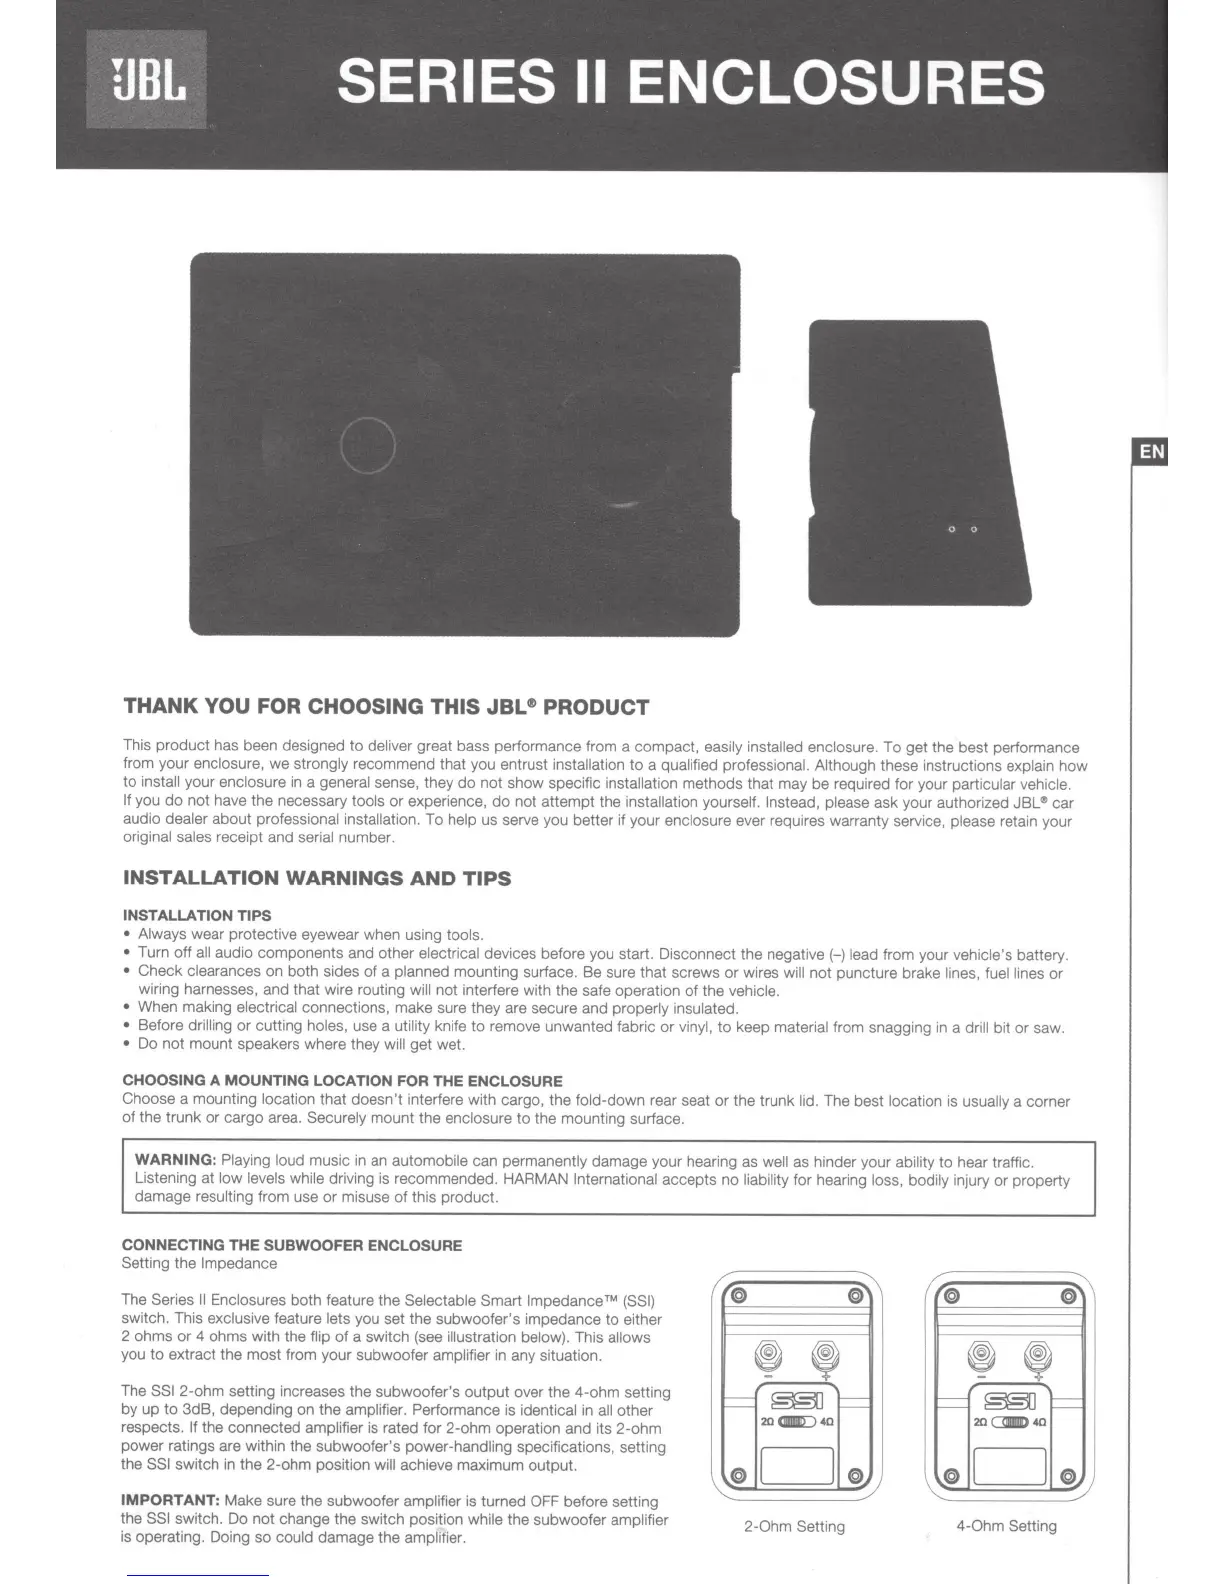
The Series
II
Enclosures
both feature the
Selectable Smart lmpedanceTM
(SSI)
switch. This
exclusive
feature lets
you set the subwoofer's impedance
to
either
2 ohms or 4 ohms with the
flip
of
a switch (see
illustration below).
This
allows
you
to
extract the most from your subwoofer
amplifier
in
any situation.
The
SSI
2-ohm setting increases the subwoofer's output over the 4-ohm setting
by up
to
3dB, depending on the amplifier. Performance
is
identical
in
all
other
respects.
If
the connected
amplifier
is rated for 2-ohm operation and its 2-ohm
power ratings are within the subwoofer's power-handling specifications, setting
the
SSI
switch
in
the 2-ohm position will
achieve maximum output.
IMPORTANT:
Make sure the subwoofer
amplifier
is turned
OFF
before setting
the
SSI
switch. Do not change the switch position while
the subwoofer
amplifier
is
operating. Doing so
could
damage the
amplitier.
@
@
~
'
==
~
~
20
<Ill[)
40
@
D
@
2-0hm
Setting
@
@~
~
'
==
~
~
20
c.>
40
@
D
@
4-
0hm
Setting
 Loading...