Repeat steps 1-5 (and possibly 8 and 7) until the fiber appears clean. If you repeat this
procedure three times and the fiber still appears dirty, throw out the fiber as it is likely
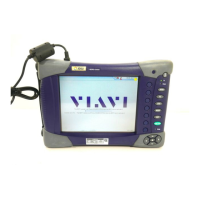
2 Setup for Testing an Optical Link with the HST-3000
This section describes setup and testing when the location in the field is an optical drop.
The first step is turning the unit on and then
hitting the
home key. Then select the Eth
tab and select option 1 1G Terminate.
The unit will now boot up. Make sure to insert the proper SFP into the R/T 1 slot (top
left of the unit). The proper SFP will be either a 1310nm or 850nm optical SFP
depending on the handoff.
The next step is to select Layer 2 Traffic as your Test selection.
Now press the configure button on the tester.
Then select
RFC 2544 Mode = Disable and
and depending on the network
On or Off (most likely this will be set to
home key.
Now select the Action tab and then select Laser
On
.
You should see the screen turn green. If not,
select the
display key and then select the
result pane. Then select the restart

 Loading...