Fig.1.Fig.1.
Fig.1.Fig.1.
Fig.1.
AA
AA
A
4. SERVICE.4. SERVICE.
4. SERVICE.4. SERVICE.
4. SERVICE.
InstInst
InstInst
Inst
allation and stallation and st
allation and stallation and st
allation and st
artart
artart
art
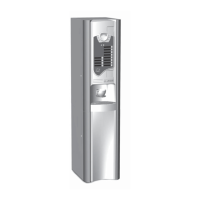
Xplore 400/600W/WCO2Xplore 400/600W/WCO2
Xplore 400/600W/WCO2Xplore 400/600W/WCO2
Xplore 400/600W/WCO2
1.1.
1.1.
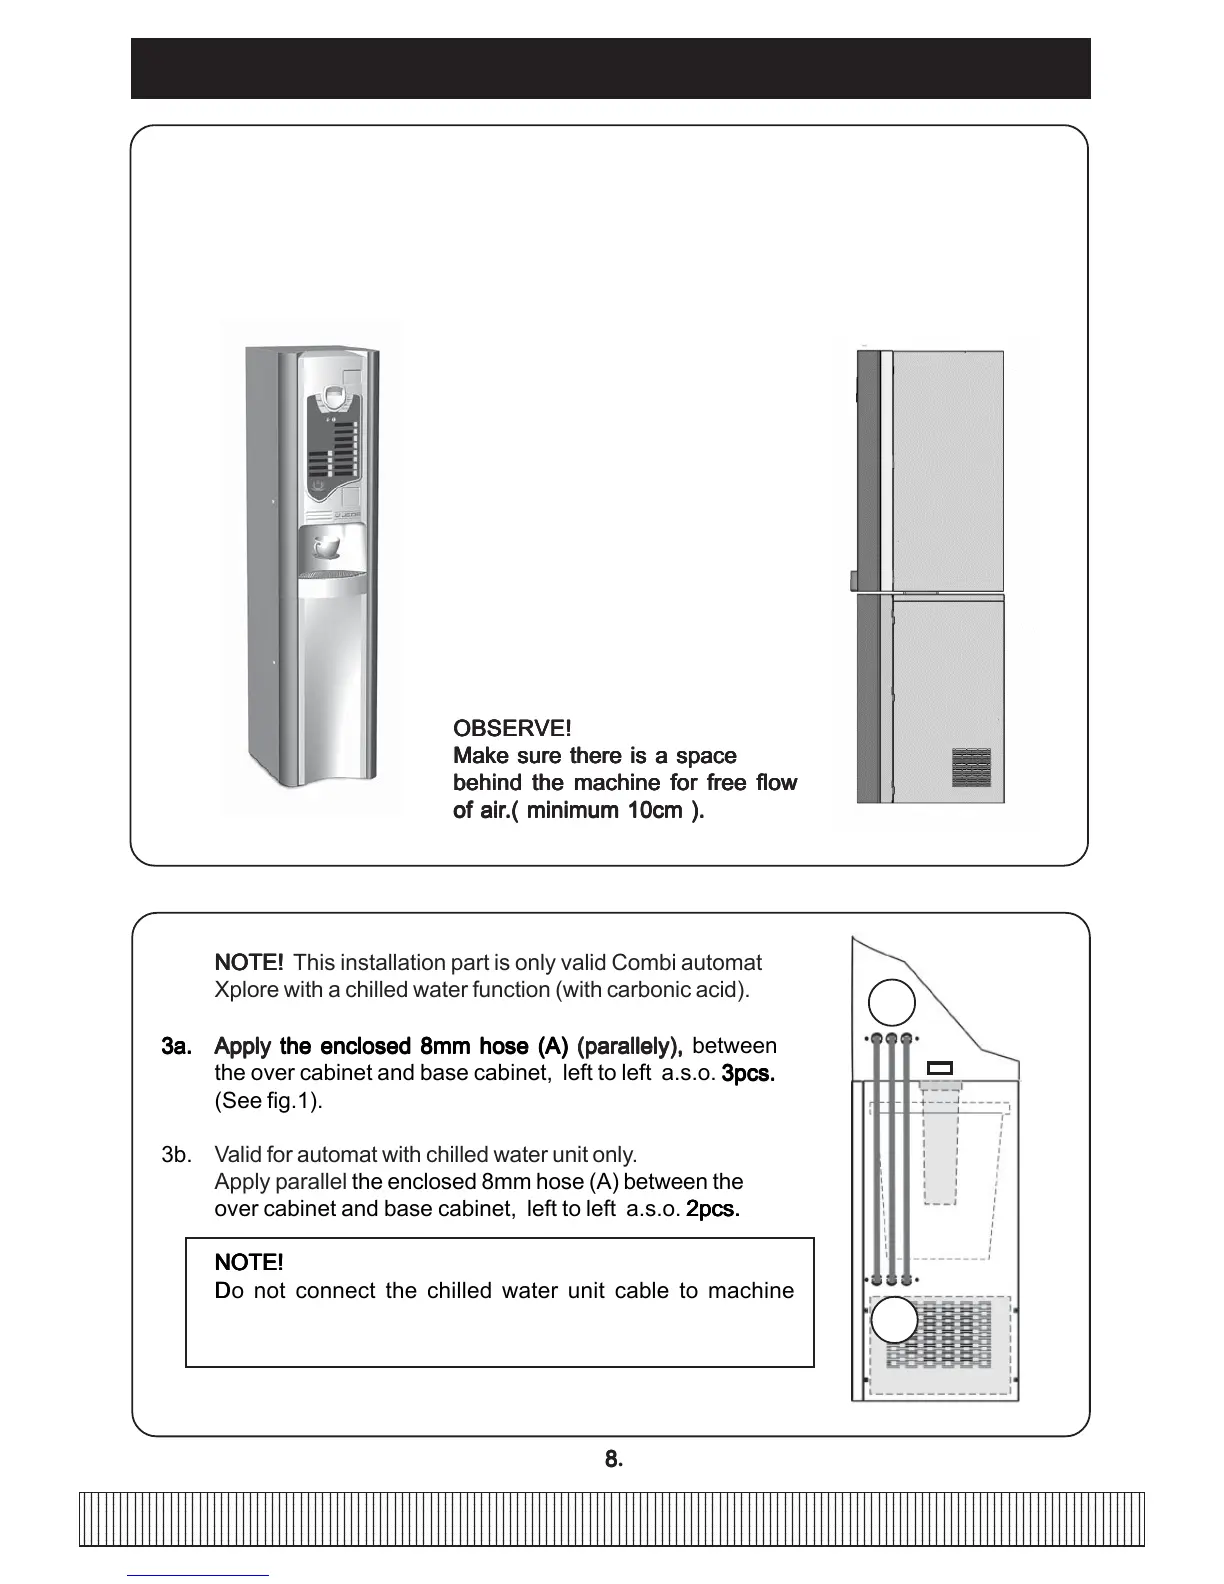
1. Locate the brewer on a flat
level and waterproof surface.
2.2.
2.2.
2. Assemble top cabinet and base cabinet with the enclosed screws M6 x 20.
ScrewScrew
ScrewScrew
Screw
M6 x 20M6 x 20
M6 x 20M6 x 20
M6 x 20
88
88
8.
OBSERVE!OBSERVE!
OBSERVE!OBSERVE!
OBSERVE!
Make sure there is a spaceMake sure there is a space
Make sure there is a spaceMake sure there is a space
Make sure there is a space
behind the machine for free flowbehind the machine for free flow
behind the machine for free flowbehind the machine for free flow
behind the machine for free flow
of airof air
of airof air
of air
.( minimum 10cm )..( minimum 10cm ).
.( minimum 10cm )..( minimum 10cm ).
.( minimum 10cm ).
NOTE! NOTE!
NOTE! NOTE!
NOTE! This installation part is only valid Combi automat
Xplore with a chilled water function (with carbonic acid).
3a.3a.
3a.3a.
3a.
Apply Apply
Apply Apply
Apply
the enclosed 8mm hose (A)the enclosed 8mm hose (A)
the enclosed 8mm hose (A)the enclosed 8mm hose (A)
the enclosed 8mm hose (A)
(parallely), (parallely),
(parallely), (parallely),
(parallely), between
the over cabinet and base cabinet, left to left a.s.o.
3pcs.3pcs.
3pcs.3pcs.
3pcs.
(See fig.1).
3b. Valid for automat with chilled water unit only.
Apply parallel the enclosed 8mm hose (A) between the
over cabinet and base cabinet, left to left a.s.o.
2pcs.2pcs.
2pcs.2pcs.
2pcs.
NOTE!NOTE!
NOTE!NOTE!
NOTE!
Do not connect the chilled water unit cable to machineDo not connect the chilled water unit cable to machine
Do not connect the chilled water unit cable to machineDo not connect the chilled water unit cable to machine
Do not connect the chilled water unit cable to machine
before machine is uppheated. (this will take approximately
10 minutes).
AA
AA
A