EasyManuals Logo

JEFF ROWLAND CONTINUUM 250 User Manual

JEFF ROWLAND CONTINUUM 250
27 pages
To Next Page IconTo Next Page
To Previous Page IconTo Previous Page
Page #22 background imageLoading...
Page #22 background image
© Jeff Rowland design gRoup 2009. all Rights ReseRved.
21
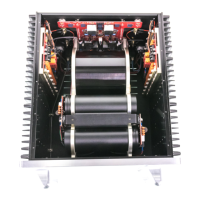
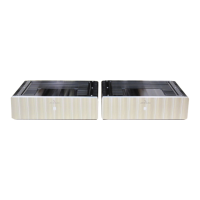
STEP 3: Locate jumper position
J2 on the rear panel board of the
unit. Using needle-nose pliers,
move the jumper
from between
pins 1 and 2 to pins 2 and 3,
DISPLAY BLANKING ON.
(See FIGURES 2 and 3)
STEP 4:
Replace the bottom
cover. Using a
Using a 5/64" hex
wrench, reinstall the nine
screws
that secure the bottom cover to
the chassis.
FIGURE 3: Jumpers J1-J2; Close-up of Display Blanking settings for the CONTINUUM
DISPLAY BLANKING OFF
(DEFAULT)
(DISPLAY BLANKING ON)
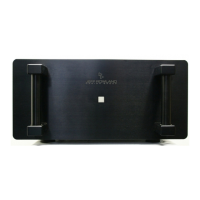
FIGURE 2: Location of jumpers on back of the rear panel
J1
J1
j2 j2
jUMPERS
DEFAULT POSITIONS SHOWN
1 2 3 1 2 3

Questions and Answers:

Question and Answer IconNeed help?

Do you have a question about the JEFF ROWLAND CONTINUUM 250 and is the answer not in the manual?

JEFF ROWLAND CONTINUUM 250 Specifications

General IconGeneral
BrandJEFF ROWLAND
ModelCONTINUUM 250
CategoryAmplifier
LanguageEnglish

Related product manuals