10
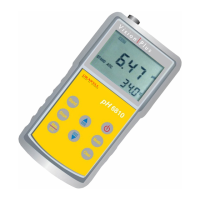
C. pH Measurements
To take pH measurements, “STAND” and “SLOPE” icon must be on,
indicating the unit is either dual-point or three-point calibrated and
ready for measurements. If “STAND” and “SLOPE” flash, perform a
pH calibration before taking measurements.
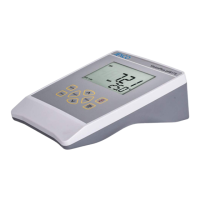
a. Measurement with an ATC/Temp probe in the pH-
AUTOLOCK mode.
1. Connect the pH electrode to the BNC connector and the
ATC/Temp probe to the ATC/Temp connector of the unit. The
“ATC” icon will lit up.
2. Press “Mode” key until “pH” icon and “AUTO” icon lit up.
3. Rinse the pH electrode and ATC/temp probe with distilled
water and immerse in the sample to be measured. Remove
any air bubbles trapped around the probe by shaking or
stirring the probe.
4. Press the “Mea.” key. The “WAIT” icon will start flashing. The
unit is waiting for a stable reading. The display will track the pH
value as sensed by the pH electrode and the ATC/Temp
probe.
5. When the “WAIT” icon disappears, the reading is then “HOLD”
and will not respond to further changes from the sample. The
pH value shown is the pH value of the sample at the displayed
sample temperature.
[Note: For samples that are inherently unstable, the unit will
not AUTOLOCK. In this case, use the pH NON- AUTOLOCK
mode for measurements.]
b. Measurement with manual temperature compensation in
the pH-AUTOLOCK mode.
1. Connect the pH electrode to the BNC connector of the unit.
The “MAN” icon will lit up. Set unit to display the sample
temperature by pressing the up and down keys(-10.0 to 120.0
℃).
2. Press “Mode” key until “pH” icon and “AUTO” icon lit up.
3. Rinse the pH electrode probe with distilled water and immerse
in the sample to be measured. Remove any air bubbles
trapped around the probe by shaking or stirring the probe.