J
Jeremy MyersAug 16, 2025
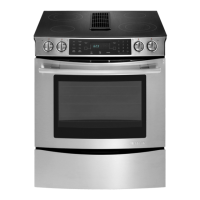
Why is my Jenn-Air JES9800BA oven not operating?
- CcalebhuangAug 16, 2025
Your Jenn-Air Ranges oven might not be operating due to a programming error. Try switching the circuit breaker off to the oven for five minutes and then try the oven again. A power outage could be the cause; verify that power is present at the unit and the circuit breaker is not tripped. Also, the unit may be in Sabbath mode; refer to the Use & Care manual to remove the unit from Sabbath mode.