EasyManua.ls Logo

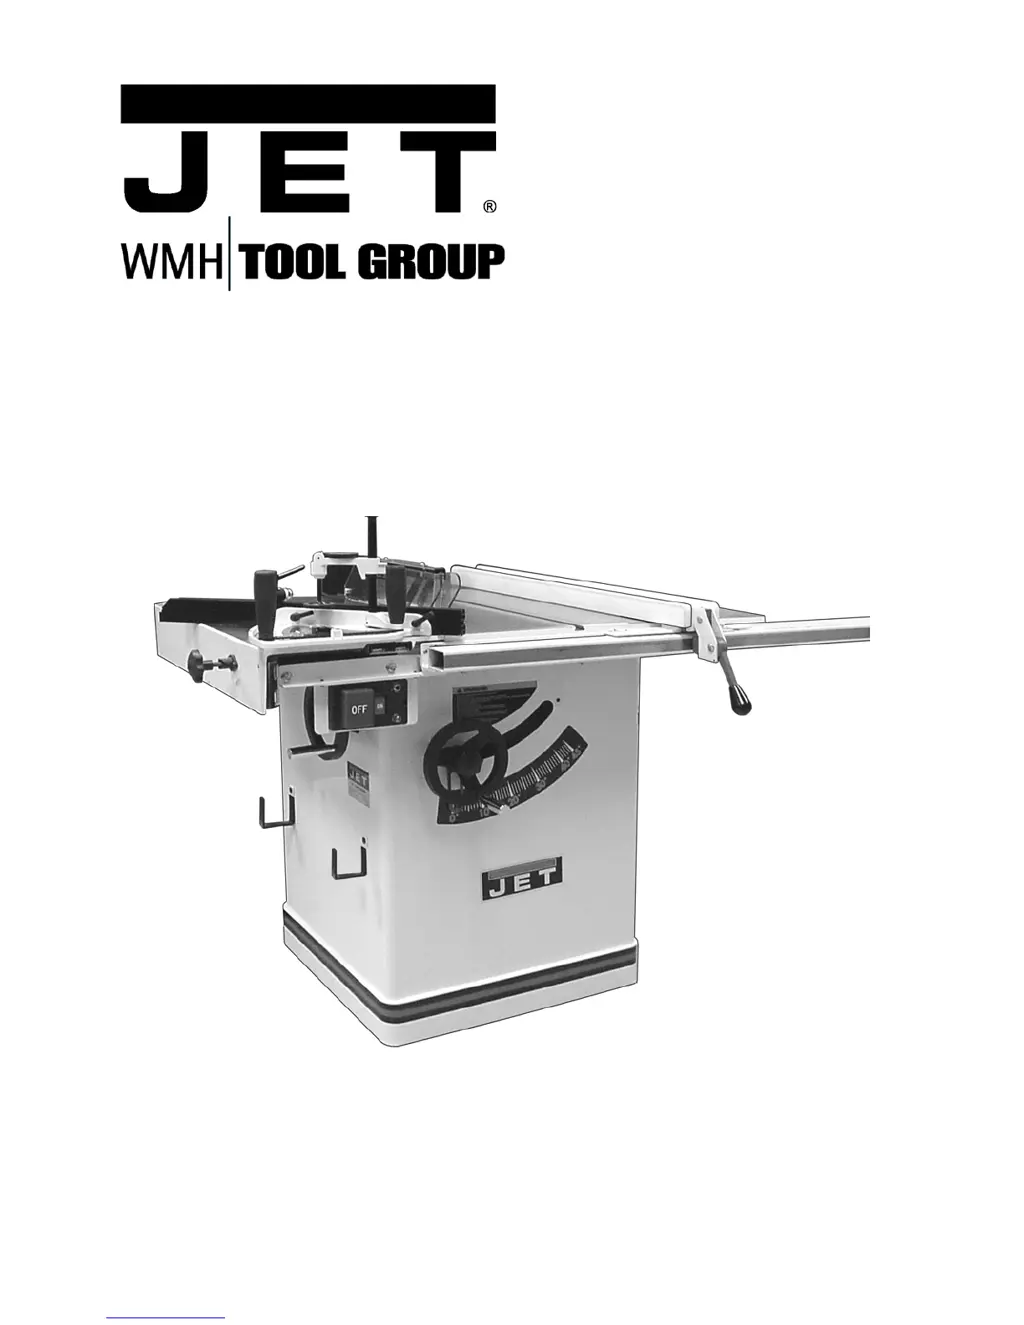
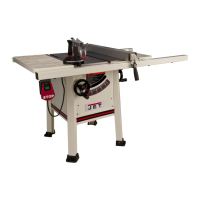
Jet SuperSaw JWSS-10CS - User Manual

Jet SuperSaw JWSS-10CS
44 pages
Print Icon
To Next Page IconTo Next Page
Loading...
Operating Instructions and Parts Manual
SuperSaw
Model: JWSS-10CS
WMH TOOL GROUP
2420 Vantage Drive
Elgin, Illinois 60124 Part No. M-708781
Ph.: 800-274-6848 Revision B 07/06
www.wmhtoolgroup.com Copyright © WMH Tool Group
This manual is bookmarked

Table of Contents

Questions and Answers

  • R
    rodriguezericaAug 13, 2025
    How to adjust Jet SuperSaw JWSS-10CS Saw for accurate 45° or 90° cuts?
    • D
      Desiree AlexanderAug 13, 2025
      If your Jet Saw does not make accurate 45° or 90° cuts, you can: * Check the blade with a square and adjust the stops. * Check the blade with a square and adjust the pointer. * Adjust the miter gauge stops.
  • E
    Eileen SaundersAug 17, 2025
    What to do if my Jet SuperSaw JWSS-10CS Saw stops or will not start?
    • B
      Brandon WilsonAug 17, 2025
      If your Jet Saw stops or won't start, here are some things to try: * Allow the motor to cool, then push the reset button on the On/Off assembly. * Check all plug connections to ensure they are secure. * Replace the fuse or reset the circuit breaker. * Replace the cord. * Replace the starting capacitor. * Replace or adjust the centrifugal switch.
  • G
    glewisAug 20, 2025
    Why does my Jet Saw make unsatisfactory cuts?
    • J
      Julie SwansonAug 20, 2025
      If your Jet Saw is making unsatisfactory cuts, consider the following: * Sharpen or replace the blade. * Turn the blade around. * Remove and clean the blade. * Change the blade to the correct type for your material. * Clean the table.
  • W
    Wendy HernandezAug 25, 2025
    What to do if material kicked back from blade on my Jet SuperSaw JWSS-10CS Saw?
    • V
      Veronica JonesAug 25, 2025
      If material is being kicked back from the blade of your Jet Saw, try these solutions: * Align the rip fence with the miter slot. * Align the splitter with the blade. * Install and use the rip fence. * Install and use the splitter (with guard). * Replace the blade. * Push the material all the way past the blade before releasing your grip. * Replace or sharpen the anti-kickback plates.
  • S
    Suzanne BoydAug 28, 2025
    How to fix excessive vibration in my Jet SuperSaw JWSS-10CS Saw?
    • J
      jessica86Aug 28, 2025
      If your Jet Saw is vibrating excessively, try the following: * Move the saw to an even, level floor. * Replace the saw blade. * Replace the Poly V-belt. * Tighten all hardware.
  • J
    Jay SmithAug 31, 2025
    What to do if material binds blade when ripping with Jet SuperSaw JWSS-10CS Saw?
    • B
      brianclarkSep 1, 2025
      If the material binds the blade when ripping on your Jet Saw, consider these solutions: * Check and adjust the fence parallel to the miter slot. * Select another piece of wood. * Reduce the feed rate. * Align the splitter with the blade.
  • A
    Alejandro SchwartzSep 4, 2025
    What to do if blade does not raise or tilt freely on Jet SuperSaw JWSS-10CS?
    • V
      vickiyoungSep 4, 2025
      If the blade on your Jet Saw does not raise or tilt freely, clean and re-grease the mechanism.
  • T
    Tyler WalkerSep 8, 2025
    How to fix a Jet Saw sliding table that doesn't move smoothly?
    • H
      Harold HarrisSep 8, 2025
      If the sliding table on your Jet Saw does not move smoothly, wipe out any sawdust that may have made it past the wipers, especially in the mating grooves where the bearings ride.

Summary

Warranty and Service

More Information

Provides details on where to find up-to-date product information and distributor details.

Warranty Coverage Details

Outlines what is covered, who is covered, exclusions, and service procedures.

Ordering Replacement Parts

How to Order Parts

Contact information and procedures for ordering replacement parts for the saw.

Safety Information

General Safety Precautions

Comprehensive safety instructions covering operation, personal protection, and machine use.

Kickback Prevention Tips

Tips and advice to avoid common causes of kickback during sawing operations.

Kickback Protection Tips

Tips to protect the operator if kickback occurs during sawing.

Specifications

Product Specifications

Lists key technical details of the SuperSaw, including dimensions and motor specs.

Shipping Contents

Shipping Container Contents

Lists all items included in the main shipping container and optional accessory boxes.

Accessory Package Contents

Details the items included in the accessory package.

Sliding Table Box Contents

Lists the components provided with the optional sliding table.

Assembly

Unpacking and Clean-Up

Instructions for safely unpacking and preparing the saw for assembly.

Installation Requirements

Specifies the ideal conditions and space needed for saw installation.

Right Extension Wing Assembly

Step-by-step guide to attach the right extension wing to the saw table.

Handwheel Assembly

Instructions for assembling and attaching the handwheels for saw operation.

Mounting Rails

Details on how to mount the front and rear rails for the saw.

Mounting Left Extension Wing

Instructions for attaching the left extension wing, especially with a miter slot.

Miter Gauge for Left Extension Wing

Guidance on setting up and using the miter gauge with the left extension wing.

Mounting Sliding Table

Comprehensive steps for installing the optional sliding table assembly.

Sliding Table Miter Gauge

Instructions for assembling and using the miter gauge with the sliding table.

Mounting Switch Assembly

Steps for attaching the power switch assembly to the saw's front rail.

On-Off Switch Padlock

Recommendation and information for using a padlock to prevent unauthorized operation.

Wooden Extension Table Installation

Procedures for installing the optional wooden extension table.

Guide Tube Installation

Steps for mounting the guide tube for the fence system.

XACTA Fence Setup

Instructions for installing and preparing the XACTA Fence II for use.

Fence Adjustments

Level with Saw Table

How to adjust the fence to be perfectly level with the saw table surface.

Parallel to Miter Slot

Procedure to align the fence parallel to the saw's miter slot.

Clamping Pressure Adjustment

Steps to adjust the clamping mechanism for secure fence locking.

90° to Table Adjustment

How to ensure the fence is set precisely at a 90-degree angle to the table.

Initial Cursor Pre-adjustment

Guidance on setting the fence cursor to a midrange position for future adjustments.

Blade Installation

Installing the Saw Blade

Step-by-step instructions for safely installing or changing the saw blade.

Guide Tube Scale Application

How to apply the measurement scale to the guide tube for accurate fence positioning.

Blade Guard Assembly

Instructions for assembling and installing the blade guard and splitter.

Table Insert Adjustment

How to adjust the table insert to be flush with the saw table.

Aligning Blade Guard and Splitter

Procedures for aligning the blade guard and splitter for optimal safety and performance.

Mechanisms and Connections

Hooks for Miter Gauge and Fence

Instructions for mounting hooks to hold the miter gauge and fence.

Blade Raising and Tilting Mechanism

How to operate and adjust the blade height and tilt mechanisms.

Electrical Connections

Essential safety information and steps for making electrical connections.

Grounding and Voltage

Grounding Instructions

Critical safety guidelines for proper grounding of the table saw.

115 Volt Operation

How to set up and operate the saw on a 115V power supply.

230 Volt Operation

Instructions for converting and operating the saw on a 230V power supply.

Adjustments

Blade Alignment

Steps to check and align the saw blade with the miter slot.

XACTA Fence Cursor Adjustment

How to adjust the cursor on the XACTA fence for accurate measurements.

Adjusting 45° and 90° Positive Stops

Procedure to set and check the positive stops for blade tilting angles.

Wear Adjustment in Raising Mechanism

How to adjust for wear in the blade raising mechanism's worm gear.

Wear Adjustment in Tilting Mechanism

How to adjust for wear in the blade tilting mechanism's worm gear.

Maintenance and Belts

Changing Poly V-Belt

Steps for replacing the poly V-belt on the saw.

Changing the Transfer Belt

Instructions for replacing the transfer belt.

General Maintenance

Routine cleaning and lubrication tasks for the saw's components.

Blades and Accessories

List of available blades and accessories for the SuperSaw.

Troubleshooting

Saw Stops or Will Not Start

Diagnosing and resolving issues where the saw fails to start or stops unexpectedly.

Blade Binding or Poor Cuts

Solutions for material binding or unsatisfactory cuts due to blade issues.

Saw Vibrates Excessively

Troubleshooting steps for excessive vibration during saw operation.

Material Kicked Back

Addressing causes and solutions for material kickback during sawing.

Blade Does Not Raise or Tilt Freely

How to fix issues with the blade raising or tilting mechanisms.

Sliding Table Movement Issues

Solutions for a sliding table that does not move smoothly.

Parts Lists

XACTA Fence II Parts

Detailed parts list and diagram for the XACTA Fence II assembly.

Cabinet Assembly Parts

List of parts for the main saw cabinet and its components.

Guard Assembly Parts

Parts breakdown for the blade guard and splitter assembly.

Table Assembly Parts

List of components related to the table and its various attachments.

Sliding Table Assembly Parts

Detailed parts list for the optional sliding table and its accessories.

Rail Assembly Parts

Components list for the standard and long table rail systems.

Motor & Trunnion Parts

Parts list for the motor, trunnions, and related drive components.

Wiring Diagrams

115 V Wiring Diagram

Electrical schematic for 115V operation of the table saw.

230 V Wiring Diagram

Electrical schematic for 230V operation of the table saw.

Jet SuperSaw JWSS-10CS Specifications

General IconGeneral
TypeTable Saw
Motor Power1.75 HP
Weight275 lbs
Table MaterialCast Iron
Blade Diameter10 inches
Arbor Size5/8 inches
Maximum Cutting Depth at 90 degrees3-1/8 inches
Table Size27 x 20 inches

Related product manuals