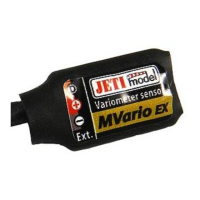
MVario
-2-
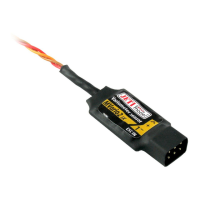
2. Connect the triple-core cable of the MVario sensor with JR plug (black connector) to the
back side of the DUPLEX receiver (to the socket marked Ext.). Connect the input of the
MVario with JR plug (red connector) to a free receiver channel. The MVario module gets its
current supply via the receiver. In order to adjust parameters of the MVario connect the
JETIBOX to the transmitter module and switch on receiver and transmitter.
3. Connect the triple-core cable of the MVario sensor with JR plug (black connector) to one
of the EXPANDER inputs. Connect the input of the MVario with JR plug (red connector) to a
free receiver channel. The expander renders connection of several telemetry sensors to one
receiver possible. In such a case gets the MVario sensor its current supply via the expander
and the expander via the receiver.
Besides other competencies of the JETIBOX terminal it handles also duties like
parameter adjustments and data readout.
After connection to the MVario sensor an
introduction screen appears showing in the first line the identification of the sensor and the
realive altitude above sea level. In the second line you see the indicator and the value of the
Vario (climb rate/descent rate in m per 1s). The indicator of the Vario consists of eight
positions. The number of filled positions forms the size of the Vario indication. The symbol
„>“ stands for one step of climb. The Symbol „<“stands for one step of descent.
By pushing
the
JETIBOX button D (downward arrow) you will enter the MVario sensor menu.
MVARIO Sensor Menu:
SENSOR MENU: ACTUAL VAL – by pushing the button D (downward arrow) you will
select the display of actual measurement values
Rel/Abs Altitude - relative and absolute altitude above sea level. After switching on a
comparison basis (zero altitude) is created from the absolute altitude for the relative altidude.
The relative altitude is the result of the difference of the actual absolute altitude and the
comparison basis (zero altitude).
Vario – indicates the actual rate of climb/rate of descent in meters per 1s.
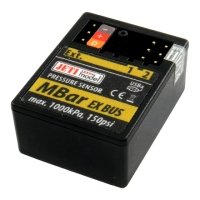
Abs. Pressure – indicates the actual atmospherical pressure in hPa.
Temperature – indicates the actual temperature of the sensor.
SENSOR MENU: MIN/MAX - by pushing the button D (downward arrow) you select
recording of extreme values which occured during measurements.
Vario MIN/MAX – indicates the minimum descent rate and the maximum climb rate
Altitude MAX – indicates the achieved maximum relative altitude
Temp MIN/MAX – indicates the minimum and maximum temperature of the sensor