16
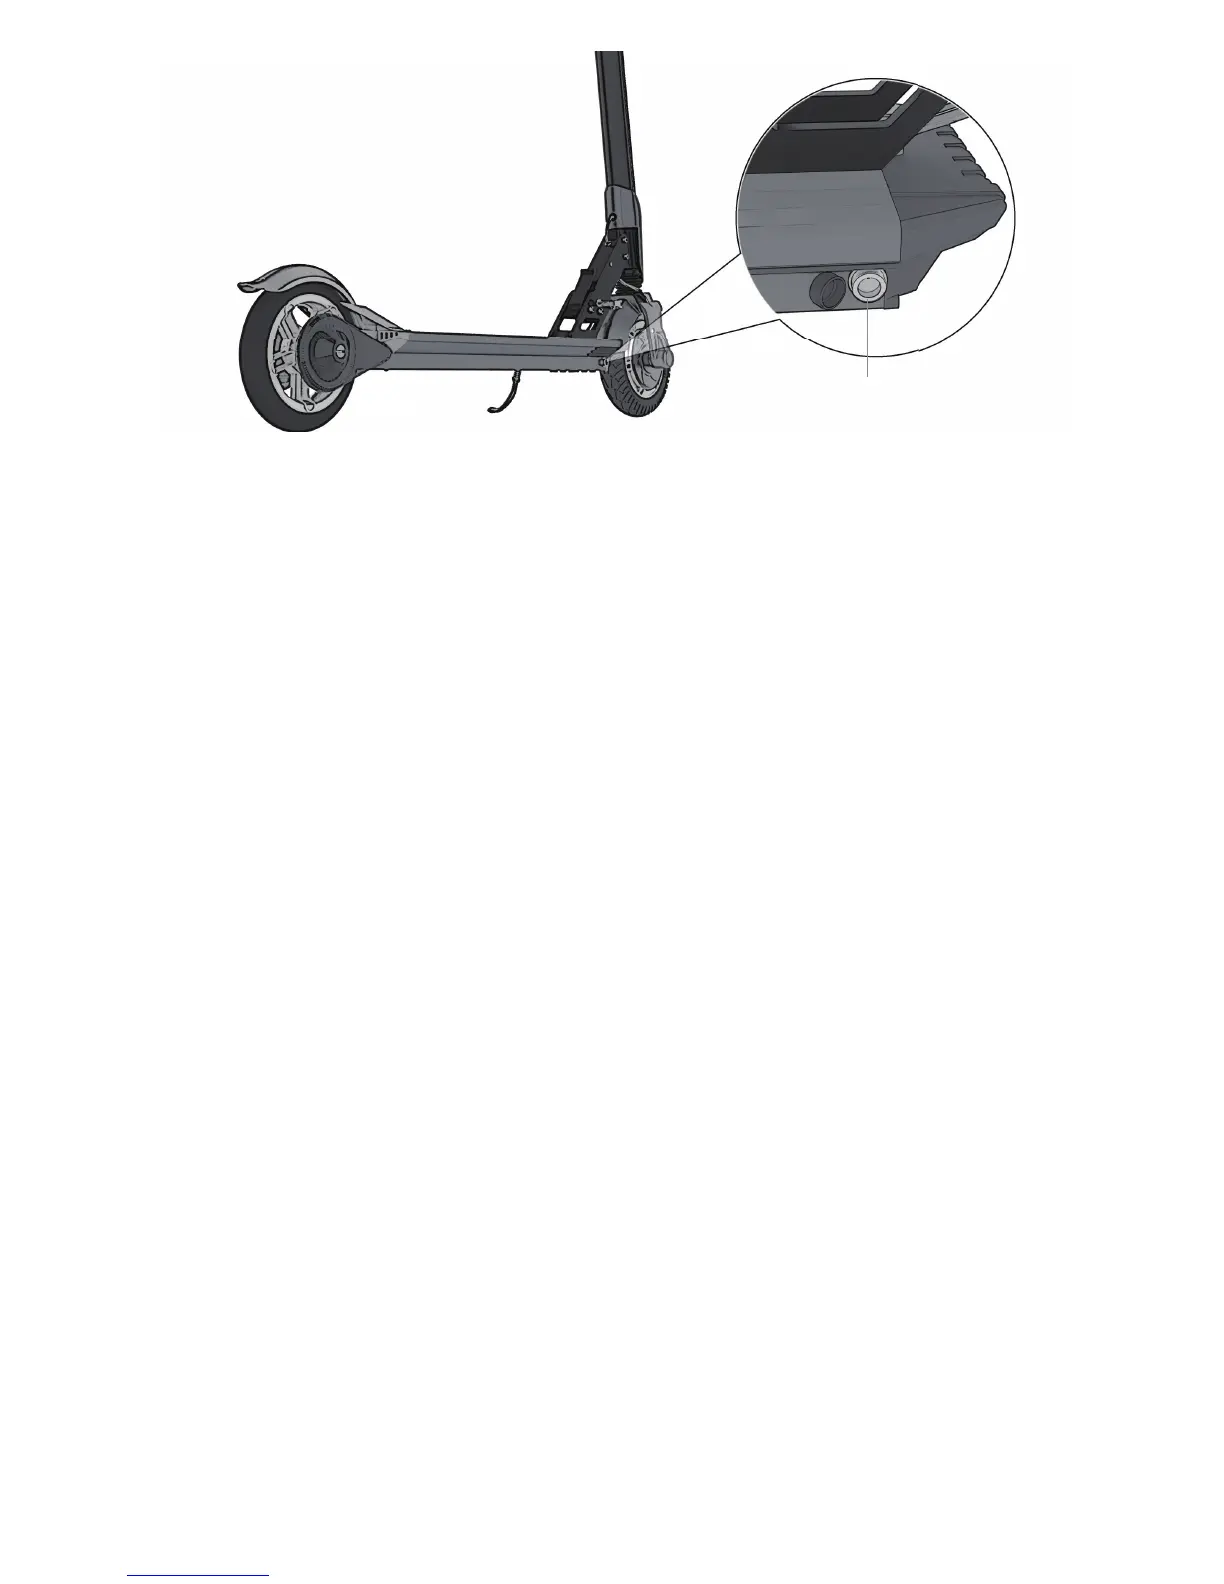
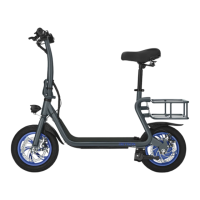
Connect the charger’s electric cable to an electrical outlet. Open the cover to
the charging port in your scooter (note: be sure to keep any liquids away from
charging port and cable), and then connect the charging cable to the scooter’s
charging port under the footboard, on the right side at the front. Always plug
the charger into the wall rst before the device. The charger offers a charging
status on the top of the charger:
Charging Light Red Battery is charging.
Charging Light Blue Charging is complete.
Once the charger is plugged into the wall and then the charging port, the
charging light should turn red, indicating that it is charging. If it does not turn
red, either the battery is full or the charger is not properly connected to the
Beam. Once the light has turned blue and charging is complete, unplug the
cable from the charging port, as overcharging your scooter can affect the ser-
vice life of the batteries.
(Please note: Always plug the charger into the wall rst before the device. If
the wall outlet doesn’t have power and you plug the charger into the unit, it
will light blue, even if the battery is not full. So always plug into the wall rst to
make sure there is power.)
Average charge time is 3 hours. Charge the battery only using tools approved
for the Jetson Beam.
To maximize your scooter’s battery performance, fully charge it for 3 hours,
once a month, or after each use of twelve hours. It is dangerous to use the
Jetson Beam when plugged into an AC outlet. Electrical shock can cause seri-
ous injury and damage the scooter. Do not attempt to open the battery. Do not
insert anything in the battery and do not attempt to open its case with any tool.
Charging Port