EasyManuals Logo
Home>JJC>Remote Control>JM-II Series

JJC JM-II Series User Manual

JJC JM-II Series
13 pages
To Next Page IconTo Next Page
To Previous Page IconTo Previous Page
Page #5 background imageLoading...
Page #5 background image
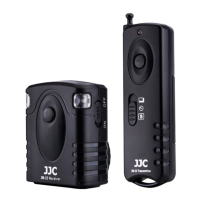
Attaching the Set to a Camera
1. Turn OFF the camera before attaching the receiver to camera.
2. Please make sure the transmitter and receiver are at the same code setting. There
are 16 channels available.
1 2 3 4
ON DIP
1 2 3 4
ON DIP
3. Slide the receiver gently into your camera hot shoe as the picture shown below. Then
rotate the hot shoe lock nut clockwise to tight the receiver on your camera hot shoe.
4. Plug the end of the connecting cord as the picture shown left into the receiver, then
plug the other end to the camera remote socket (the appearance of this end for
different cameras may vary).
Other manuals for JJC JM-II Series

Questions and Answers:

Question and Answer IconNeed help?

Do you have a question about the JJC JM-II Series and is the answer not in the manual?

JJC JM-II Series Specifications

General IconGeneral
BrandJJC
ModelJM-II Series
CategoryRemote Control
LanguageEnglish

Related product manuals