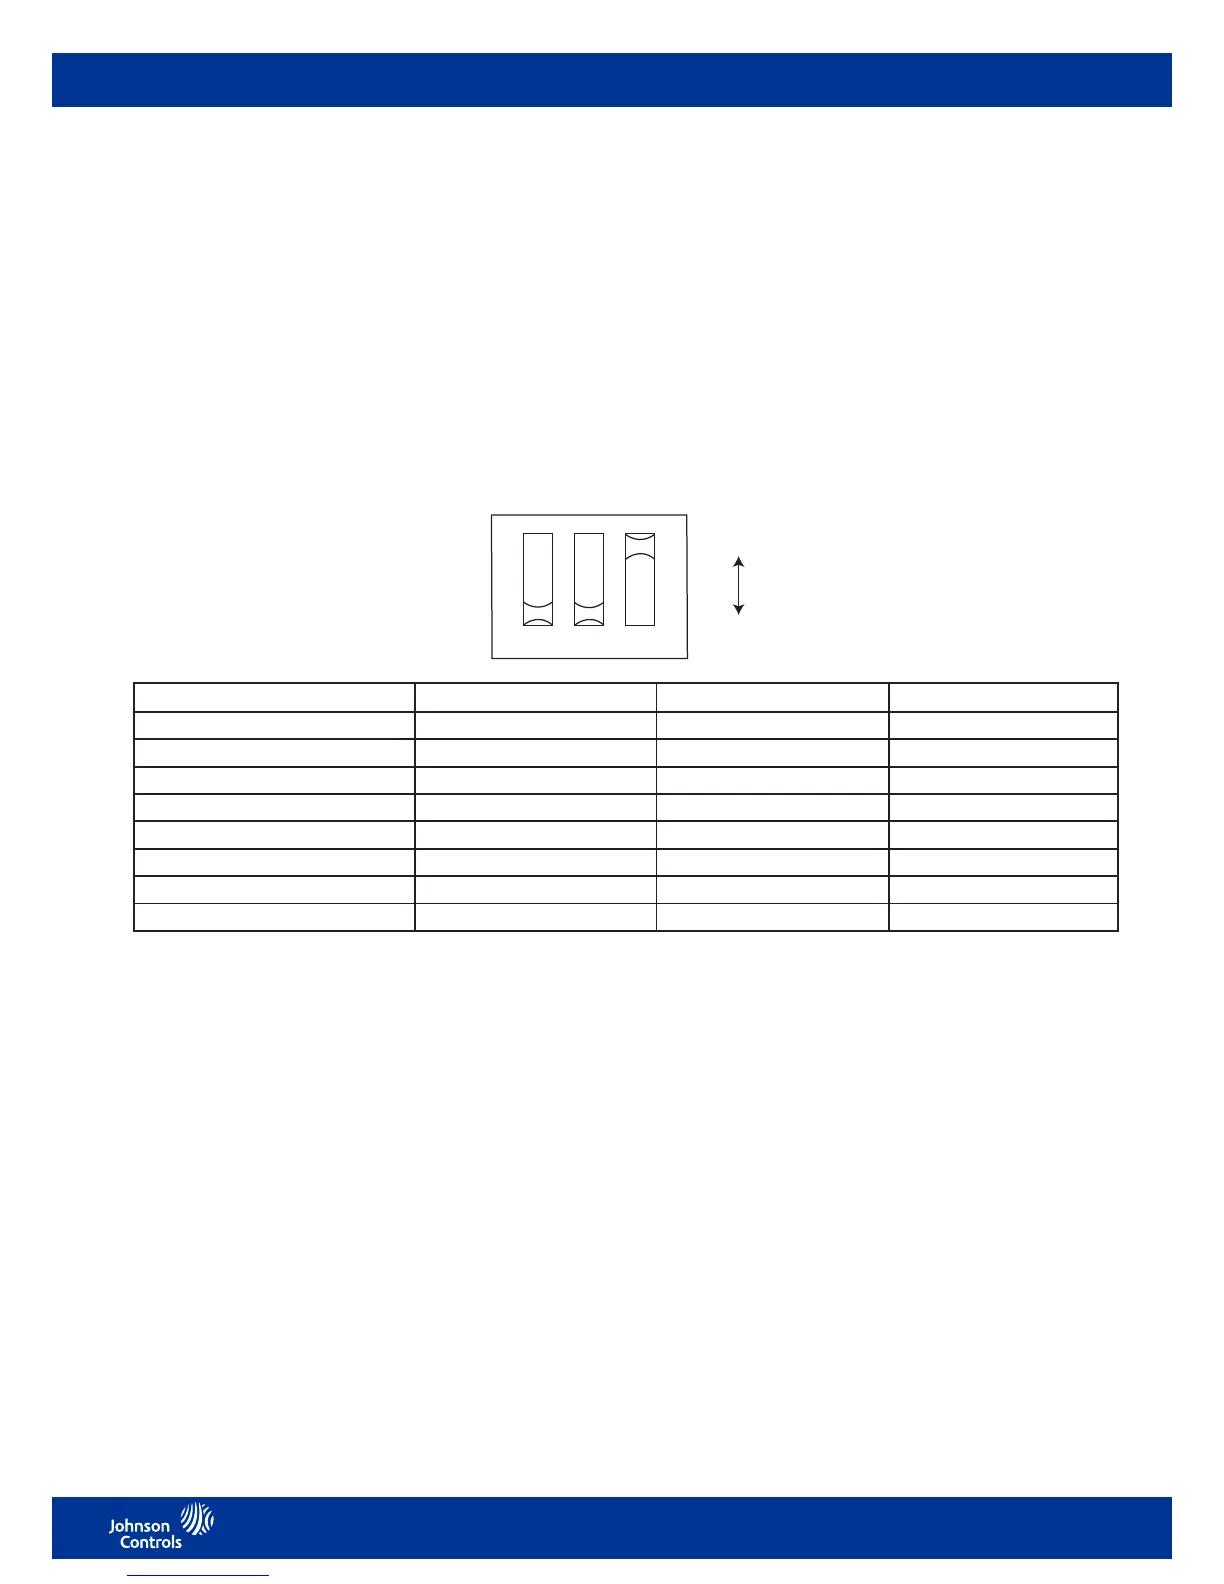
4 2 1
On
Off
DIP switch SA bus address Switch 4 Switch 2 Switch 1
199 Off Off Off
200 Off Off On
201 Off On Off
202 Off On On
203 On Off Off
204 On Off On
205 On On Off
206 On On On
CO
2
altitude compensation
The Johnson Controls® NS Series CO
2
Network Sensors ship from the factory calibrated for an altitude range of 0 ft to 2,000 ft
(0 m to 600 m) without compensation.
For altitudes above 2,000 ft (600 m) where optimum accuracy of the CO
2
concentration measurement is essential, modify the
offset property of the NS Series CO
2
Network Sensors (Zone Quality [ZN-Q] Analog Input [AI]). The offset represents the local
atmospheric pressure in hectopascals (hPa). Set the offset to the known local pressure or use the local altitude value listed in
Table 3. The factory default value is 978 hPa.
As of Release 5.3 of the Controller Conguration Tool (CCT) and Facility Explorer® Programmable Controller Tool (FX-PCT)
software, the NS Series CO
2
Network Sensors (Zone Quality [ZN-Q] Analog Input [AI]) automatically change the hPa value entered
from Table 3 into the correct offset value in the CCT and FX-PCT software. The offset value for the SA bus device is labeled ppm;
however, it is the proper eld to enter the hPa value found in Table 3. Refer to the Controller Tool Help (LIT-12011147) for more
details.
Note: Enter the pressure value only in units of hPa. The sensor reads the value entered as hPa. The CO
2
present value may
require several minutes to settle after changing the offset value.
See Table 3 for local altitude values.
Network sensor addressing
Table 2: Network sensor addressing
Figure 1: Three-position switch
Hiding icons on the home screen
1. Press and hold the Up and Down icons for ve seconds until the Fahrenheit and Celsius indicator icons start to blink.
2. Press the Menu icon ve times.
3. To go through each icon on the display, press the Down icon.
4. When the icon you want to hide blinks, press the Up icon to hide it.
5. To save the new settings, press the Menu icon ve times to return to the home screen or wait for ten seconds for the screen to
return to the home screen automatically.
Activating and deactivating the screen lockout
Lock the screen to prevent users from making setpoint changes or entering the commissioning mode. To activate and deactivate
the screen lockout, complete the following steps:
1. Press and hold the Menu icon for ten seconds until the Up and Down icons vanish on the display
to activate the screen lockout.
2. Press and hold the Menu icon for ten seconds until the Up, Down and Fan icons reappear to deactivate the screen lockout.

 Loading...