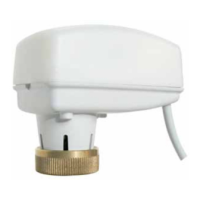
VA9208-Bxx-x Series On/Off Electric Spring Return Valve Actuators Installation Instructions 9
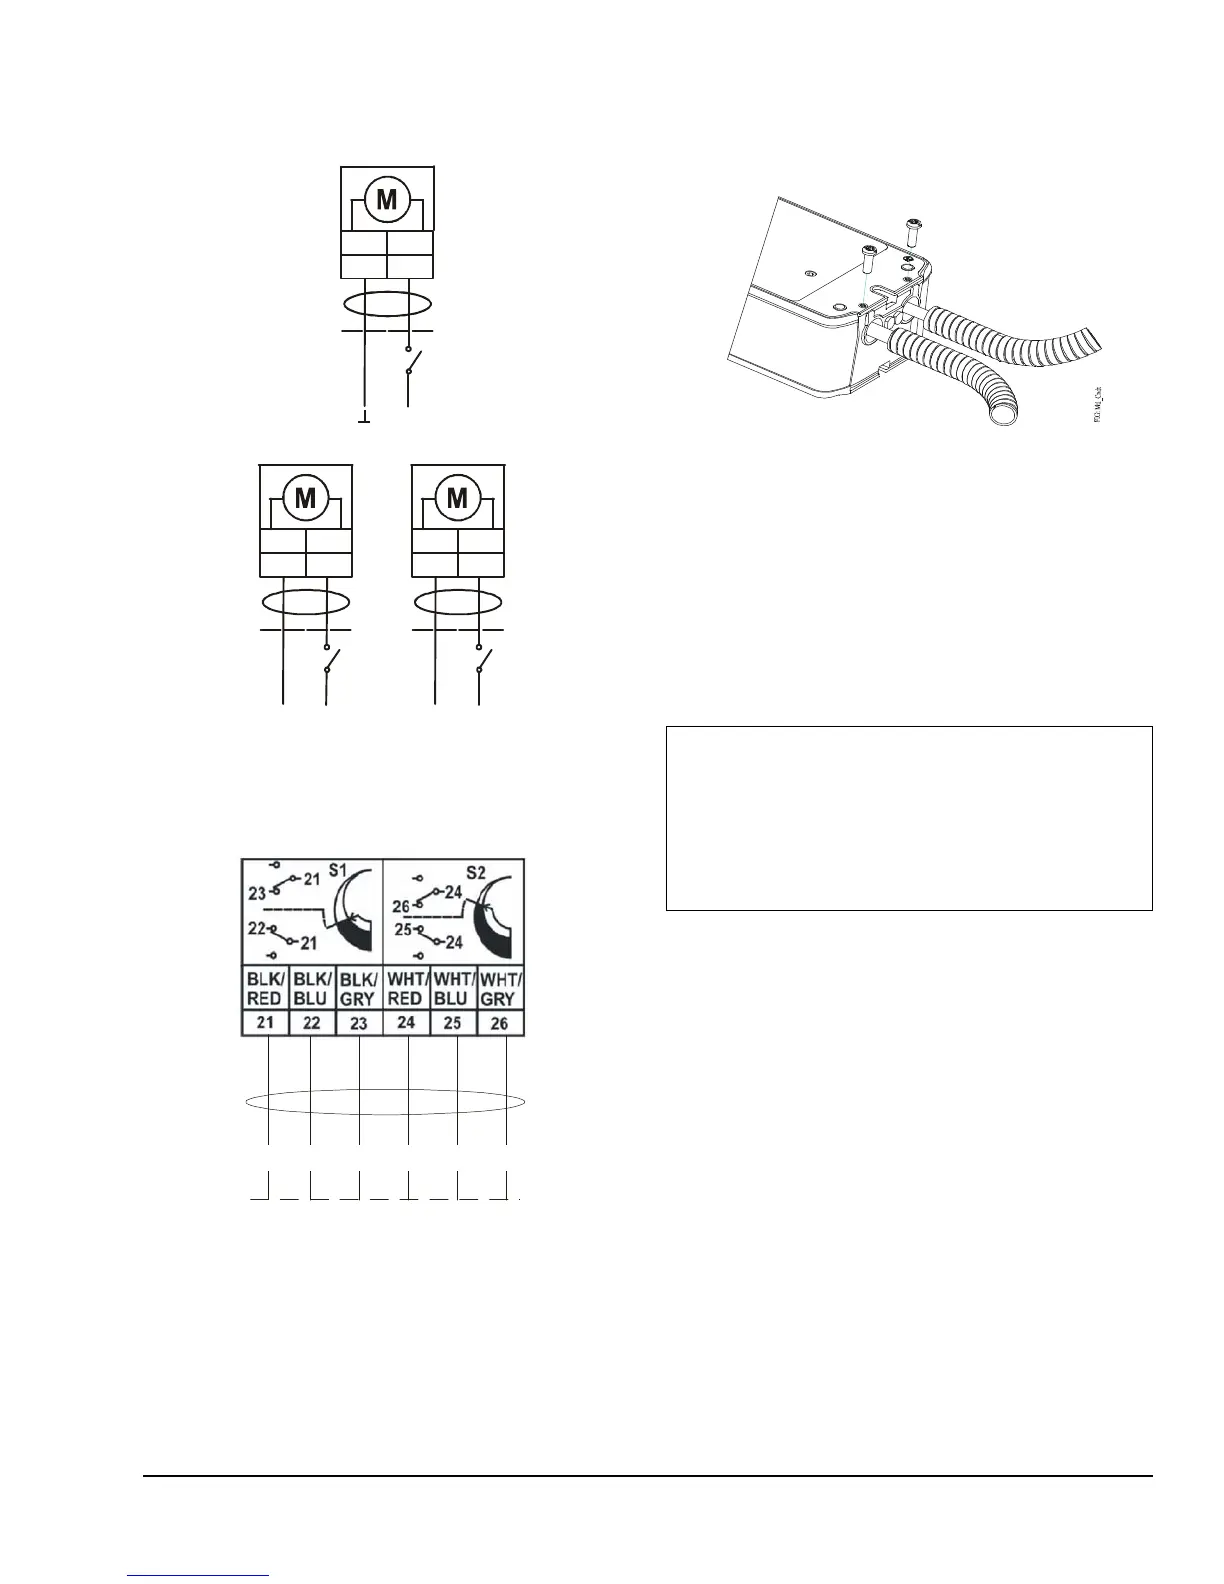
See Figure 19 and Figure 20 to wire the applicable
VA9208-Bxx-3 Series model.
Using Conduit
All VA9208 Series Actuators accept 3/8 in. (10 mm)
trade size flexible metal conduit.
1. Feed the actuator cables through the field supplied
conduit.
2. Push the conduit into the holes in the actuator and
secure it with the supplied 10-32 x 9/16 in. screws,
as illustrated in Figure 21. The product label marks
the position of holes for the screws. Drive the
screws through the product label in the marked
positions. Drive the screwhead flush with the plate
to secure the conduit.
Figure 19: Control Wiring Diagrams
AC 120 V 60 Hz
L1N
WHT BLK
2
1
AC 230 V 50/60 Hz
L1N
BLU BRN
2
1
AC 24 V 50/60
DC 24 V
RED
BLK
2
1
+
-
~
F
I
G
:
S
_
w
i
r
i
n
g
Figure 20: Optional Auxiliary Switch Wiring
F
I
G
:
A
X
_
S
W
C
T
H
COM NC
NO
COM
NC
NO
IMPORTANT: Careful workmanship is required to
secure flexible metal conduit. Cut the conduit end
perpendicular to its axis. Insert the cut end into the
bottom of the holes in the actuator and hold the
conduit in place while securing it with the screws
provided. Check a completed installation by pulling
on the conduit to ensure its retention.
Figure 21: Adding Flexible Metal Conduit
 Loading...