Thank you for purchasing this Electronic Horizontal & Vertical
Self-Leveling Rotary Laser Level from Johnson. This tool features:
• Dual-slope
• Tilt indicator
• Scan mode
• Visual/audible out-of-level alarms
• Split beam for orthogonal layout
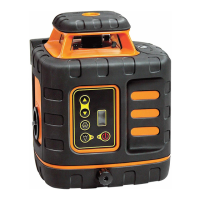
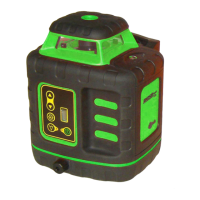
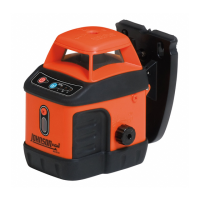
Quick Start Guide: Rotary Laser 40-6526 ∙ 40-6529 ∙ 40-6534 ∙ 99-028K ∙
40-6544
GETTING STARTED
1. Insert the supplied batteries. If rechargeables are used, ensure they
are fully charged. The laser can be operated either by the keypad or
the remote control. Note, after 30 minutes of inactivity the laser will
stop receiving remote control signals to save power. Power it on from
the keypad to start receiving remote signals again.
2. Attach the laser to a tripod or other stable surface.
3. Tap to power on the laser. The laser will self-level and rotate.
4. Tap to adjust the rotational speed.
5. Tap to turn o the laser after use.
6. The laser will flash and beep if out of its self-leveling range. Relocate
the laser to a more level surface or adjust the tripod legs if this occurs.
Pro Tip: For best results, use faster speeds with a detector, and slower
speeds when working indoors.
TILT INDICATOR
The tilt indicator disables the laser if it’s bumped while operating,
preventing you from taking inaccurate measurements.
To enable the tilt indicator:
1. With the laser powered, press .
2. The Tilt Mode LED will flash for 30 seconds. During this time, the
laser will automatically re-level and restart if bumped. This gives
you time to make any necessary final adjustments to the laser.
3. After 30 seconds, the Tilt Mode LED will remain on, indicating
Tilt Mode is active. Any disturbance to the laser will cause it to stop
spinning and flash to alert you.
4. Reset the laser after a tilt event by pressing , or exit tilt mode
be pressing .
SINGLE-AXIS SLOPE MODE
Single-axis slope mode angles the laser beam in either the X or
Y axis. If the laser is disturbed, it will re-level the non-sloped axis
while maintaining the slope on the sloped axis.
1. Press and hold for 3 seconds to enable single-slope mode.
2. The X-LED will be solid and the Y-LED blinking, indicating slope
can be set for the X axis. Press again to toggle axes.
3. Use the slope buttons or to adjust slope. Tap for small
adjustments; press and hold for larger adjustment.
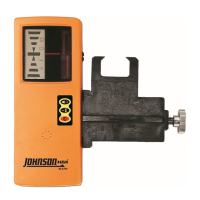
Pro Tip: Set a specific slope using a grade rod and detector.
1. Set the detector a known distance from the laser. Find grade.
2. Raise/lower the detector the required amount, then adjust the
slope until the detector reads the beam.
3. For example, to slope 1/4” per 10’, set the detector 10’ from the
laser and find grade. Lower the detector 1/4” and slope the laser
beam until the detector locates the beam again.
Typical Applications Include:
• Excavation/Grading
• Concrete Flatwork/Form Layout
• Drywall Track Installation
• Tilt-Up Wall Installation
• Landscaping
• Ceiling & Wainscoting Installation
• Post & Pipe Installation
www.johnsonlevel.com/manuals
We want to get you up and running as quickly as possible - but this quick start guide is not a replacement for reading and understanding your operator’s
manual! For complete safety & operating instructions, refer to the operator’s manual included with your rotary laser, or scan the QR code.