English – 15
Repair instructions
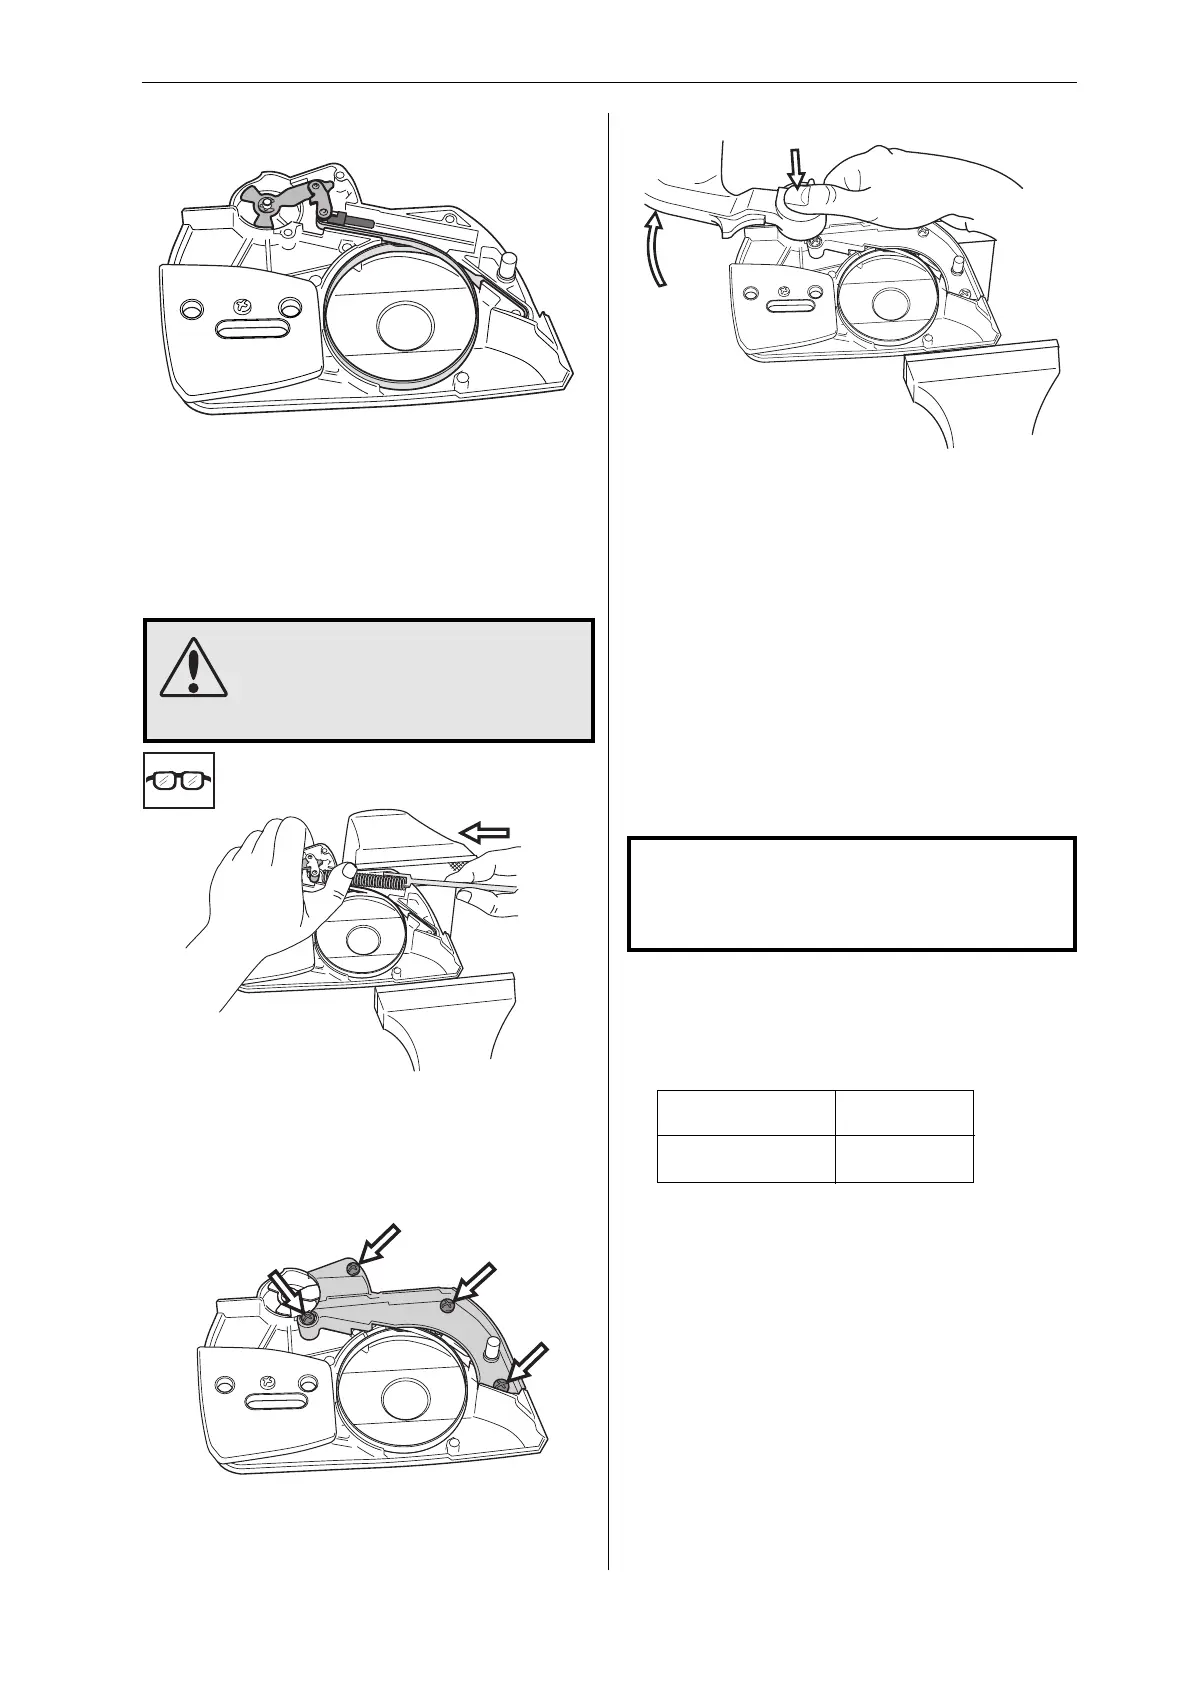
NOTE!
After completing the repair the chain
brake must be tested as described below.
Operating test:
The engine must not be running during the test.
Guide bar length Height
38cm/15" 50 cm/20"
• Hold the chainsaw over a fi rm surface. The
height of the guide bar above the surface is
given in the table above.
• Let go of the front handle and let the chainsaw
fall towards the surface.
• When the guide bar hits the surface the chain
brake must engage.
Chain brake – reassembly
1
Bolt the elbow joint to the brake band and tighten
to a torque of 1–1.5 Nm.
Locate the elbow joint and connected brake band
in their recesses in the clutch cover. Lubricate the
recess for the spring with grease.
2
Grip the clutch cover in a vice. Compress the
spring with special tool 502 50 67-01 and push it
down with your thumb.
3
Fit the cover over the chain brake spring, tighten-
ing the screws to a torque of 1–1.5 Nm.
4
Tension the brake spring by using the kickback
guard from the saw as a tool. Engage it with the
brake mechanism and turn clockwise to release
the brake.
5
Turn the chain tensioner anticlockwise as far as it
will go.
Refi t:
• guide bar
• chain
• clutch cover
WARNING!
Make sure the spring does not fl y
out and cause injury. Wear eye
protection.

 Loading...