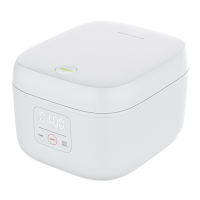
Product Description
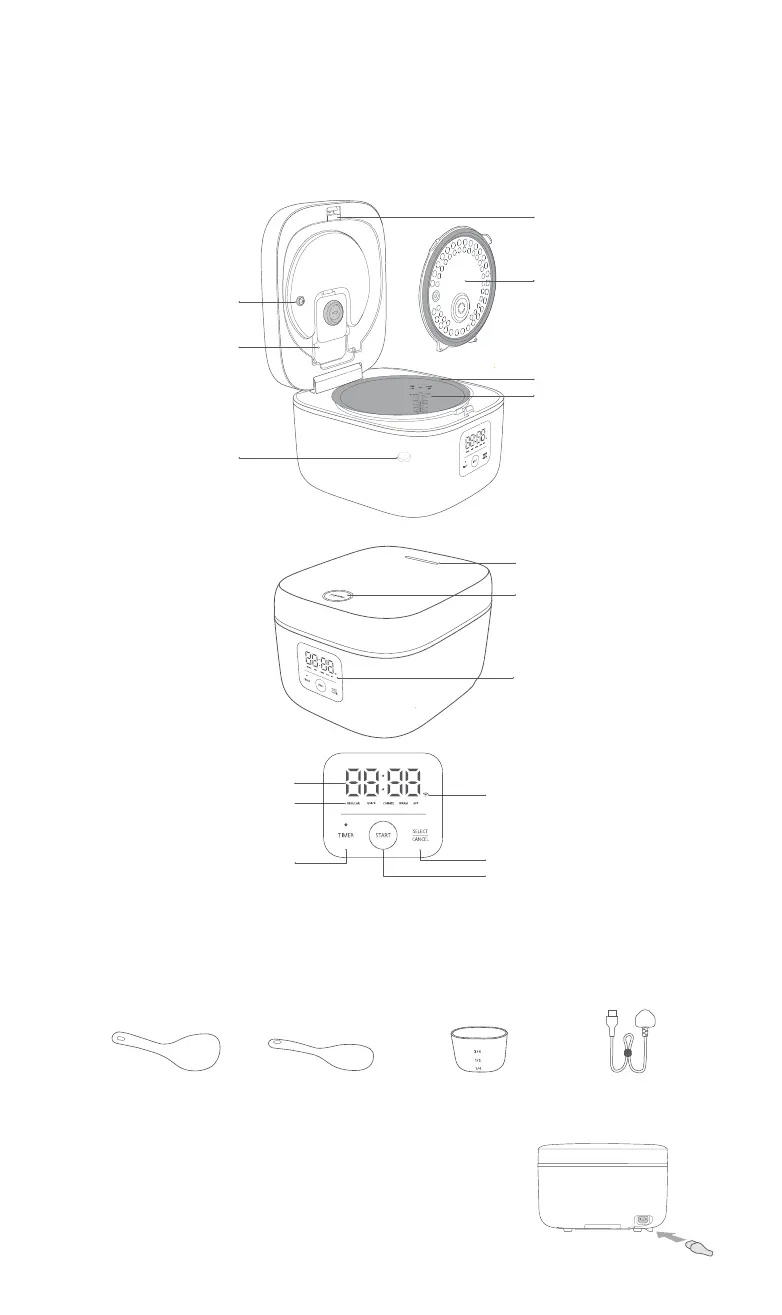
Accessories
Measuring Cup×1 Power Cord×1Rice Scoop ×1
Temperature Sensor
(Top)
Steam Valve
Temperature Sensor
(Bottom)
“Install/Dismantle
Inner Lid”Button
Detachable Inner Lid
Inner Pot
Water Level
Congee Scoop ×1
Connect Power Cord
Connect one end of the power cord to the power socket at the bottom
of the main body, and then the power plug to the AC power socket.
Start joyami Smart Rice Cooker L1 after the power cord is connected.
Start to Use
The illustrations of product, components and user interface are all schematic diagrams for reference only.
Due to possible upgrades of the product, there may be differences between the actual product and the
schematic diagram included herein.
Steam Outlet
Control Panel
Lid Opening Button
LED
Cooking Menu
“TIMER” Button
Wi-Fi Icon
“SELECT/CANCEL” Button
“START” Button
Thank you for purchasing and using joyami Smart Rice Cooker L1.
joyami Smart Rice Cooker L1 is for home use ONLY.
The illustrations of product, components and user interface herein are all schematic diagrams for reference only.
Due to possible upgrades of the product, there may be differences between the actual product and the schematic
diagram included herein.
02