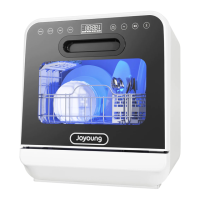
10 11
INSTALLATION INSTRUCTIONS
The appliance complies with current safety requirements. Inappropriate use
may lead to personal injury and damage to property. When using the appliance,
please follow the safety precautions as below:
To prevent fire, burn or electric shock Before using the appliance.
1. The appliance is a high power consumption electric appliance. Use an
independent power source to supply. Do not connect with other high wattage
appliances under the same socket, and make sure the input voltage match
the rated voltage marked on the appliance.
2. The appliance must be earthed to avoid electric shock.
3. Ensure that the plug is plugged into the electric socket properly before use;
otherwise, it will cause bad contact and overheat. The efficiency and effec-
tiveness of the appliance will be affected or result in fire.
4. Net weight of the appliance is approximately 12.5 kg. Place the appliance on
a level and rigid surface for use. Avoiding placing the appliance near poor
heat-resistant material such as carpet, plastic table cloth and cotton cloth,
etc.
5. Place the appliance in a space with good ventilation. The product is intended
to be used freestanding, do not placed it in a cabinet. Do not cover or block
the steam exhaust vent to avoid overheating. Do not put any object on top of
the appliance and do not insert metallic object (such as pins or wire) into the
inside, gap and steam exhaust vent of the appliance.
6. Place the appliance in a well-ventilated and dry place. Keep it away from
environment of corrosive gas, fire source, high temperature, strong electro-
magnetic, steam, humid or place close to flammable materials.
Prior to installation, disconnect the dishwasher from the power supply.
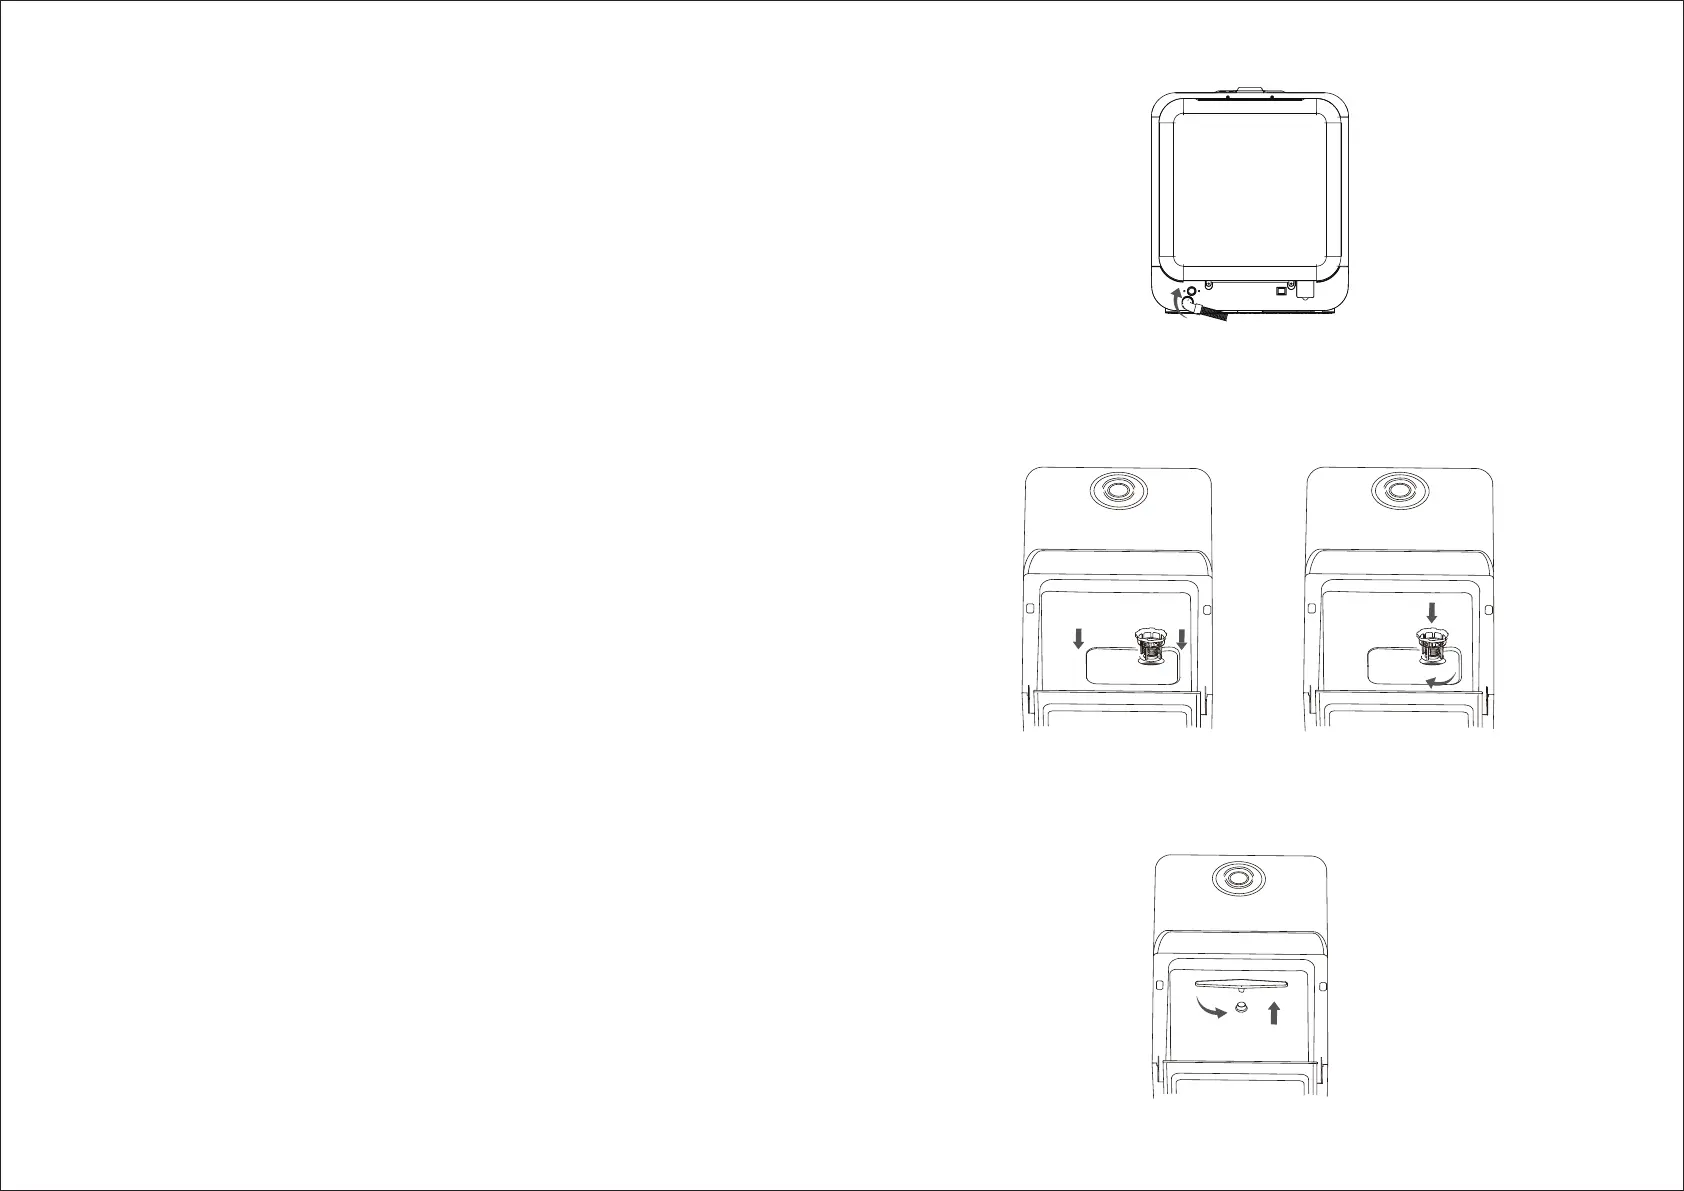
1. Connect the supplied drainage hose to the drainage hole at the back of the
appliance and ensure the connection is in place. Direct the drainage hose
with sucker attached to the sink. The drainage hose should be kept down-
ward. If the hose is a pointing upward, the maximum acceptable height is
15cm from the bottom of dishwasher. To avoid water outflow, use the sucker
attached with the hose for proper installation. (Keep the sink clean and do
not immerse the drainage hose in water to prevent sewage flowing back)
2. Remove all packing materials from the appliance. Install the flat fine filter
and cylinder filter in order as follow. (The cylinder filter is comprised of
coarse filter and microfilter) Turn the cylinder filter clockwise to lock in
place.
3. Hold the middle of the spray arm and align with the water supply outlet
nozzle. Press down until it engages (“Click") and spin the spray arm and
make sure it can rotate freely.
 Loading...