Do you have a question about the JUKI DNU-241H-7 and is the answer not in the manual?
Emphasizes disconnecting the sewing machine connector for safety during installation.
Procedure for temporary fixing, connecting ground wire, and initial alignment.
Aligning stop position marks with machine arm marks for accurate adjustment.
References tables for aligning stop position based on specific sewing machine models.
Attaches the control panel thread guide to the installing plate using specific hardware.
Installs the operation box onto the machine head using screws and washers.
Refer to Table 3 for correct hole positions based on machine model.
Passes cords through table holes and routes them under the table for connection.
Connects sewing machine cords to the control box for models other than LU-2200/LS-341N-7.
Connects sewing machine and relay cords to the control box for LU-2200 series.
Attaches solenoid valve installing plate and knee switch to the table underside.
Connects knee switch and solenoid valve cords to the control box.
Connects air hoses to the regulator and other components as per model.
Loosen adjusting nut and turn cylinder rod to set presser foot lift to specified values.
Passes needle thread from the stand through the panel thread guide hole.
Press switch for reverse feed, hold for continuous reverse, release for normal feed.
Loosen screws to adjust the switch position for ease of operation.
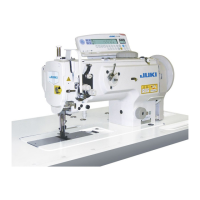
| Brand | JUKI |
|---|---|
| Model | DNU-241H-7 |
| Category | Sewing Machine |
| Language | English |