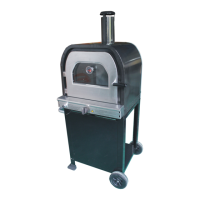
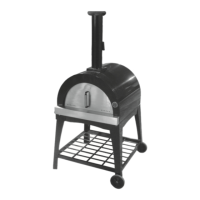
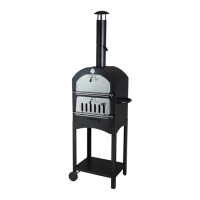
LIGHTING PROCEDURE
LIGHTING PROCEDURELIGHTING PROCEDURE
LIGHTING PROCEDURE
• Lighting the gas oven is easy, but must be done
with due care.
• Make sure that gas is turned on at the cylinder, or
that gas is available to the gas oven.
• Make sure the gas cylinder is filled.
• Check that the end of the burner tube is properly
located over each valve orifice.
• Make sure all gas connections are securely
tightened.
• This gas oven is equipped with a battery powered
pulse igniton.
• The pulse ignitor requires one AA battery to
operate.
• Unscrew pulse ignitor cover and insert a AA
battery.
• Ensure the door is open before lighting the burner.
• Make sure the knob is in the "OFF" position.
• Press and turn the knob to the “HIGH” position and
hold down the knob.
• While holding down the knob, press the pulse
ignitor button to light the burner
• Continue pressing the “PULSE IGNITOR” button for
the next 3 to 5 seconds. Once the burner is lit,
continue holding down the KNOB for another 5 to 8
seconds before releasing the knob.
• If the burner fails to light, turn the knob to the
“OFF” position and wait for another 5 minutes
before repeating the above steps
MANUAL IGNITION
MANUAL IGNITIONMANUAL IGNITION
MANUAL IGNITION
• Place a lighted match or gas lighter (not
provided).
• Keep your hand below the bottom of the burner
while doing this.
• Turn the burner on.
• You should see the burner alight.
T
TT
TURNING OFF THE GAS OVEN
URNING OFF THE GAS OVENURNING OFF THE GAS OVEN
URNING OFF THE GAS OVEN
• When finished cooking, leave the burner at the
“HIGH” position up to 5 minutes so that remaining
grease from the food will be removed.
• When turning off the gas oven, close the supply
from the gas cylinder first; this will allow the gas
remaining in the hose to evaporate. This will only
require a few seconds. The burner can then be
switched off.
Note
NoteNote
Note: ‘Blowback’ is a situation where the flame
burns inside the burner, towards the front,
recognised by a sharp roaring sound coming
from the burner. It is not dangerous unless
allowed to persist .If this occurs, simply turn the
burner off, wait a few seconds, and then relight.