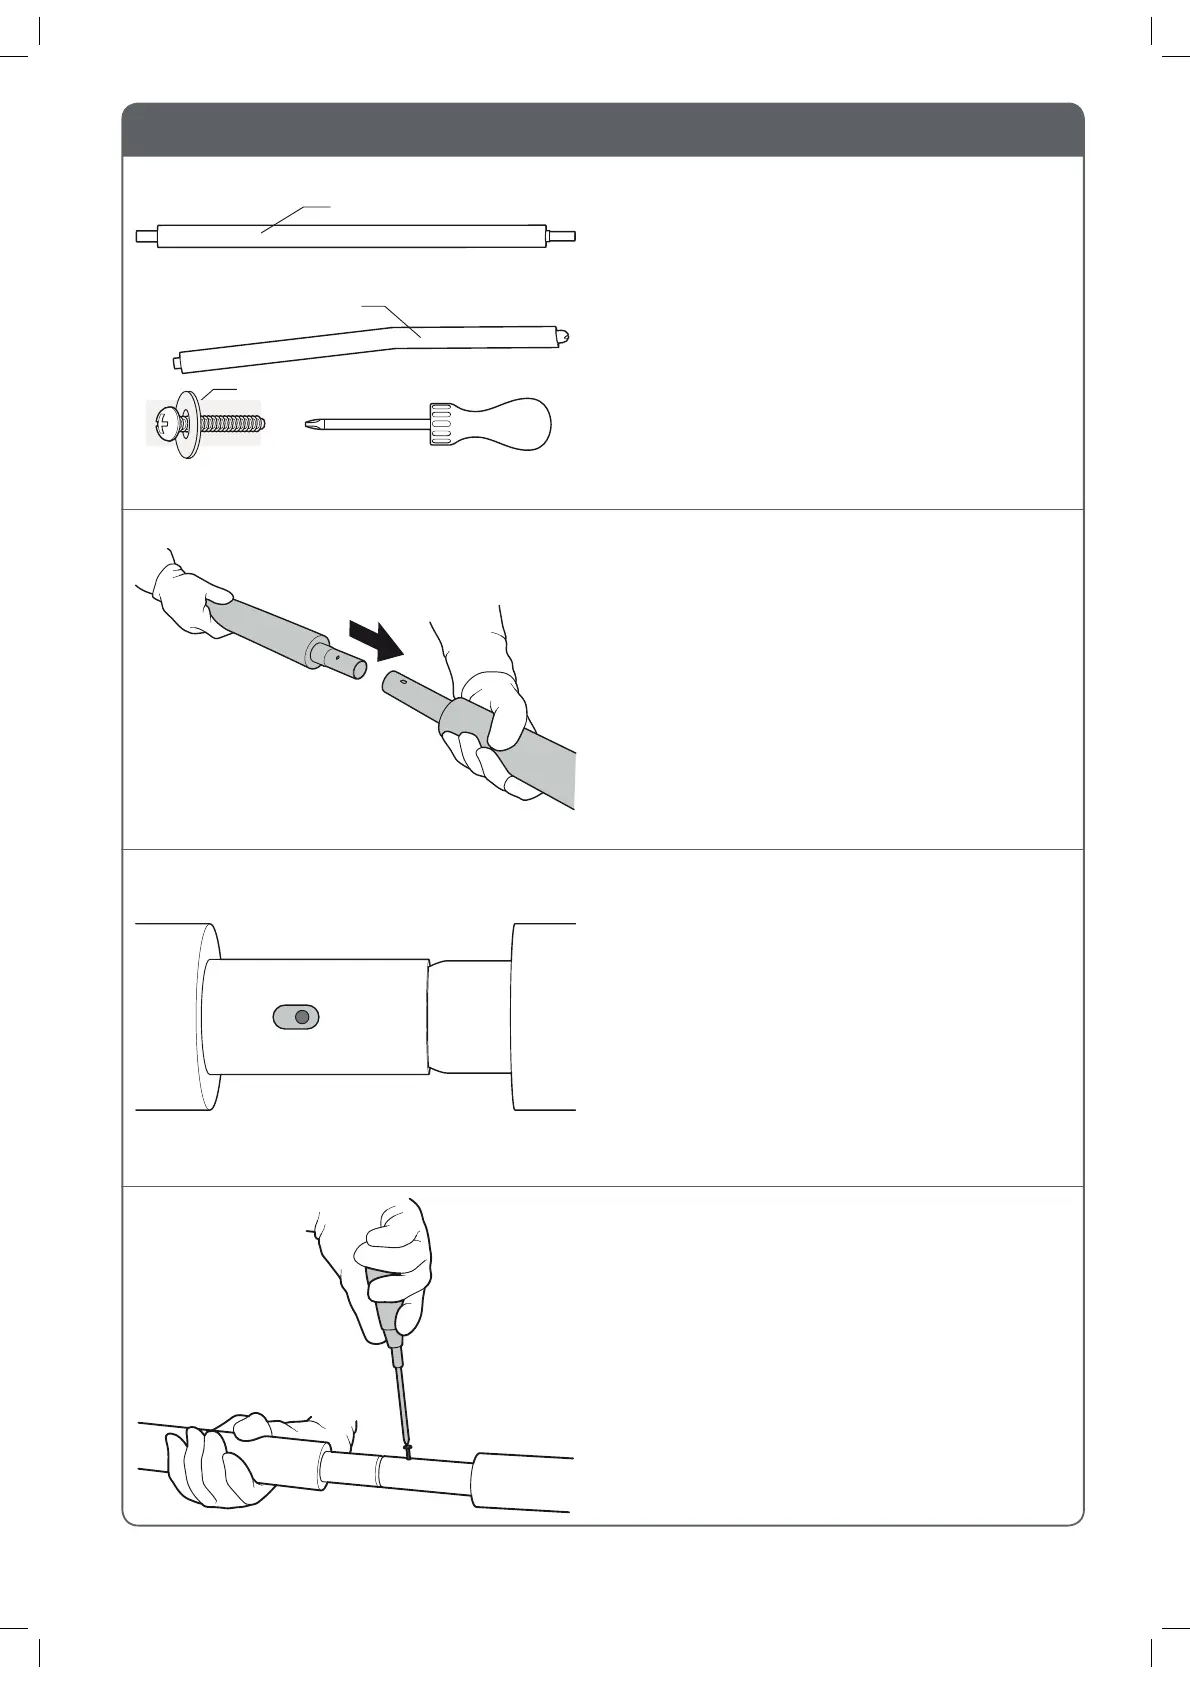
STEP 5 : FITTING THE ENCLOSURE TUBES
You will need the following parts to complete step 5:
8 x Top enclosure tubes
- Part 12
8 x Bottom enclosure tubes
- Part 13
8 x Self tapping screws & washers - - Part 16
You will also need a cross-head screwdriver (not
supplied).
Slot the thin end of one of the bottom enclosure
tubes into the open end of one of the top
enclosure tubes.
Align the screw hole in the bottom enclosure pole
with the screw hole in the top enclosure pole.
Screw one of the self tapping screws through the
hole in the top enclosure pole and into the hole in
the bottom enclosure pole using the cross-head
screwdriver.
Please note the screw is larger than the hole.
Some force will be needed to screw this in.
Top enclosure tube
Bottom enclosure tube
Self tapping screw and washer
Cross-head screwdriver
13