9
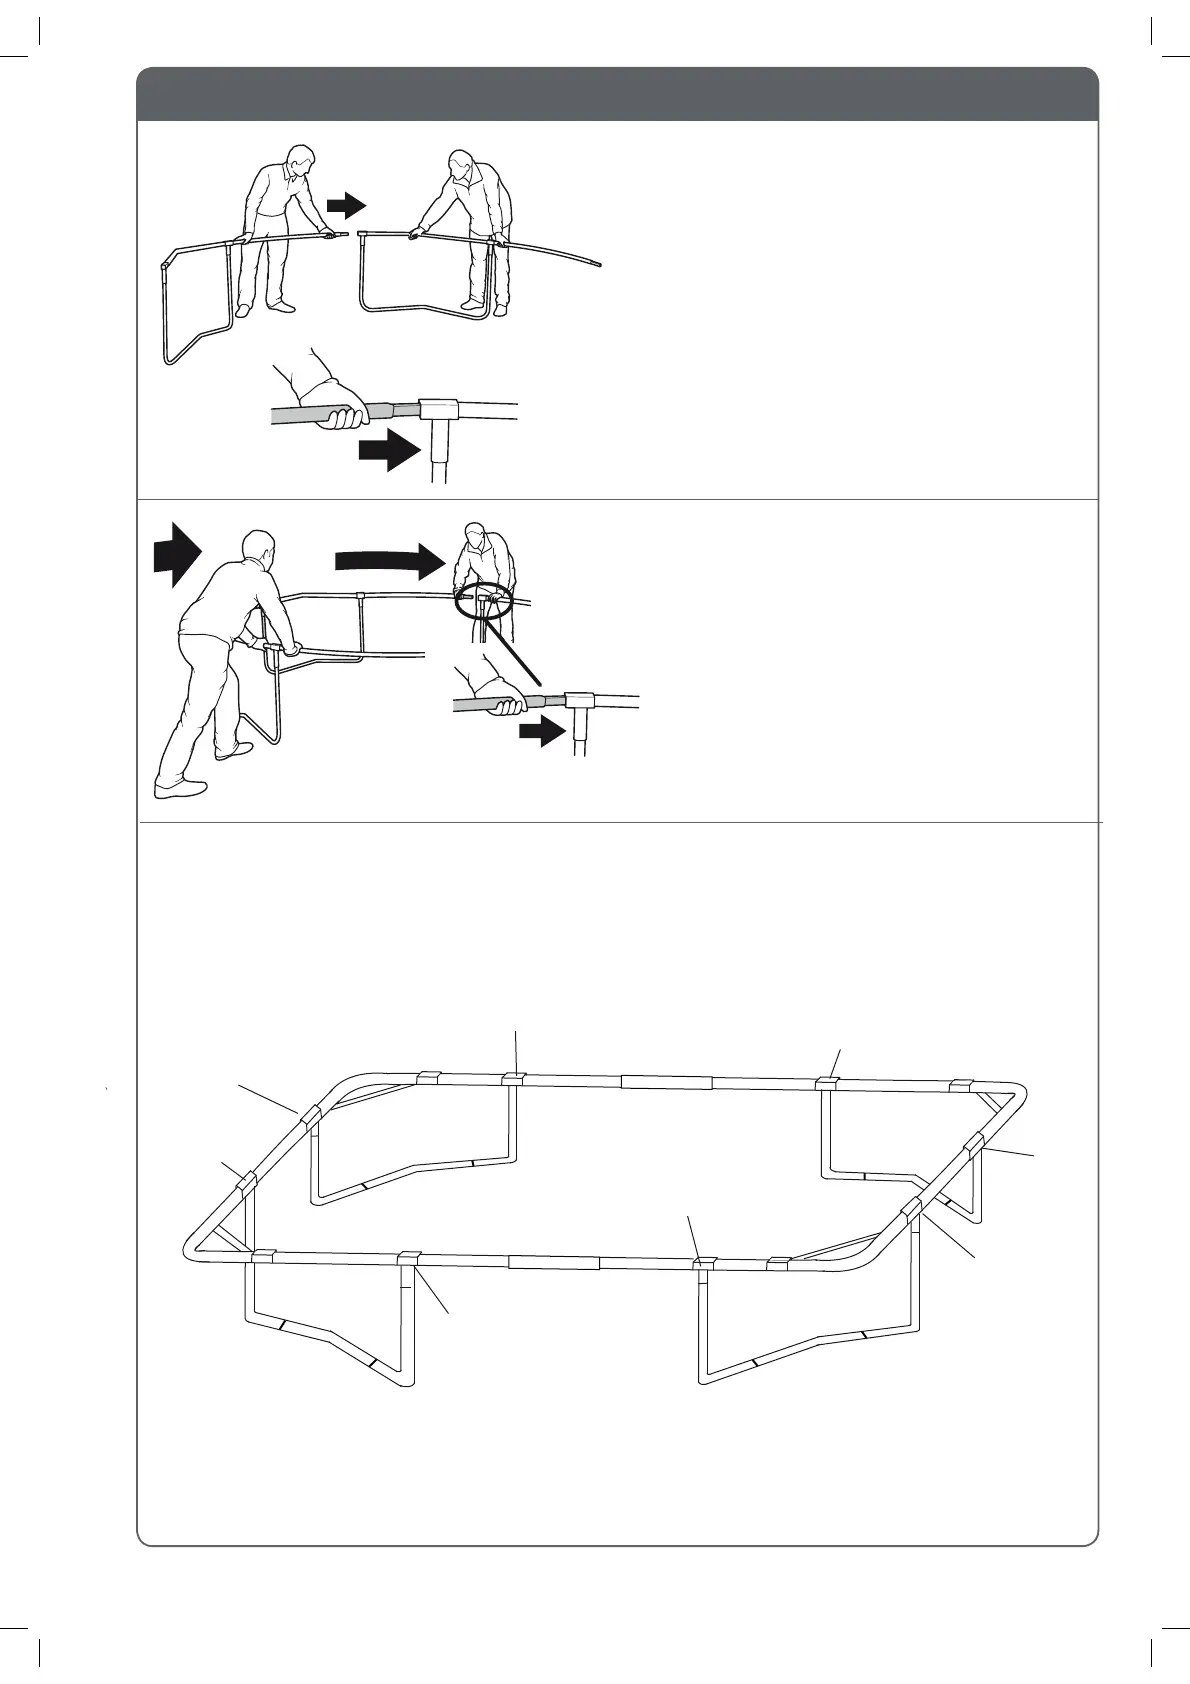
This step will require 2 people who must be
wearing gloves.
Slot two of the frame section together as shown in
the diagram.
You will now need to slot the frame together, this
will take some force. The easiest method is if the
two people face each other.
Important:
Numbers relate to amount of
spring holes on top rail.
Ensure all of the top tubes, L legs
and centre legs are fully inserted.
The frame is now fully assembled and you have
now completed step 2.
Hold the top tubes either side of the
T-Connector+welded tubes and push
towards each other until the loose end of the
frame can be inserted into the T-connector.
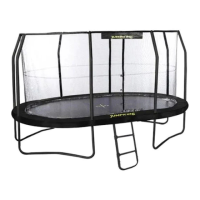
STEP 2 : ASSEMBLING THE FRAME
Attach Part 6: Top tube with A D markings (10
spring holes) in between the T-connector+welded
tube marked A and D. Repeat this to have two halves.
Take the joined Part 4 and 5 top tubes and join the
two halves ensuring the black bolt covers are on
the inside of the frame (facing inwards).
Please ensure the black bolt covers are on the
inside of the frame.
Note: The long side will bow outwards.
With A
marking
A13
A13
B9
With B marking
B9
D9
C9
With C marking
C9
C9
C9
D9
With D
marking
AD10
D13
AD10
D13
With C marking
With B marking
With A
marking
With D
marking