11. Note: During steps 12 and 13, you will “sew” the lower
edge of the Netting(16) to the V-rings on the bed using
the Cords(18).
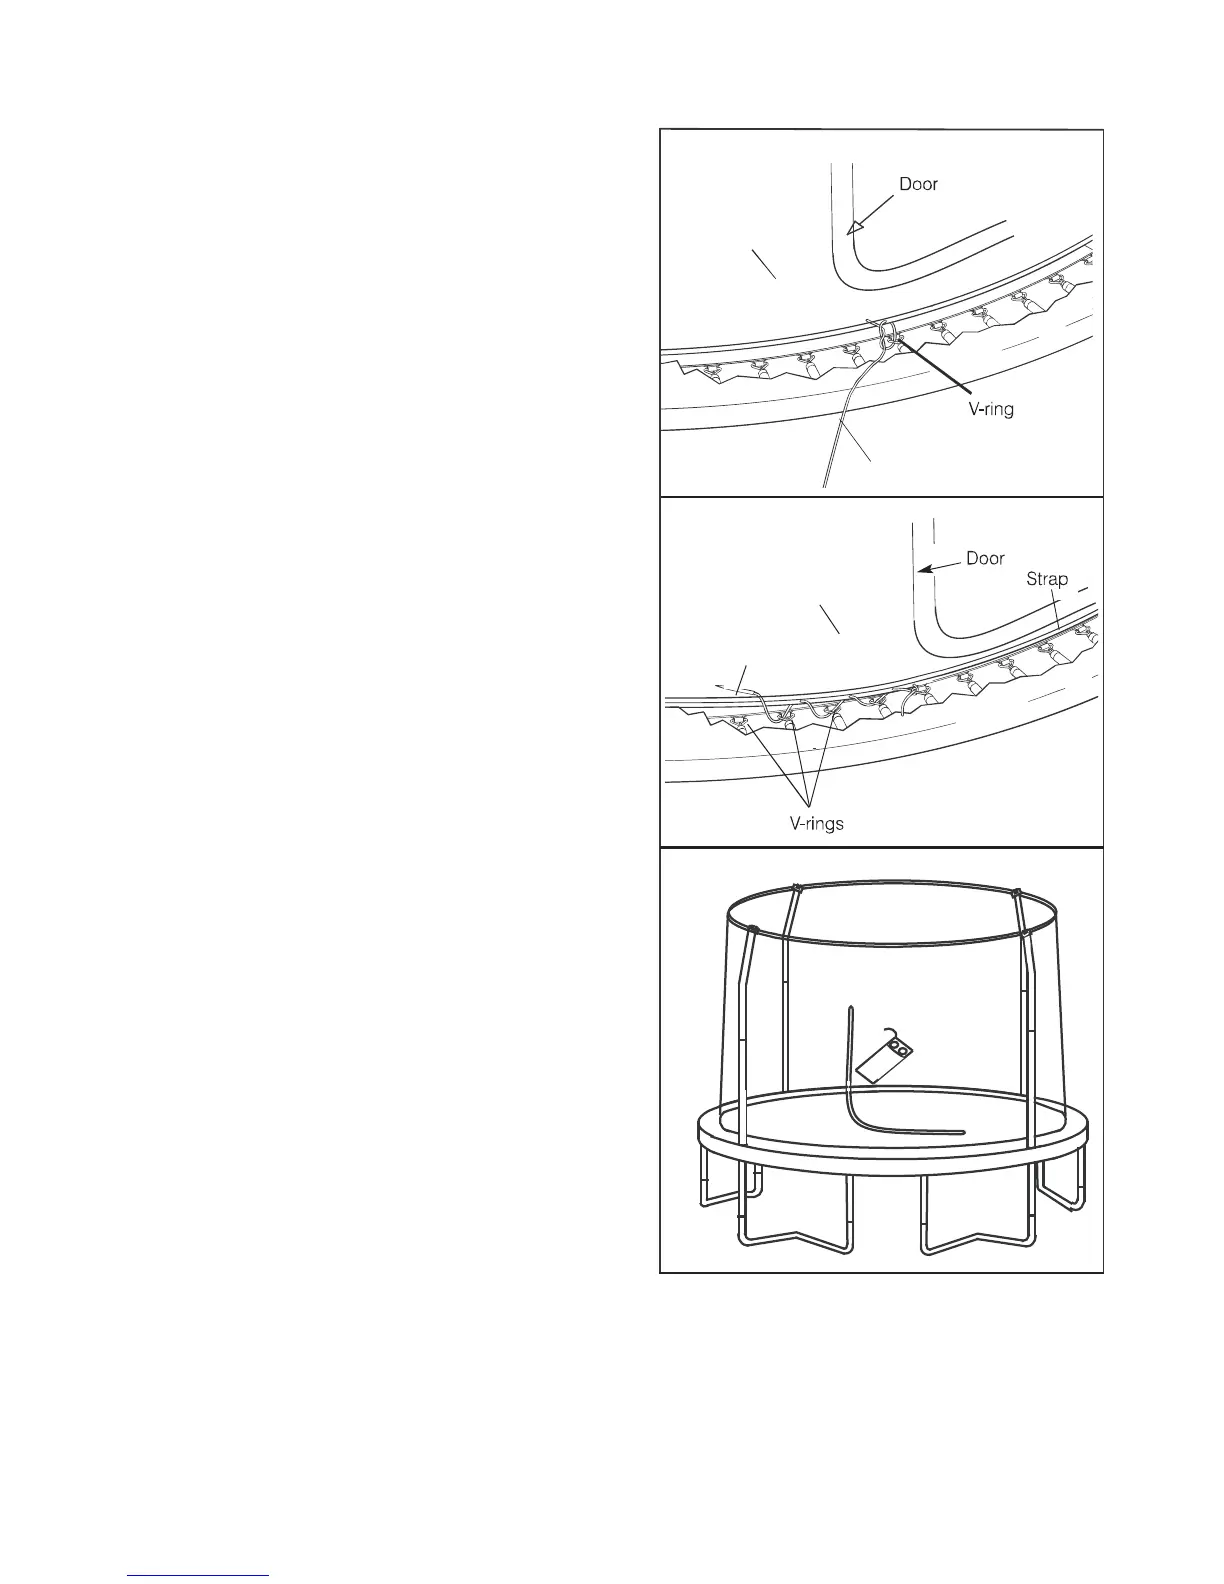
Locate the V-ring closest to the door. Thread one end
of a Cord(18) through the lower edge of the Netting(16)
above the V-ring and then thread the Cord through the
V-ring. Tie the Netting to the V-ring, by making a double
knot in the Cord.
12
13
16
18
16
18
12. Thread the Cord(18) through the lower edge of the
Netting(16) halfway between the first V-ring and the
V-ring to the left, and then thread the Cord through
the V-ring to the left. Repeat this procedure until
the entire Cord is threaded through the Netting and
the V-rings as shown. Keep the Cord taut. Tie the
end of the Cord to the last V-ring that it reaches.
Tie a second Cord(not shown)to the last V-ring
reached by the first Cord. Thread the second Cord
through the Netting(16) and the V-ring as described
above. Repeat this procedure with the remaining
Cords until the last Cord reaches the first Cord.
(Note: The last Cord may overlap the first Cord.)
Make sure that the Netting is sewn to every V-ring
on the trampoline bed; the Netting below the door
must also be sewn to the V-rings.
13. Using the included plastic tie,attach the Safety
Placard(10)to the Netting(16)near the door as
shown.
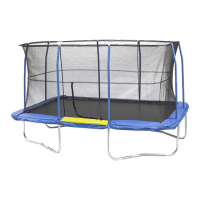
The trampoline/enclosure is now fully assembled.
Make sure that all parts are securely attached.
Familiarize yourself and all users of the trampo-
line/enclosure with the safety precautions, use
and instructional materials, and care and mainten-
ance instructions in this manual before using.
Disassembly
To disassemble the trampoline/enclosure,follow assembly steps 1 through 14 in reverse order.
Do not attempt to disassemble any trampoline frame components before the springs and the bed
have been removed. Use gloves to protect your hands from pinch points during disassembly.
11
20
10
 Loading...