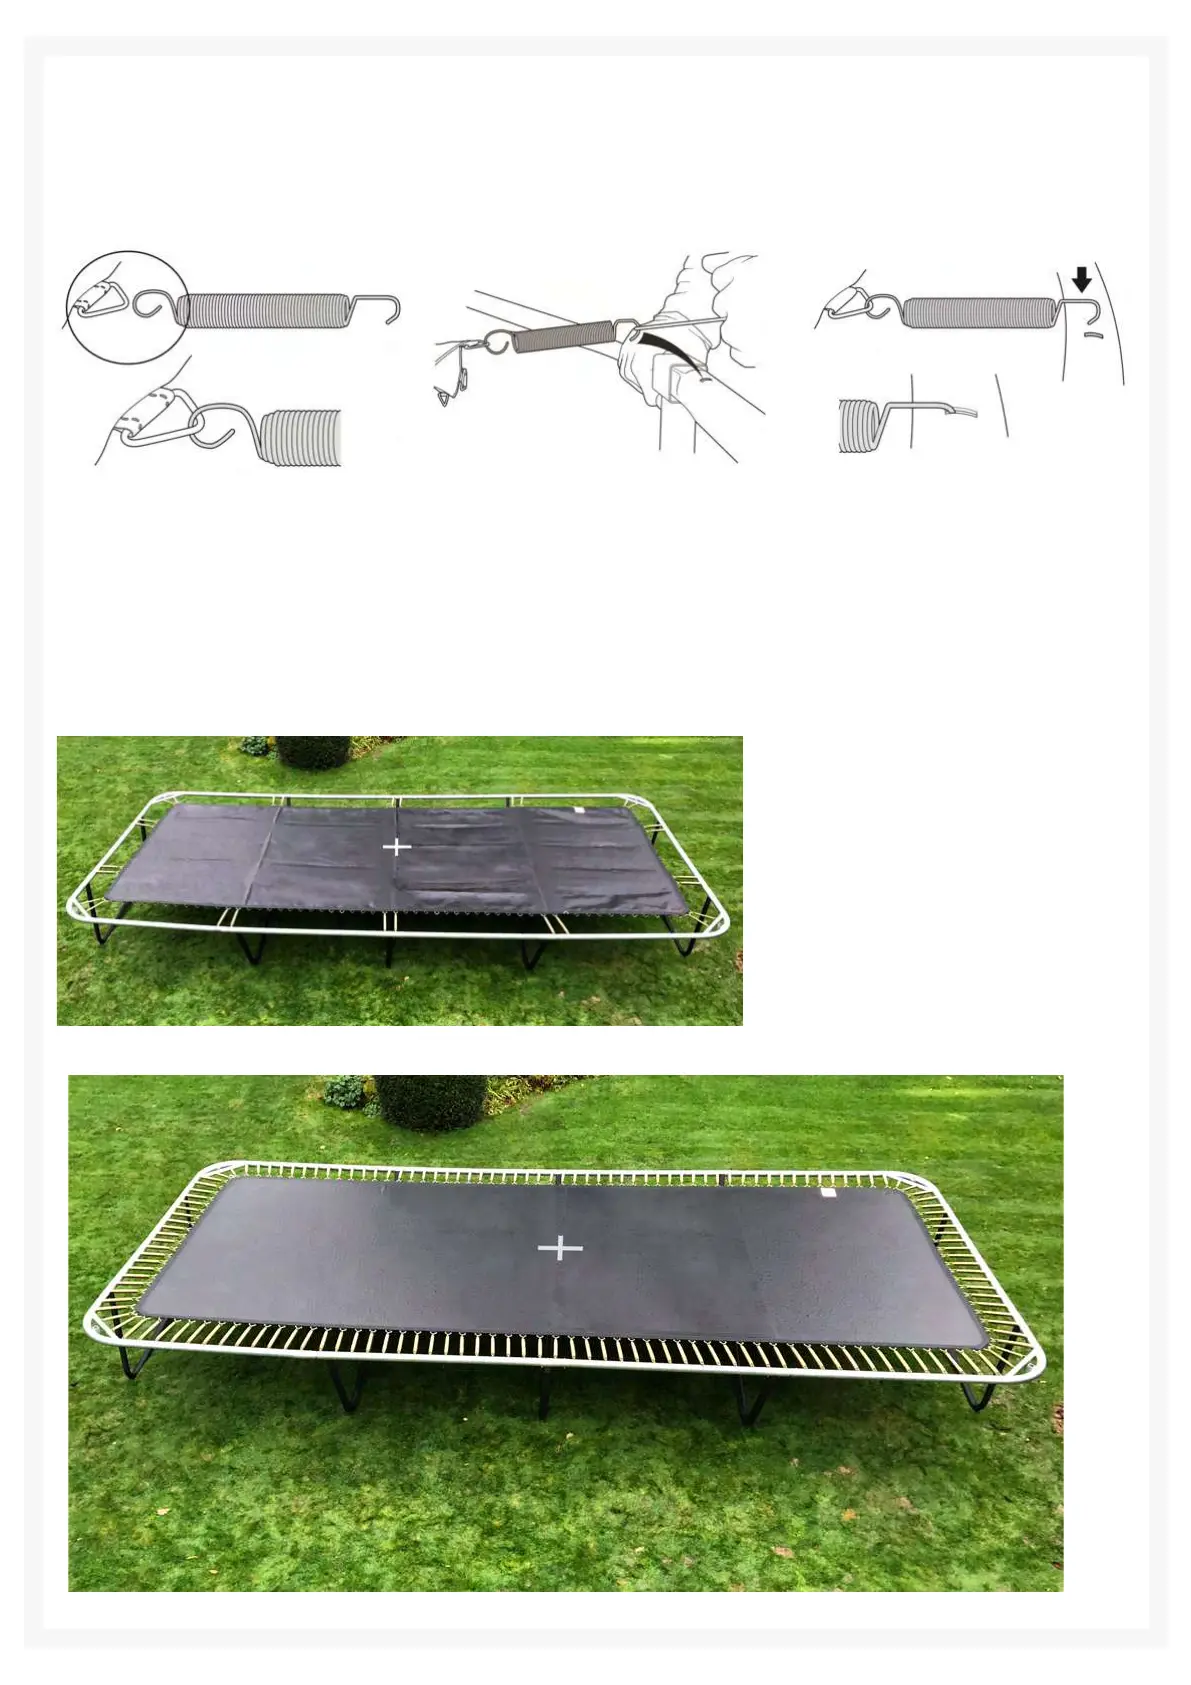
7. First, slot one of the springs (H) onto one of the D-rings of the jumping mat (B). Then, slot the
other end of the Spring into one of the spring holes in the top of the frame by using the spring pulling
tool (M).
Important: Springs must be attached on the right way around and fully inserted into the holes along
the top of the frame.
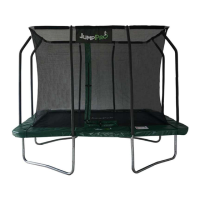
STEP 3: ATTACHING THE BED
WARNING:
Be careful where you place your hands during spring assembly as connector points can pinch!
8. First connect all 8 corner
springs to the corners of top
rails. To even out the tension
and avoid over stretching the
springs, continue connecting
every few springs in the above
sequence until all springs are
attached.
10
2
1
4
35
6
7
8
9
10
11
12
13
14