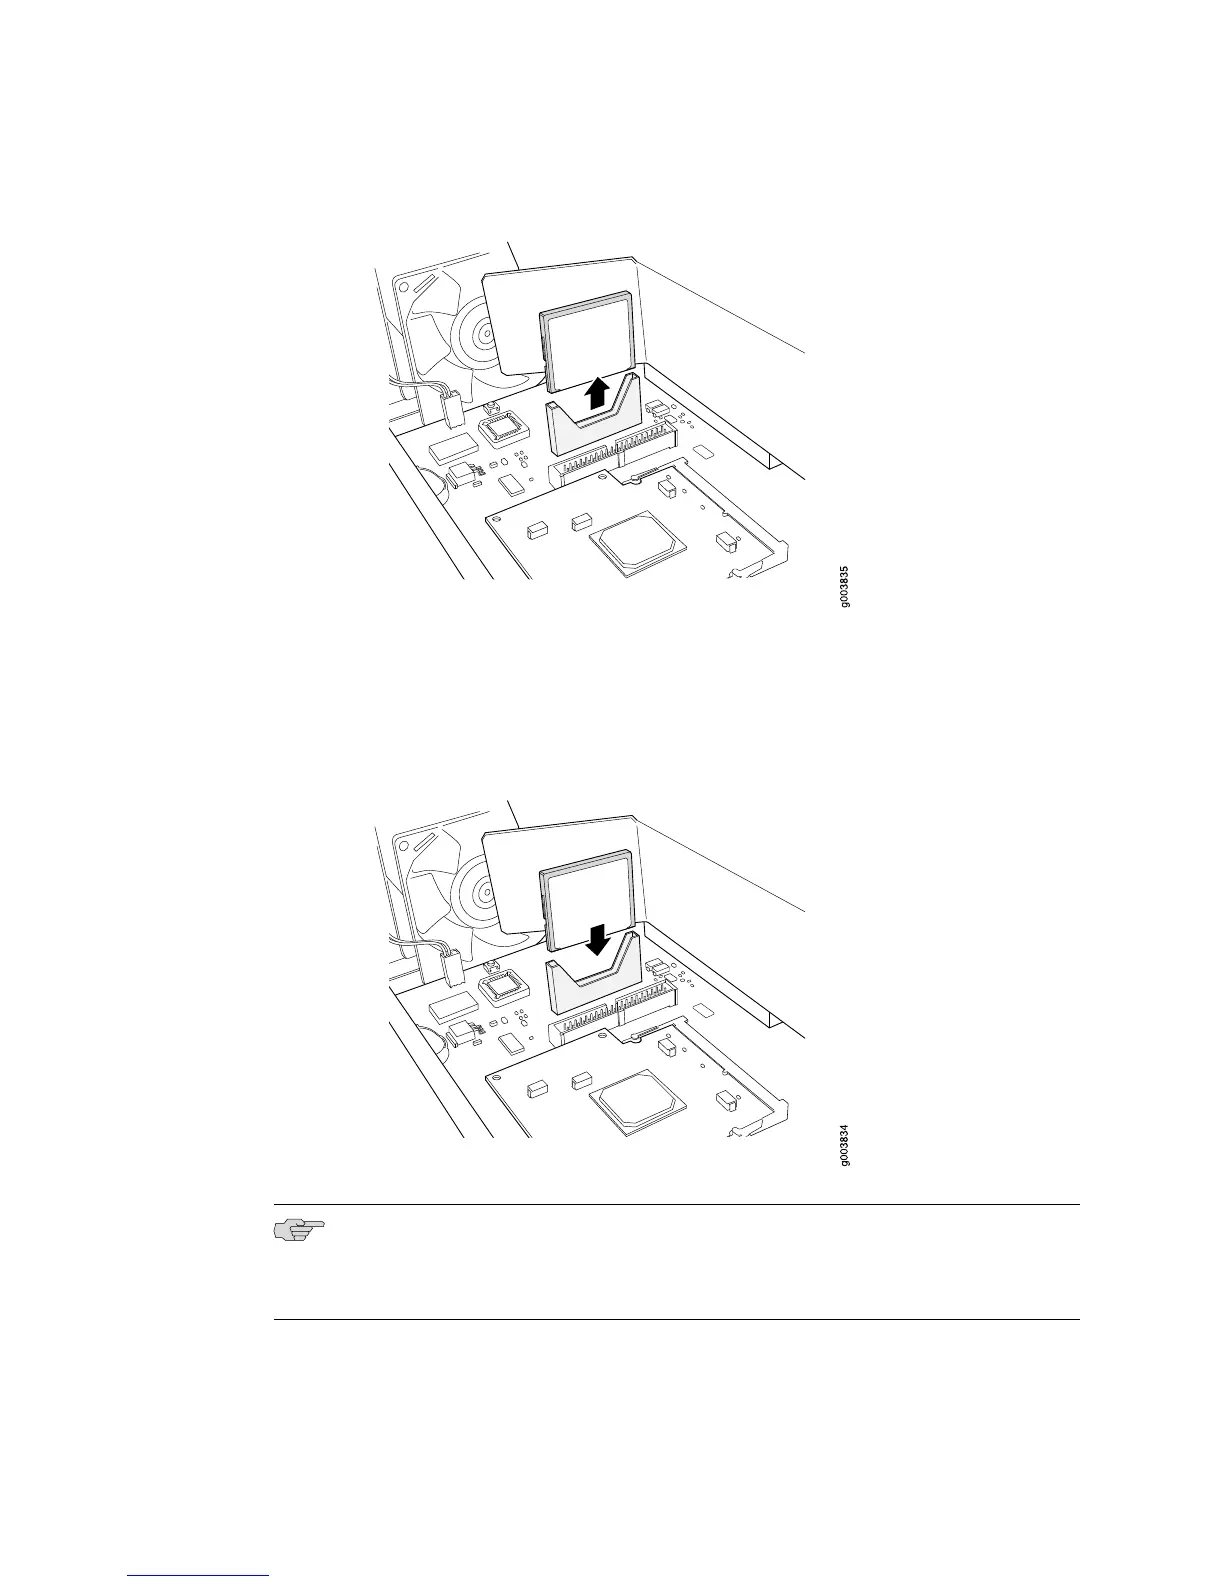
Figure 81: Removing the J4350 or J6350 Compact Flash
8. Place the compact flash on the antistatic mat or in the electrostatic bag.
9. Slide the new compact flash into the slot and press down, as shown in
Figure 82 on page 185.
Figure 82: Inserting the J4350 or J6350 Compact Flash
NOTE: On some Services Routers the compact flash is in a horizontal position. If the
compact flash connection is horizontal, lay the compact flash behind the slot and
slide it forward until it clicks into place.
10. Slide the cover onto the chassis.
11. Replace and tighten the screws on the sides and top of the chassis that secure
the cover to the chassis.
Replacing Internal Compact Flashes on J4350 and J6350 Routers ■ 185
Chapter 10: Replacing Hardware Components

 Loading...