ENGLISH
13
SETTINGS
Initial: Underlined
Menu operations
Category Menu items Selectable settings, [reference page]
DEMO
DEMO
Display
demonstration
• DEMO ON
• DEMO OFF
: Display demonstration will be activated automatically if no
operation is done for about 20 seconds, [6].
: Cancels.
CLOCK
CLOCK DISP *
1
Clock display
• CLOCK ON
• CLOCK OFF
: Clock time is shown on the display at all times when the
power is turned off.
: Cancels; pressing DISP will show the clock time for about 5
seconds when the power is turned off, [6].
CLOCK SET
Clock setting
: Adjust the hour, then the minute, [6].
[Initial: 0:00]
24H/12H
Time display mode
• 24 HOUR
• 12 HOUR
: See also page 6 for setting.
CLOCK ADJ *
2
Clock adjustment
• AUTO
• OFF
: The built-in clock is automatically adjusted using the CT
(clock time) data in the Radio Data System signal.
: Cancels.
EQ
EQ
Equalizer
: Select a preset sound mode suitable to the music genre.
USER, ROCK, CLASSIC, POPS, HIP HOP, JAZZ
DISPLAY
DIMMER
Dimmer
• DIMMER ON
• DIMMER OFF
: Dims the display and button illumination.
: Cancels.
SCROLL*
3
Scroll
• SCROLL ONCE
• SCROLL AUTO
• SCROLL OFF
: Scrolls the displayed information once.
: Repeats scrolling (at 5-second intervals).
: Cancels.
Pressing DISP for more than one second can scroll the display regardless of the
setting.
TAG DISPLAY
Tag display
• TAG ON
• TAG OFF
: Shows the Tag information while playing MP3/WMA
tracks.
: Cancels.
*
1
If the power supply is not interrupted by turning off the ignition key of your car, it is recommended to select
“CLOCK OFF” to save the car’s battery.
*
2
Takes effect only when CT (clock time) data is received.
*
3
Some characters or symbols will not be shown correctly (or will be blanked) on the display.
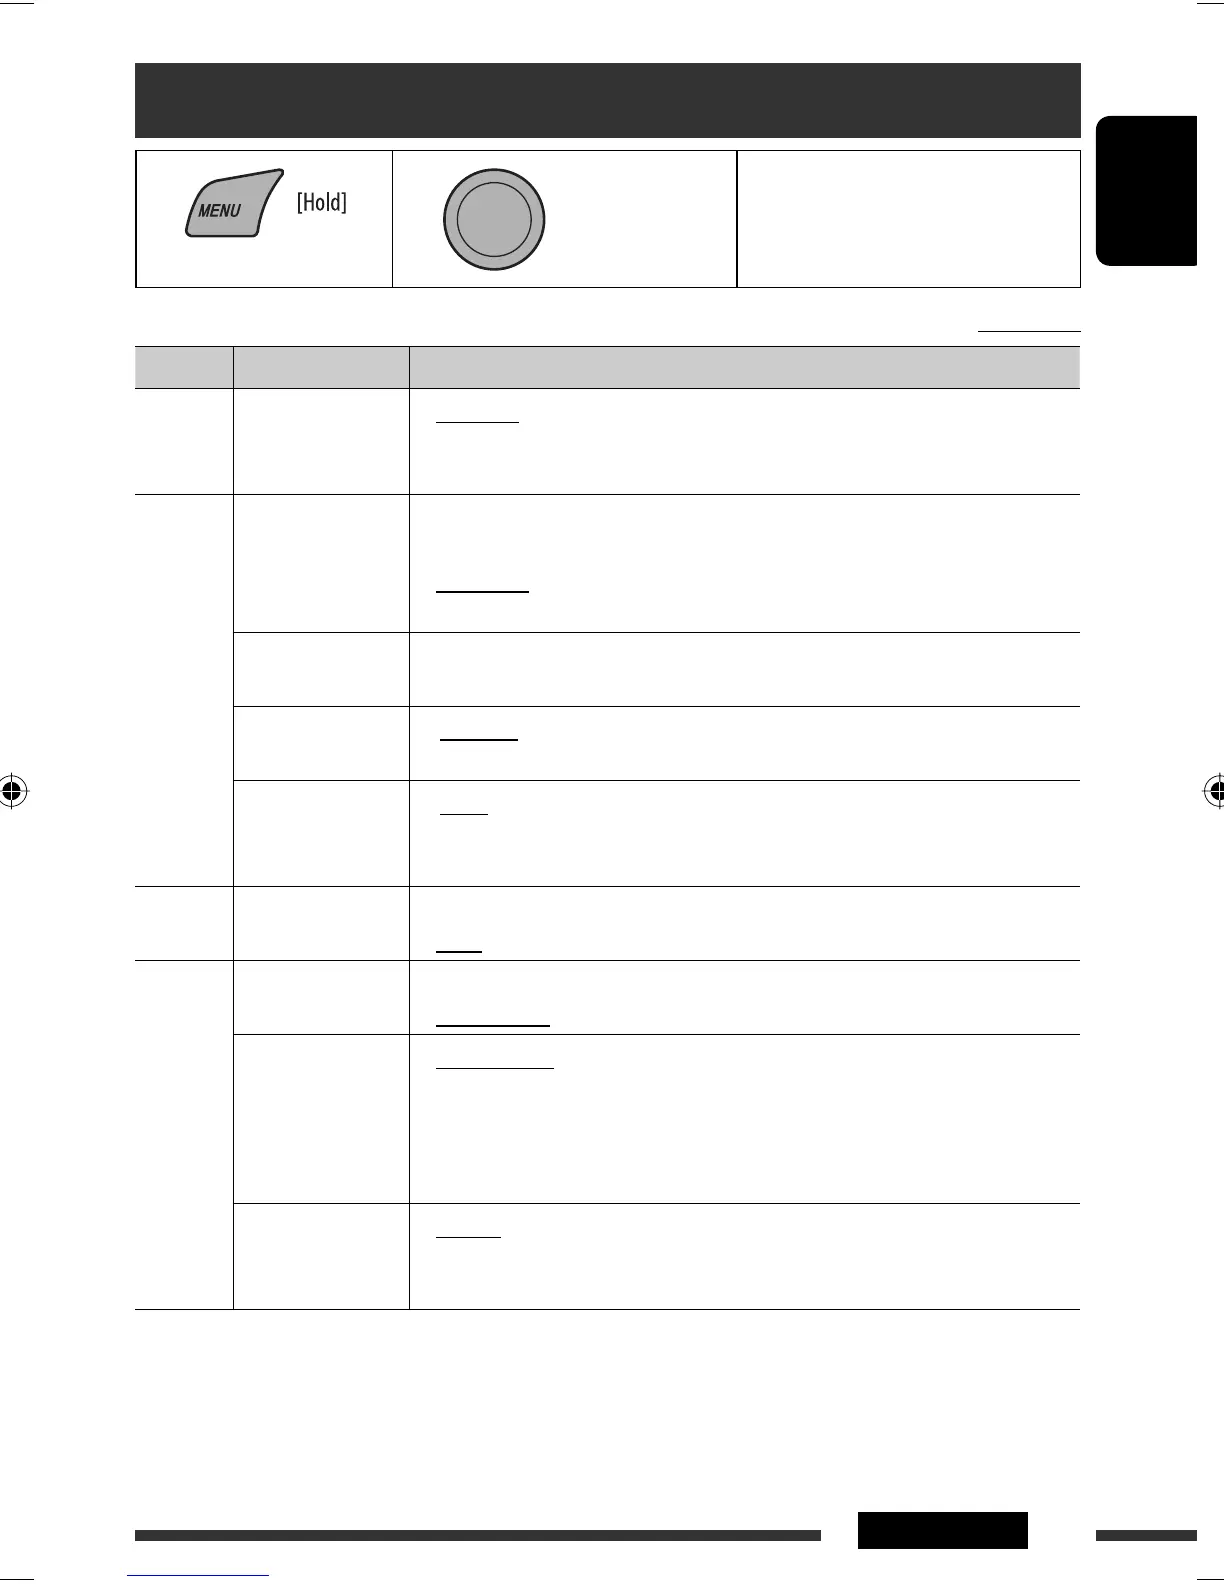
1 2 3 Repeat step 2 if necessary.
• To return to the previous menu,
press BACK.
[Turn] = [Press]
Continued on the next page
EN10-17_KD-R303_003A_f.indd 13EN10-17_KD-R303_003A_f.indd 13 19/9/08 2:38:52 PM19/9/08 2:38:52 PM


 To Next Page