1-22 (No.YF073)
SECTION 5
TROUBLESHOOTING
5.1 SERVICE NOTE
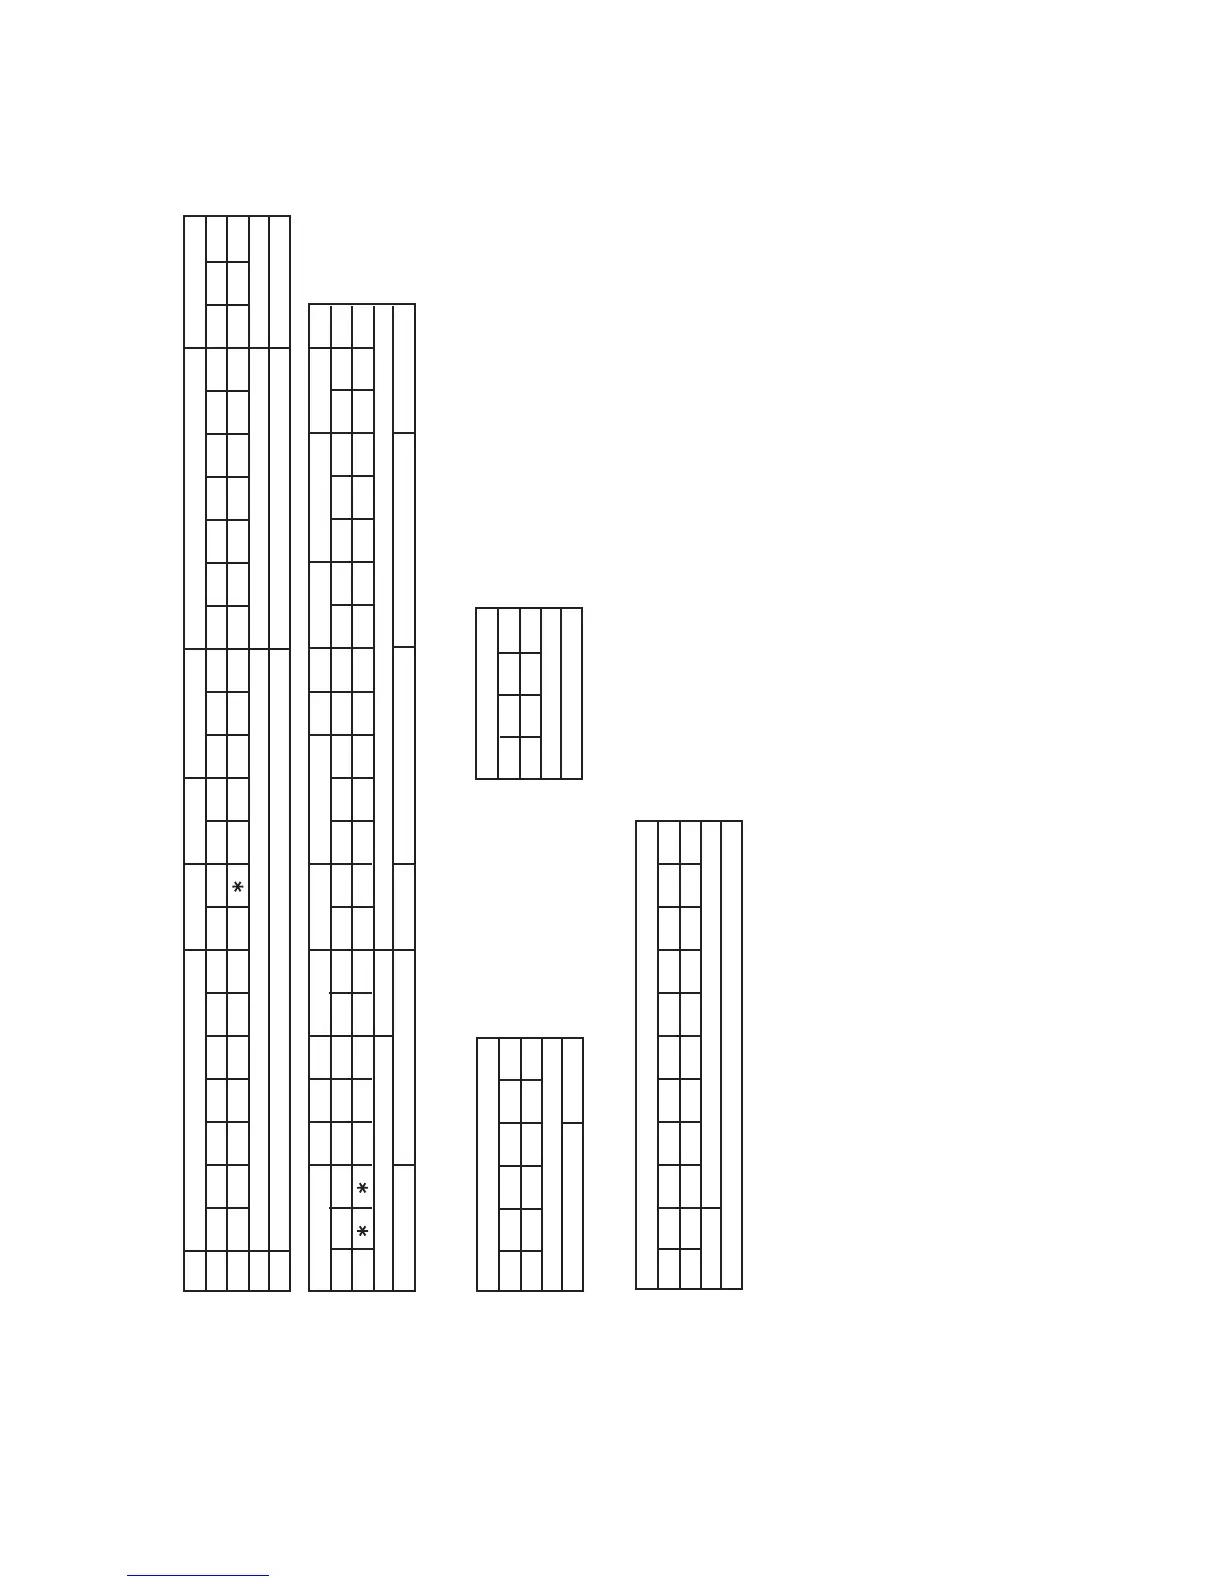
Symbol No. [2] [3] [5][4] [6]
Removing order of screw
1 2 3 4 5 6 7 8 9 10 11 12 13 14 15 16 17
30 31 32 33
18 19
Place to stick screw
Screw tightening torque
Reference drawing FA3
Symbol No.
[7]
[8]
[16]
[8]
[10][9]
[11]
Removing order of screw
20 21 22 23 24 25
34 35 36 37 38 39 -
-
40 41 42 43 44 45 46
26 27 28 29
Place to stick screw
Screw tightening torque
Reference drawing
Symbol No.
Symbol No.
Removing order of screw
Place to stick screw
Screw tightening torque
Reference drawing
<3.2.5 OP BLOCK ASSY>
Removing order of screw
1234
1234 56 7 8 91011
Place to stick screw
Screw tightening torque
Reference drawing
<NOTE>
Fig.3-2-5
FA1 FA2
Fig.3-2-4
[1]
FA4
FA4
FA5 FA6 FA7 FA8 FA9
<3.2.4 MONITOR ASSY>
<3.2.2 CABINET PARTS>
[12] [13] [14] [15] [16]
-
-
[20][17] [19][18]
㧝㧖 (This mark shows where to attach the screws) : Do not reuse the screws because the screw lock bond was applied to prevent the screws from loosening.
Prepare the specified screws and use them in place of the removed screws.
㧞Tightening torque for the screws
There are setting limits of the torque value for the torque driver. If the value exceeds the setting value, take it as a rough measurement (reference value),
and tighten the screw manually.
The specified torque value is a recommended value of the initial assembly. Therefore, set the value below the specified torque value in the assembling procedure.
Be careful not to break either the screws or the screw holes.
ޓa㧦 0.196N㨯m (2.0kgf㨯cm)ޓޓb㧦 0.118N㨯m (1.2kgf㨯cm) ޓޓc㧦 0.078N㨯m (0.8kgf㨯cm)ޓޓd㧦 0.098N㨯m (1.0kgf㨯cm)ޓޓ
a
d
bc
a
aaaa
b
[5]
Removing order of screw
Place to stick screw
Screw tightening torque
Reference drawing
<3.2.3 VF ASSY>
1234 56
VF1 VF3
d



 To Next Page