28
B
K
1 Black Fader
2 Blue Fader
3 Mosaic Fader
4 Shutter Wipe
5 Slide Wipe
OFF
B
K
C
RECORDING
Advanced Features (cont.)
Fade/Wipe
These effects let you make pro-style scene transitions.
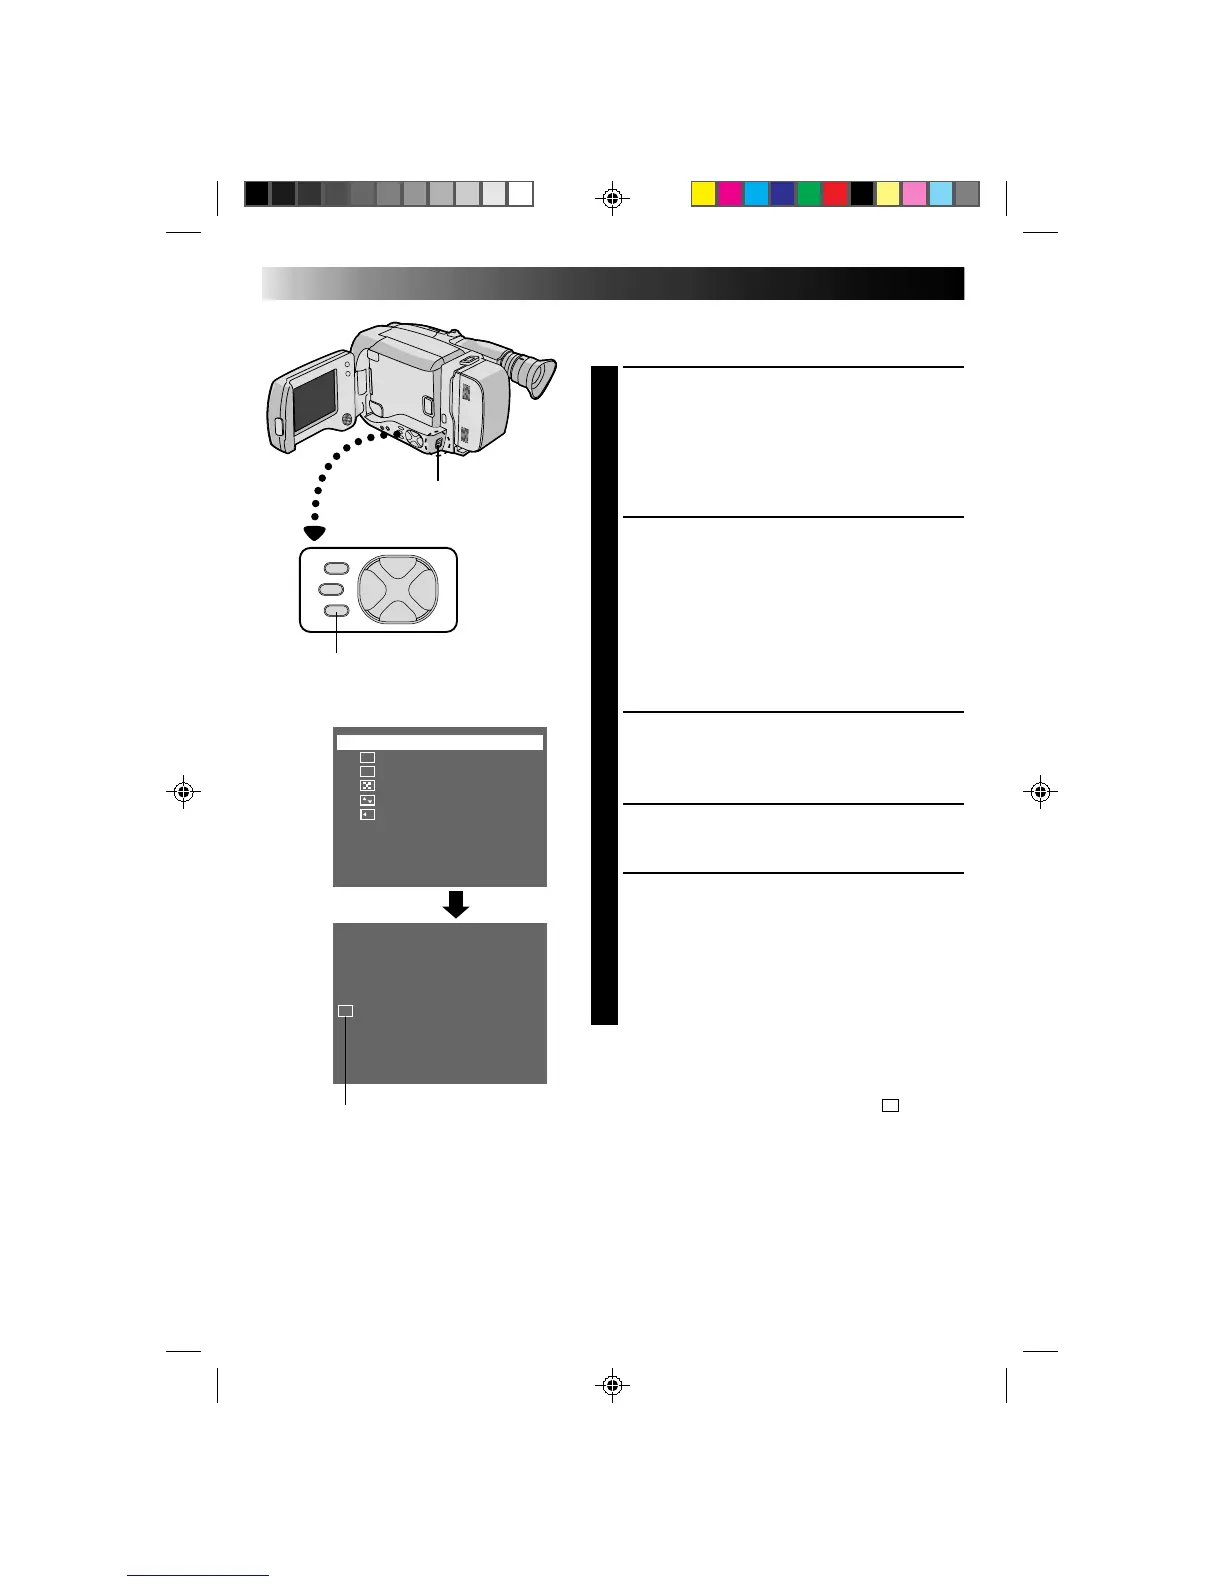
SELECT SHOOTING MODE
1
Set the Shooting Mode selector to either “FULL
AUTO” or “PRESET”.
If you set to “FULL AUTO”, . . .
.... only the Black Fader mode is available.
If you set to “PRESET”, . . .
.... you can choose any one of the effects available.
RESERVE EFFECT
2
If you set to “FULL AUTO”, . . .
.... pressing FADE/WIPE turns the Black Fader
mode on and off.
If you set to “PRESET”, . . .
.... pressing FADE/WIPE brings up the Fade/Wipe
menu. Press again to move the highlight bar to
the desired effect. Once you decide on an
effect, it is selected and reserved, and its
indicator appears, within 2 seconds.
START RECORDING
3
Press RECORDING START/STOP to start recording
and activate a fade- or wipe-in.
OR . . .
END RECORDING
Press RECORDING START/STOP to stop recording
and engage a fade- or wipe-out.
DEACTIVATE EFFECT
4
When the Shooting Mode Selector is set to “FULL
AUTO”, . . .
.... press FADE/WIPE.
When set to “PRESET”, . . .
.... press FADE/WIPE to bring up the Fade/Wipe
menu, then press again to move the highlight
bar to “OFF”.
NOTE:
When the Shooting Mode selector is set to “FULL AUTO”,
after a fade-in, Black Fader is no longer reserved. To
reserve it for a fade-out, press FADE/WIPE. “
B
K
” appears
in the LCD monitor or the viewfinder.
Fade/Wipe menu
FADE/WIPE indication
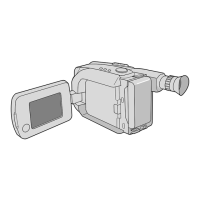
Shooting mode selector
FADE/WIPE
LCD monitor or viewfinder