EN
11
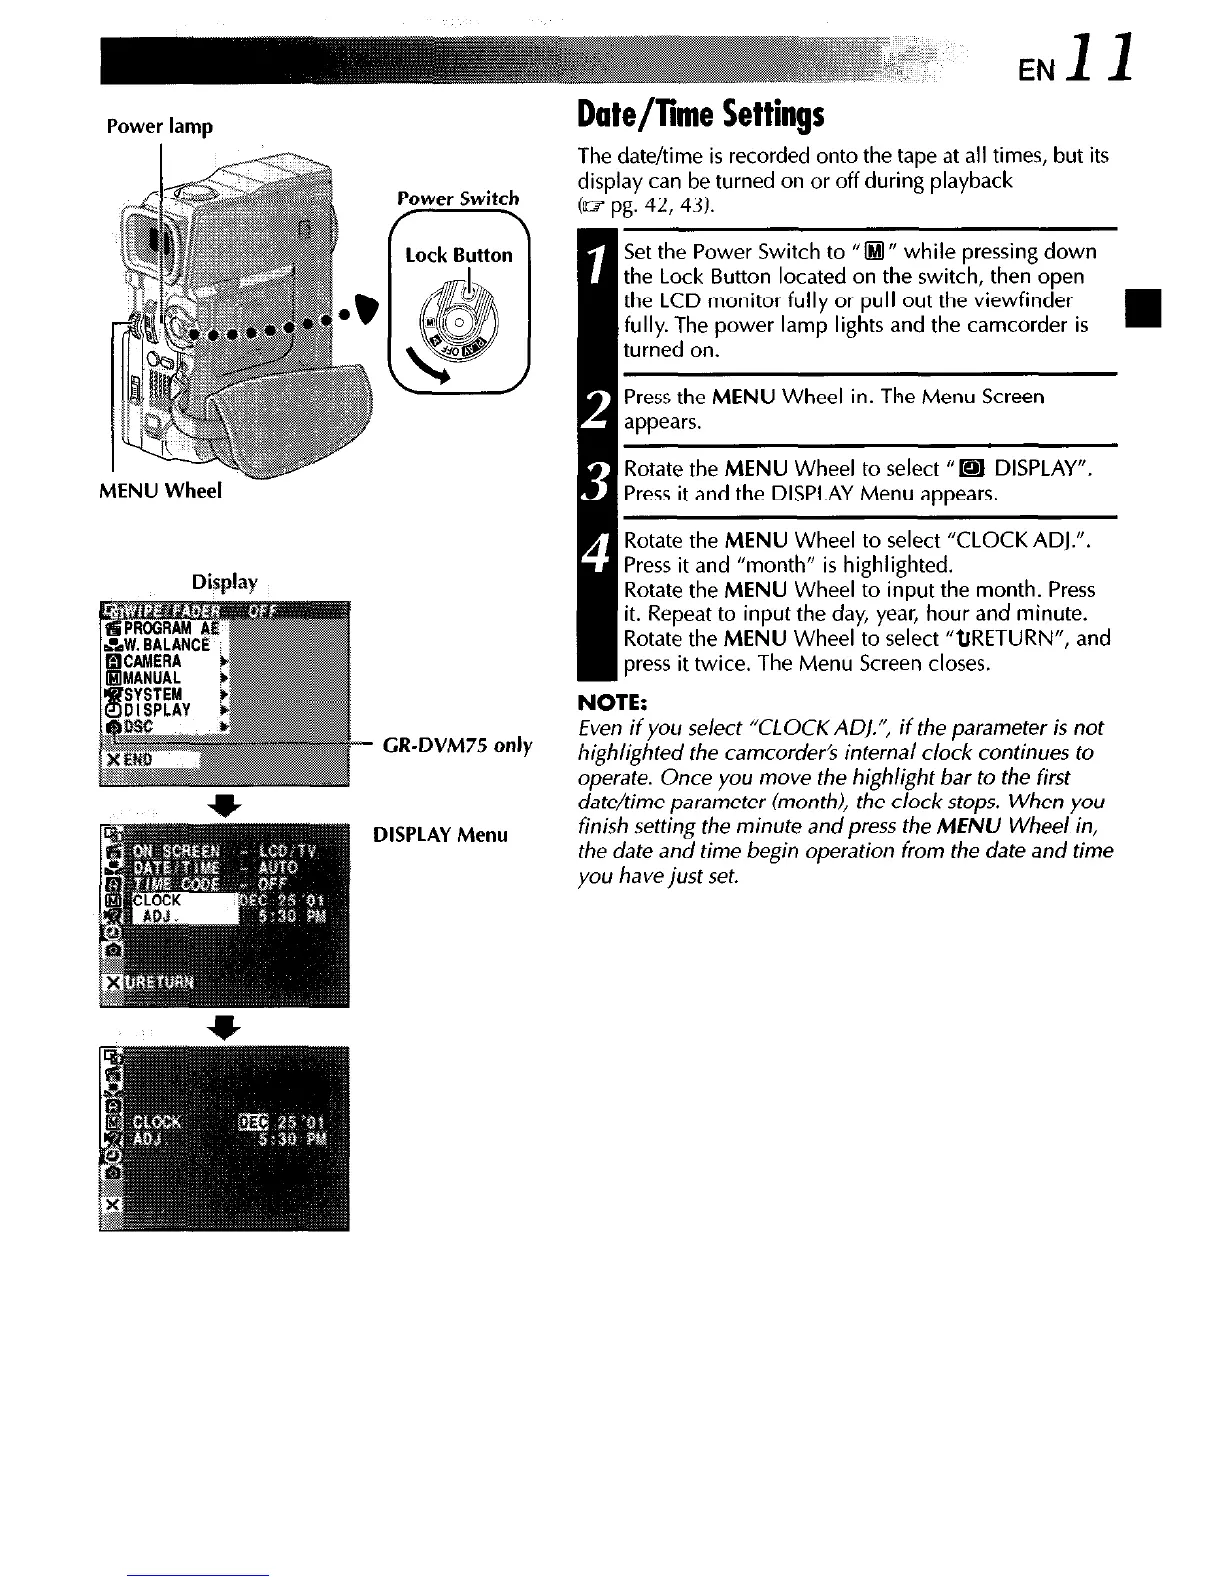
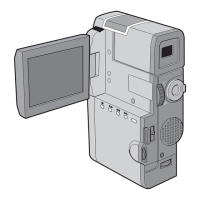
Power lamp
Power Switch
- MENU Wheel
Display
CR-DVM75 only
DISPLAY Menu
Date/Time Settings
The date/time is recorded onto the tape at all times, but its
display can be turned on or off during playback
(o? pg. 42,43).
Set the Power Switch to “0” while pressing down
the Lock Button located on the switch, then open
the LCD monitor fully or pull out the viewfinder
fully. The power lamp lights and the camcorder is
I
turned on.
Press the MENU Wheel in. The Menu Screen
appears.
Rotate the MENU Wheel to select “m DISPLAY”.
Press it and the DISPLAY Menu appears.
Rotate the MENU Wheel to select “CLOCK ADJ.“.
Press it and “month” is highlighted.
Rotate the MENU Wheel to input the month. Press
it. Repeat to input the day, year, hour and minute.
Rotate the MENU Wheel to select “tIRETURN”, and
press it twice. The Menu Screen closes.
NOTE:
Even if you select “CLOCK AD/.“, if the parameter is not
highlighted the camcorder’s internal clock continues to
operate. Once you move the highlight bar to the first
date/time parameter (month), the clock stops. When you
finish setting the minute and press the
MENU
Wheel in,
the date and time begin operation from the date and time
you have just set.