16 EN
25MIN
120MIN
3MIN
2MIN
MIN 119MIN
1MIN0MIN
NOTE:
You should already have performed the procedures listed
below. If not, do so before continuing.
●
Power (
Z
pg. 8)
●
Recording Mode Setting (
Z
pg. 12)
●
Load A Cassette (
Z
pg. 10)
●
Grip Adjustment (
Z
pg. 15)
●
Viewfinder Adjustment (
Z
pg. 15)
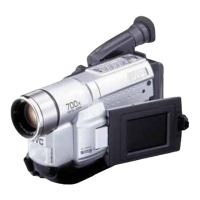
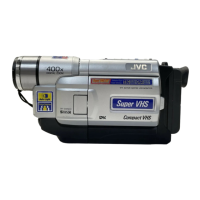
1
Turn the LENS COVER Open/Close Ring to open the
lens cover. Set the Power Switch to “CAMERA”
(“AUTO” or “PRO.”). The power lamp lights and the
camcorder enters the Record-Standby mode.
“PAUSE” is displayed in the viewfinder.
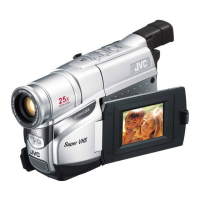
2
Press the Recording Start/Stop Button. “ ” appears
in the viewfinder while recording is in progress.
To Stop Recording . . .
.... press the Recording Start/Stop Button. The camcorder
re-enters the Record-Standby mode.
Power Switch
Recording Start/Stop Button
Tape remaining
time indicator
(Approximate)
(Now calculating)
(Blinking) (Blinking) (Blinking)
LENS COVER Open/Close Ring
RECORDING
Basic Recording
Power Switch Position
AUTO : Suitable for standard recording using NO
special effects or manual adjustments.
PRO. : Allows you to set recording functions using
the menus for more creative capabilities.
OFF : Switches off the camcorder.
PLAY : Allows you to play back your recordings.