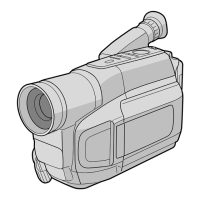
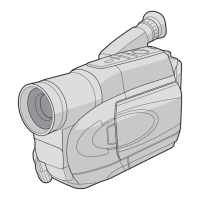
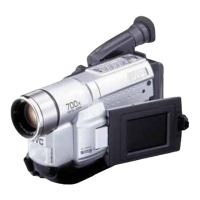
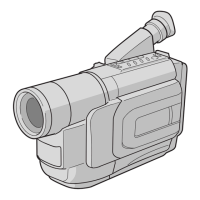
23
ADVANCED FEATURES
Fade/Wipe Effects
Fade- or wipe-in works at recording start, and fade-
or wipe-out works at recording end.
1) Set the Power Switch
@ to “ ” while pressing
down the Lock Button
! located on the switch.
2) Press FADE/WIPE
w repeatedly until the
desired mode appears.
3) Press the Recording Start/Stop Button
0 to
activate fade-in/out or wipe-in/out.
• Pressing and holding the Recording Start/Stop
Button
0 allows you to vary the length for the
image during fade in/out or wipe in/out.
• To cancel a fade or wipe, press FADE/WIPE
w
repeatedly until “OFF” appears.
FADER: Fades in/out to a black screen.
FADER: Fades in/out with a white screen.
MOSAIC (Fader): Gradually turns/returns the
picture into/from a mosaic pattern.
SHUTTER (Wipe): A black screen moves in
from the top and bottom, closing over the image
like a shutter, or a new image pushes open the
black screen vertically from the center.
SLIDE (Wipe): A black screen moves in from
the left to gradually cover the image, or a new
image moves in from right to left.
DOOR (Wipe): Wipes in as the two halves of
a black screen open to the left and right, revealing
the scene, or wipes out and the black screen
reappears from left and right to cover the scene.
CORNER (Wipe): Wipes in on a black screen
from the upper right to the lower left corner,
revealing the scene, or wipes out from lower left to
upper right, leaving a black screen.
WINDOW (Wipe): Wipes in on a black screen
from the center of the screen towards the corners,
revealing the scene, or wipe out from the corners
to the center, leaving a black screen.
SCROLL (Wipe): Wipes in on a black screen
from the bottom to the top, revealing the scenes, or
wipes out from the top to the bottom, leaving a
black screen.
Program AE With Special Effects
1) Set the Power Switch @ to “ ” while pressing
down the Lock Button
! located on the switch.
2) Press P.AE
^ repeatedly until the desired mode
appears.
• To cancel the effect, press P.AE
^ repeatedly
until “OFF” appears.
• Only one mode can be engaged at a time.
• In the “High Speed Shutter” or “Sports” modes,
picture color may be adversely affected if the
subject is lit by alternating discharge-type light
sources such as flourescent or mercury-vapor
lights.
SPORTS: High shutter speed clearly captures
fast-moving action.
ND : ND EFFECT: A black mist darkens the
picture, as when an ND filter is used. Helps to
counter the effects of glare on the subject.
FG : FOG: Makes the picture look misty white, as
when an external fog filter is attached to the lens.
Softens the image and gives it a “fantasy” look.
TWILIGHT: Dusk, twilight scenery, fireworks,
etc., look more natural and dramatic. In this mode,
the Auto Focus (
墌 pg. 12) and S.LX (墌 pg. 20)
may not work.
S1/2000 (1/2000 sec. High Speed Shutter):
Captures faster action than Sports mode. The
screen becomes slightly dark. Use in well-lit
situations.
SUNSET: Makes scenes have a reddish tint
like sunset.
SURF & SNOW: Compensate for subjects
that may otherwise appear too dark when shooting
in extremely bright surroundings such as in the
snow or beach. In this mode, the fast-moving
images can be recorded since the shutter speed
becomes fast.
GR-SXM260_23-28_EN 1/12/03, 9:48 AM23
 Loading...