Do you have a question about the JVC GR-SXM48EA and is the answer not in the manual?
General warnings and cautions for safe operation and handling.
Guide on using the battery pack, including recording times.
Instructions for charging the battery pack.
Instructions for connecting and using AC power.
Procedure to discharge and refresh battery packs for optimal performance.
How to set the camcorder's date and time.
Adjusting the grip for comfortable operation of controls.
Adjusting the viewfinder for clear focus of display indications.
How to attach and adjust the shoulder strap for carrying.
Instructions for mounting the camcorder securely on a tripod.
Step-by-step guide to inserting and removing video cassettes.
Explanation of various indicators shown on the LCD monitor and viewfinder.
How to record still images onto tape.
Compensating for camera shake for stable images.
Recording short 5-second clips for scene transitions.
How to manually adjust focus when auto focus is insufficient.
Adjusting exposure settings for optimal image brightness.
Manual white balance adjustment for accurate color reproduction.
Adjusting brightness for low-light shooting.
Superimposing preset titles in different languages.
Setting the display of date and time on recordings.
Setting the recording mode (e.g., SP, LP) for desired recording time.
Adjusting digital zoom magnification levels.
Enabling a widescreen effect with black bars.
Selecting S-VHS or S-VHS ET recording for enhanced quality.
Setting tape length for accurate remaining time display.
Controlling on-screen indications during recording/playback.
Turning on or off on-screen display indications.
Setting recording time for Animation mode.
Setting interval time for Time-Lapse recording.
Enabling macro shooting at close distances.
Selecting the language for menu screens.
Selecting the language for title superimposition.
Setting the current date and time.
Activating or deactivating the automatic demonstration mode.
Enhancing image brightness in dark conditions.
Applying fade-in/out and wipe effects during recording.
Using automatic program AE modes with special effects.
Applying various digital image effects to recordings.
Explains various warning lights and error messages.
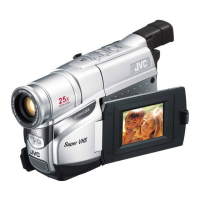
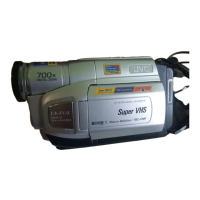
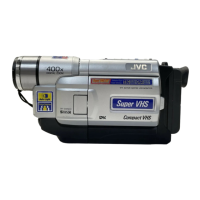
| Camcorder Media Type | VHS-C |
|---|---|
| Optical Sensor Type | CCD |
| Optical Zoom | 16x |
| Image Stabilizer | Electronic |
| Focus Adjustment | Automatic |
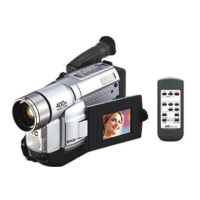
| Display Type | LCD |
| Weight | 1.1 kg |
| Lens | Zoom Lens |
| Filter Diameter | 37 mm |
| Shutter Speed | 1/50 - 1/4000 sec |
| Display Size | 2.5 inch |
| Microphone | Built-in |
| Connector Type | AV output |
| Dimensions | 114 mm |
| Optical Sensor Size | 1/4 inch |