(No.MB188)1-37
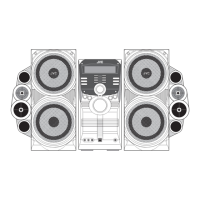
3.4.3 Removing the front panel assembly
(See Figs.3 and 4)
Reference:
Remove the side panel assembly as required.
(1) Remove the four screws D attaching the front panel as-
sembly. (See Fig.3.)
(2) Release the two joints a. (See Fig.3.)
Caution:
When removing the front panel assembly from the
speaker main body, do not break or damage them that
are glued at the joints a. (See Fig.3.)
(3) From the inside of the front panel assembly, disconnect the
yellow and black wires from the two terminals on the tweet-
er. (See Fig.4.)
3.4.4 Removing the tweeter
(See Fig.4)
• Prior to performing the following procedure, remove the front
panel assembly.
(1) From the inside of the front panel assembly, remove the
two screws E attaching the tweeter.
Fig.3
Fig.4
a
a
D
D
Front panel assembly
E
E
Yellow wire
Black wire
Terminals
Front panel assembly
Tweeter

 Loading...