Do you have a question about the JVC KD-G125 and is the answer not in the manual?
Details the unit's classification as a Class 1 laser product.
Warns about potential exposure to laser radiation under specific conditions.
Refers to the location and content of caution labels on the unit.
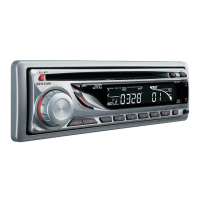
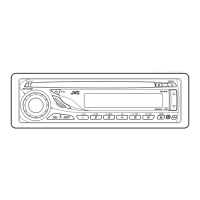
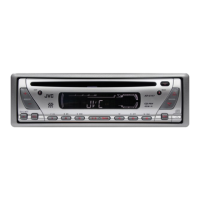
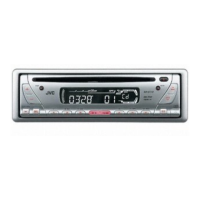
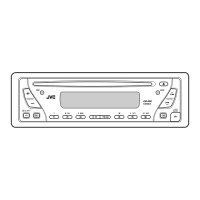
Identifies and labels the physical components of the control panel.
Explains the indicators and information displayed on the unit's screen.
Covers fundamental actions like turning on the power and adjusting volume.
Details how to perform basic settings like clock and display demonstration.
Explains how to save radio stations for quick access using automatic or manual methods.
Details how to tune into a previously saved radio station.
Covers selection of preset sound modes and detailed adjustments for bass, treble, and balance.
Instructions for cleaning the unit's connectors to prevent wear and ensure good contact.
Explains causes and solutions for moisture buildup inside the CD player lens.
Guidance on properly handling and storing discs to maintain playback quality.
Tips for preparing new discs for optimal playback.
Best practices for cleaning discs to ensure proper playback.
Provides additional details on basic functions like power and source selection.
Offers more information on radio tuning and station storage.
Details on disc playback, including compatibility and cautions.
Guidelines for correctly inserting discs into the unit.
Information and troubleshooting for CD-R/CD-RW playback.
Explains how changing the input source affects playback.
Technical details about the unit's audio amplification capabilities.
Technical specifications related to the CD playback functionality.
Technical parameters for the FM/AM radio tuner.
General specifications including power, dimensions, and operating conditions.
Step-by-step guide on how to detach the control panel from the main unit.
Instructions for installing the unit using an optional mounting stay.
Guidance for installing the unit without the protective sleeve.
Illustrates standard wiring procedures for connecting the unit to the vehicle's power and speakers.
| Type | CD Receiver |
|---|---|
| Tuner | AM/FM |
| CD Playback | Yes |
| MP3 Playback | Yes |
| WMA Playback | Yes |
| USB Port | No |
| Bluetooth | No |
| Auxiliary Input | Yes |
| Detachable Faceplate | Yes |
| Preset EQ | Yes |
| Display | LCD |
| Remote Control | No |
| Channels | 4 |
| Max Power Output | 50W x 4 |
| RMS Power | 22W x 4 |