


L
Larry AndradeAug 14, 2025
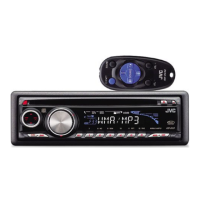
Why is there no sound coming from the speakers of my JVC Car Receiver?
- RRyan RobinsonAug 14, 2025
If you can't hear any sound from the speakers of your JVC Car Receiver, there might be a few reasons. First, ensure that the volume isn't set too low; adjust it to a more audible level. Also, verify that all connections are correctly and firmly plugged in. If the issue persists, the microcomputer may have malfunctioned due to external interference. In this case, try pressing the reset button on the panel holder after detaching the control panel. Keep in mind that this will erase the clock setting and preset stations stored in memory.