4
INITIAL SETTINGS
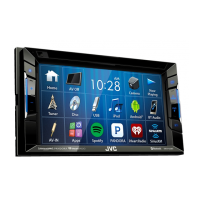
Initial setup
When you power on the unit for the first time, the
initial setting screen appears.
• You can also change the settings on the <SETUP>
screen. (Page53)
1 Perform the initial settings.
Touch the desired item to configure the setting.
• You can scroll the screen by touching [J]/[K]
to show more items.
• If another setting screen is displayed, set the
item, then touch [
] to return to previous
screen.
[Language] Select the text language used
for on-screen information.
(Page54)
• Touch [Language Select],
then select the desired
language.
[Clock] Adjust the clock. (See the right
column.)
[Colour] Select the color of the
buttons on the monitor panel.
(Page50)
• Touch [Panel Colour], then
select the desired color.
[Camera] Configure settings for the
connected rear view camera.
(Page28)
[DEMO] Activate ([ON]) or deactivate
([OFF]) the display
demonstration. (Page55)
2 Finish the procedure.
The Home screen is displayed.
Clock settings
1 Display the Home screen.
On the monitor panel:
2 Display the <SETUP> screen.
3 Display the <User Interface> screen.
4 Select the method to set the clock.
• Scroll the page to show the item.
[GPS-SYNC] Synchronizes the clock time with
the GPS.
[Manual] Sets the clock manually.
(Page5)
• To close the window, touch [Close].
5 Select the appropriate time zone for [Time
Zone].
• To return to the Home screen, press HOME on
the monitor panel, or touch [
] to return to the
previous screen.
 Loading...