– 20 –
CD Synchronized Recording
You can easily record a CD onto a tape.
• You can also record the tracks in the order you have made
the program.
On the unit ONLY:
1
Put a recordable cassette into deck B.
2
Place a disc correctly on the recess of the disc
tray, with its label side up.
3
Press one of the disc number buttons (CD1,
CD2, and CD3) to select the disc, then 7.
4
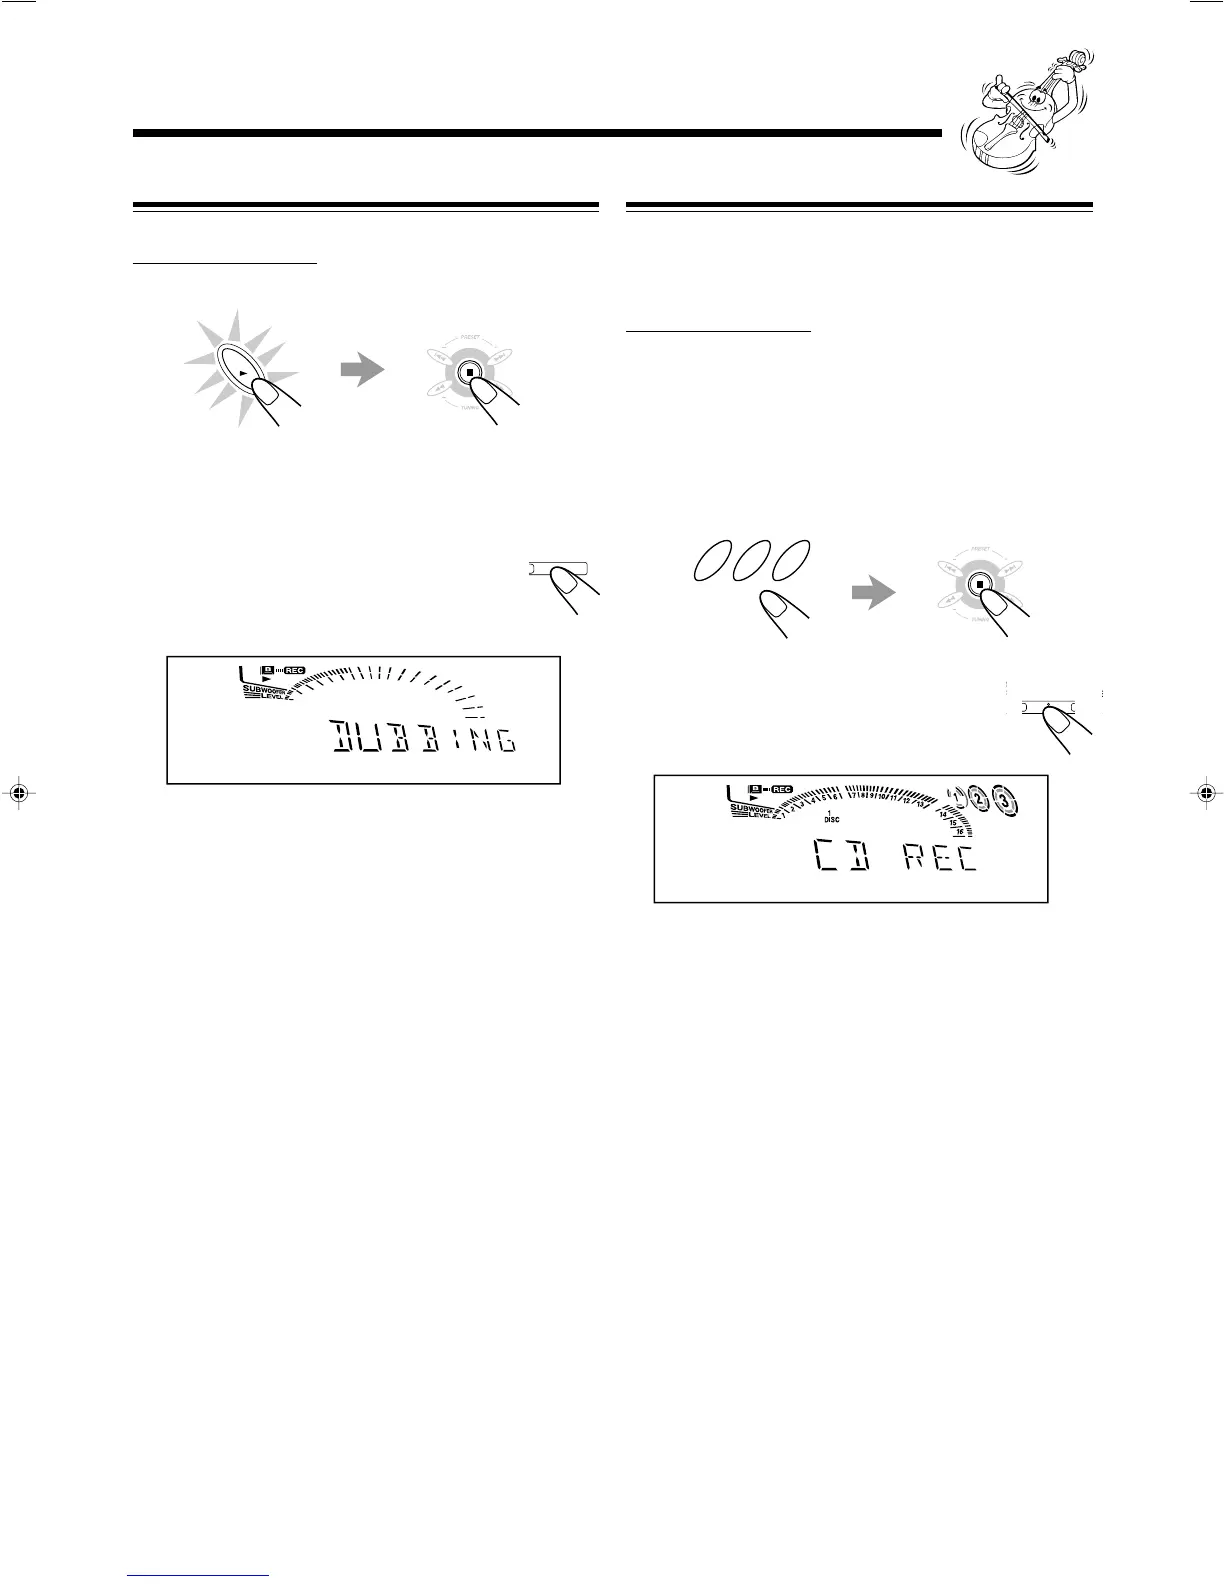
Press CD REC START.
“CD REC” appears, and the REC (recording)
indicator lights up on the display.
Deck B starts recording and the CD player starts playing.
When the recording is done, the CD player and deck B
stop.
To stop during CD Synchronized Recording, press REC
START/STOP or 7.
To remove the cassette, press EJECT 0 for deck B.
Dubbing Tapes
On the unit ONLY:
1
Press TAPE 3, then 7.
2
Put the source cassette in deck A, and a
recordable cassette into deck B.
3
Press DUBBING.
Dubbing starts.
“DUBBING” appears, and the REC
(recording) indicator lights up on the display.
To stop during dubbing, press REC START/STOP or 7.
To remove the cassette, press 0 EJECT for deck A and
EJECT 0 for deck B.
TAPE
RT
CD REC
START
DUB
EC
RT
DUBBING
CD 1
CD 2
CD 3
19-26.CA-MXG700&500R[B]f.pm6 02.3.18, 4:57 PM20
 Loading...