22
English
CD Synchronized Recording
You can easily record a CD onto a tape.
• This function does not work for MP3 discs. When
recording an MP3 disc onto a tape, see “Recording a Tape
on Deck B” on page 21.
• You can also record the tracks in the order you have made
the program.
If there is a track on the MP3 disc in the program, it will be
skipped and some blank space will be recorded on the tape.
On the unit ONLY:
1
Put a recordable cassette into deck B.
2
Place a disc correctly on the recess of the disc
tray, with its label side up.
3
Press one of the disc
number buttons (CD1,
CD2, and CD3) to select the
disc, then 7.
4
Press CD REC START.
“CD REC” appears, and the REC (recording)
indicator lights up on the display.
Deck B starts recording and the CD player starts playing.
When the recording from the selected CD is done, the CD
player and deck B stop.
• When recording your program, the CD player and deck
B stop after all tracks in the program are recorded.
To stop during CD Synchronized Recording, press REC
START/STOP or 7.
To remove the cassette, press EJECT 0 for deck B.
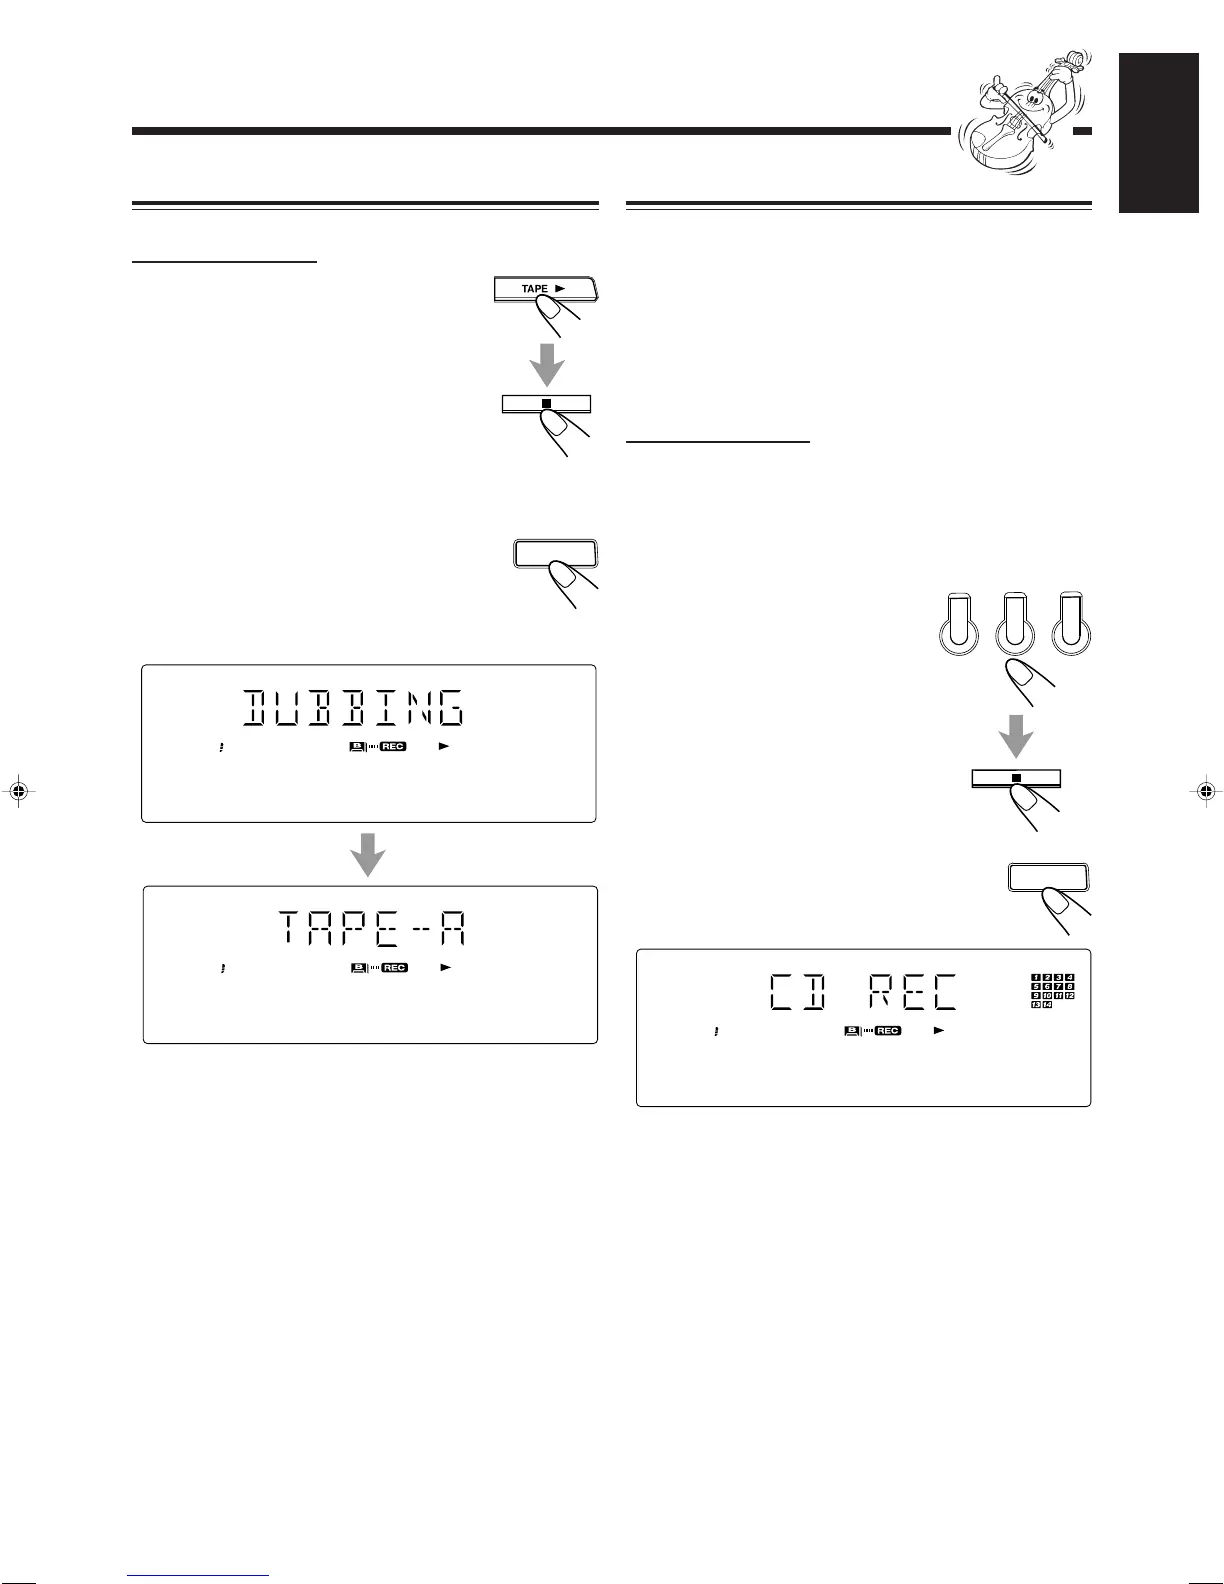
Dubbing Tapes
On the unit ONLY:
1
Press TAPE 3, then 7.
2
Put the source cassette in deck A, and a
recordable cassette into deck B.
3
Press DUBBING.
Dubbing starts.
“DUBBING” appears, and the REC
(recording) indicator lights up on the
display.
To stop during dubbing, press REC START/STOP or 7.
To remove the cassettes, press 0 EJECT for deck A and
EJECT 0 for deck B.
21_28MXGA8[JW].pm6 03.3.19, 5:33 PM22