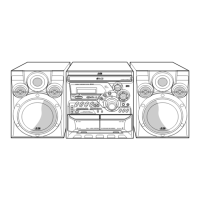
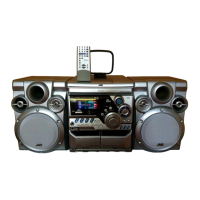
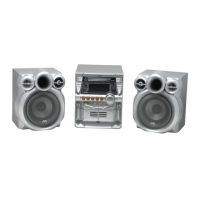
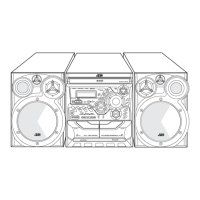
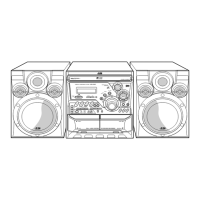
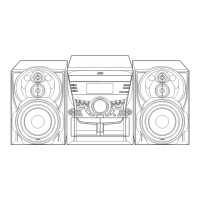
MX-K3
1-5
Disassembly method
Top cover 1-7
CD changer unit 1-8
Front panel assembly 1-9
Chassis unit 1-17
CD changer unit 1-8
Removing the main board 1-10
Removing the CD changer mechanism assembly 1-11
Removing the CD pickup 1-12
Replacing the loading motor and belt of the CD changer tray 1-12
Replacing the CD tray rotor belt of CD changer, and removing the motor 1-12
Front panel assembly 1-9
Removing the cassette deck mechanism 1-13
Removing the earphone jack board 1-13
Removing the mic amp. board 1-14
Removing the control/FL board 1-14
Removing the key switch board and ACTIVE BASS EX. switch board 1-15
Removing the cassette deck main motor, and replacing the main belts 1-16
Removing the leaf switches of the cassette deck mechanism 1-16
Removing the cassette deck heads 1-17
Chassis unit 1-17
Removing the 3-pin regulator 1-17
Removing the amp. board, the voltage selector board and AC power board 1-18
Commence disassembly of this set by removing the main units and then proceed to the components and
assemblies inside the units.
Replacement of the fuses and the power IC 1-6