1-15
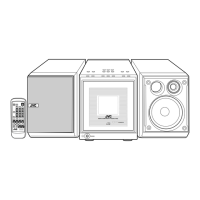
UX-A52R
Removing the LCD board assembly
(See Fig.32 to 36)
Prior to performing the following procedure, remove
the relay board and the LCD section.
Remove the four screws U attaching the case cover.
Remove the four screws V attaching the LCD panel
on the back of the LCD section.
Remove the LCD cover.
Release the three joints g and remove the LCD
board assembly in the direction of the arrow.
1.
2.
3.
4.
Fig.32
Fig.33
Fig.34
Fig.35 Fig.36
U
Case cover
U
V
V
LCD section
LCD panel
LCD cover
LCD board assembly
Joint g
U
U
Joint g
Joint g
 Loading...